
Homemade sensory bottles provide immediate calming effects for children with anxiety, autism, or sensory processing challenges. Using just plastic bottles, water, and common household items, you can create therapeutic tools that improve focus and emotional regulation within 20 minutes. This guide reveals scientifically-backed recipes, safety protocols, and professional techniques used by occupational therapists.
Creating effective sensory bottles requires understanding both the science behind their calming effects and practical construction methods. These simple tools work by providing controlled visual stimulation that engages the parasympathetic nervous system, helping children transition from fight-or-flight responses to calm alertness. Unlike commercial versions, DIY sensory bottles let you customize viscosity, visual elements, and sensory input to match specific therapeutic needs.
The Science Behind Sensory Bottle Effectiveness
Sensory bottles function as portable mindfulness tools by combining visual tracking with predictable movement patterns. When children follow the floating elements with their eyes, they activate the vestibular system while reducing sensory overload. Occupational therapists use them to:
- Decrease anxiety during transitions
- Improve focus before learning activities
- Provide safe emotional regulation during meltdowns
- Develop visual tracking skills
Essential Materials Checklist
Choose materials based on your child's specific sensory needs and age. Always prioritize non-toxic, child-safe components:
| Material Type | Best Options | Avoid |
|---|---|---|
| Liquid Base | Distilled water, Glycerin, Light corn syrup | Alcohol, Vinegar, Dish soap |
| Visual Elements | Glitter, Beads, Sequins, Confetti | Sharp objects, Small magnets |
| Bottles | Plastic water bottles, Baby food jars | Glass containers, Squeezable bottles |
Step-by-Step Construction Guide
Follow these professional techniques to create leak-proof, long-lasting sensory bottles:
- Prepare your workspace: Cover surfaces with newspaper and gather all materials before starting
- Clean bottles thoroughly: Remove labels and soak in warm soapy water to eliminate residue
- Create base mixture: Combine 1 cup distilled water with 1/4 cup glycerin for optimal flow rate
- Add visual elements: Use 1-2 teaspoons of fine glitter plus 5-7 larger beads for varied visual interest
- Seal securely: Apply waterproof glue around cap threads before screwing on tightly
- Final safety check: Shake vigorously for 2 minutes to test for leaks before giving to children

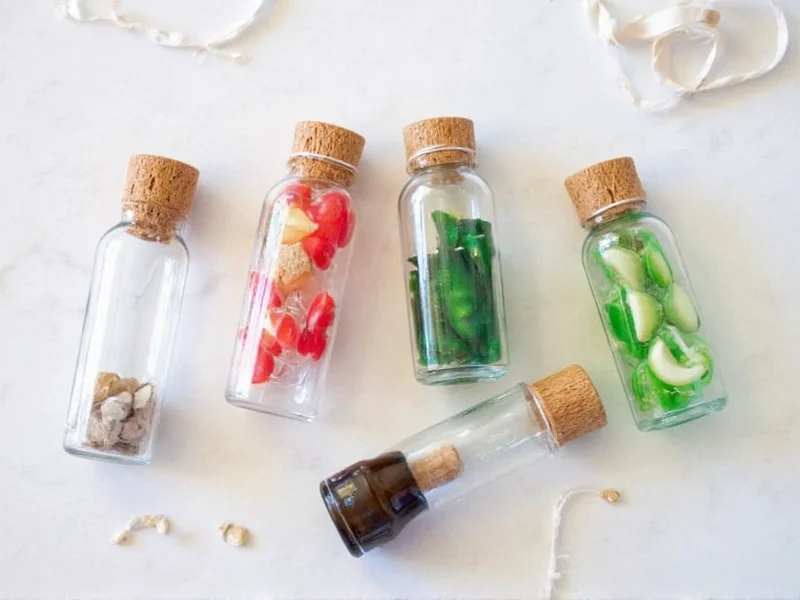
Five Therapeutic Sensory Bottle Variations
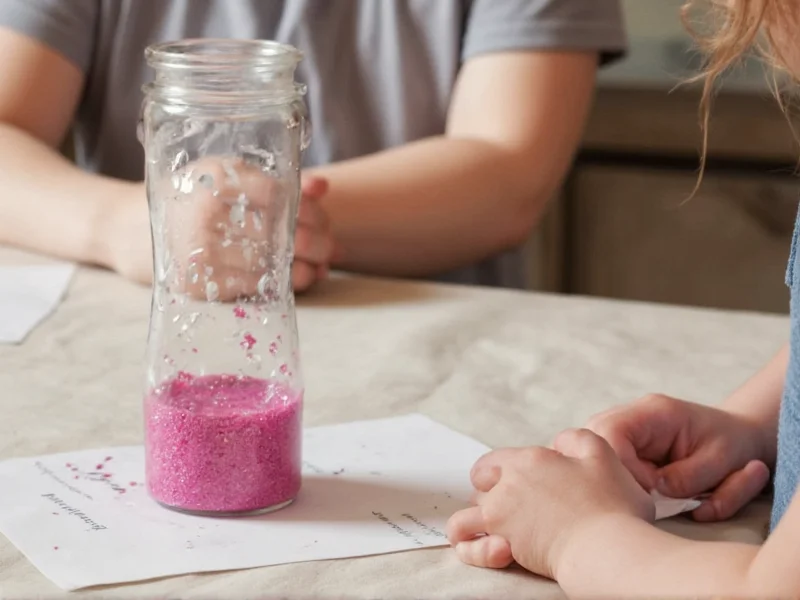
Calming Glitter Bottles
Best for: Anxiety reduction and emotional regulation
Recipe: Water + glycerin (3:1 ratio) + fine iridescent glitter
Usage tip: Instruct children to watch until last particle settles, taking deep breaths throughout
Ocean Wave Bottles
Best for: Visual tracking and focus improvement
Recipe: Water + light corn syrup + blue food coloring + small seashells
Usage tip: Tilt bottle slowly side-to-side while counting waves to improve bilateral coordination
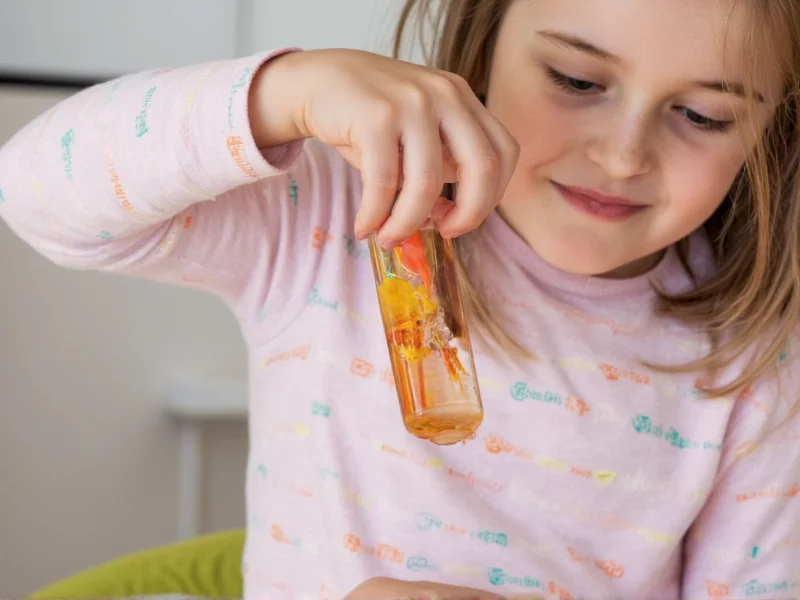
Lava Lamp Bottles
Best for: Sensory exploration and science learning
Recipe: Water + vegetable oil + food coloring + effervescent tablet
Usage tip: Discuss density concepts while observing color movement during chemical reaction
Troubleshooting Common Problems
Even experienced makers encounter these issues. Here's how to fix them:
- Cloudy liquid: Caused by tap water minerals - always use distilled water and clean bottles with vinegar solution first
- Too fast movement: Increase glycerin ratio (try 1:1 water to glycerin) or add corn syrup
- Leaks at cap: Apply waterproof glue to threads and let cure 24 hours before use
- Settling particles: Mix fine and coarse glitter types to maintain visual interest throughout movement cycle
Safety Protocols Every Maker Should Follow
Sensory bottles must be completely child-safe. Implement these critical safety measures:
- Double-seal all bottles using waterproof glue plus heat-shrinking plastic around caps
- Choose plastic containers only - never use glass with children under 12
- Avoid small parts that could become choking hazards if bottle breaks
- Supervise first 5-10 uses to ensure child handles bottle appropriately
- Store upright in protective container when not in use
Maximizing Therapeutic Benefits
Professional therapists use specific techniques to enhance effectiveness:
- Introduce bottles during calm moments first, not during meltdowns
- Pair with breathing exercises ("breathe in as bubbles rise, breathe out as they fall")
- Create "calm down kits" with bottle plus stress ball and feelings chart
- Rotate different bottle types weekly to maintain novelty and engagement
- Involve children in creation process to increase investment and understanding
When to Replace Sensory Bottles
Even well-made bottles have limited lifespans. Replace them when you notice:
- Cloudiness that doesn't clear after resting
- Visible mold or bacterial growth
- Decreased viscosity affecting movement speed
- Cracks or weak spots in container
- Child shows decreased interest despite rotation
Frequently Asked Questions
How long do homemade sensory bottles typically last?
Properly constructed sensory bottles last 6-12 months with regular use. Signs they need replacement include cloudiness that doesn't clear, visible mold, decreased viscosity, or container cracks. Store bottles upright in protective containers when not in use to maximize lifespan.
Are sensory bottles safe for toddlers under 3?
Sensory bottles can be safe for toddlers when properly constructed and supervised. Use only plastic containers, double-seal caps with waterproof glue, avoid small parts, and supervise all usage. Never leave toddlers unattended with sensory bottles. For children under 2, consider displaying bottles in protective frames instead of direct handling.
What's the best liquid ratio for slow-moving sensory bottles?
For therapeutic slow movement, use a 1:1 ratio of distilled water to glycerin. For extremely slow motion (ideal for high anxiety), try 1 part water to 2 parts glycerin. Light corn syrup can substitute for glycerin but may attract insects if leaks occur. Always test your mixture before final assembly.
Can I use essential oils in sensory bottles for aromatherapy?
We don't recommend essential oils in sensory bottles. The sealed environment concentrates scents unpredictably, and some children have chemical sensitivities. If pursuing aromatherapy, use separate scent stations with proper ventilation instead of combining with visual sensory tools.


 浙公网安备
33010002000092号
浙公网安备
33010002000092号 浙B2-20120091-4