
Discover how to transform affordable pine wood into stunning handmade projects with this complete guide. Learn expert techniques for selecting, preparing, and finishing pine—plus 5 beginner-friendly projects you can complete in a weekend. Avoid common mistakes like warping and splitting while creating sustainable, professional-quality crafts.
Why Pine Wood Reigns Supreme for Crafters
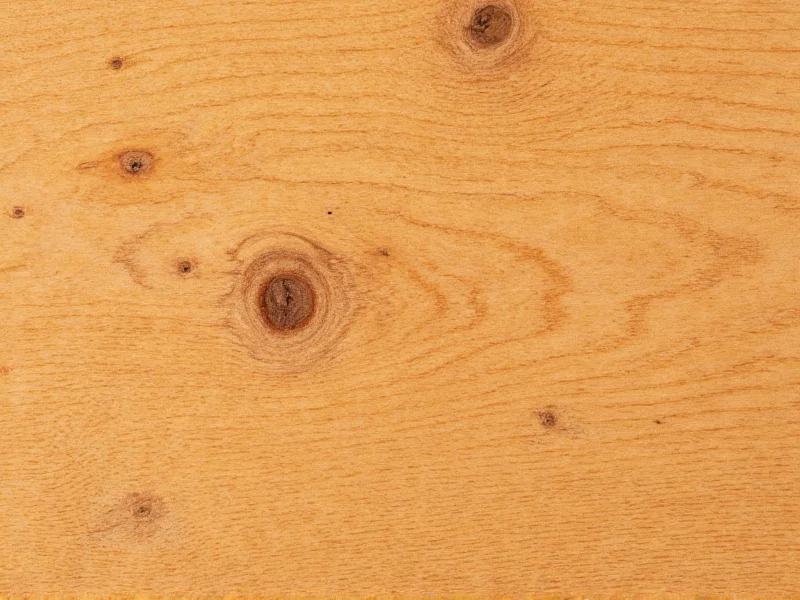
Pine wood isn't just budget-friendly—it's the secret weapon of professional woodworkers for good reason. Unlike hardwoods that cost 3-5x more, pine offers exceptional workability for carving, sanding, and joining. Its straight grain pattern creates clean lines perfect for modern farmhouse decor, while its natural resins provide subtle visual interest. Most importantly, pine's sustainability credentials shine: as a fast-growing softwood, it regenerates in 25-30 years versus centuries for oak or walnut.
Your Essential Pine Crafting Toolkit
Start strong with these non-negotiable tools. Skip the expensive gear—these basics deliver professional results:
- Orbital sander (120-220 grit) - Prevents tear-out on soft pine
- Claw hammer + 2" finishing nails - Avoids splitting compared to staples
- Mineral spirits - Cleans resin bleed before finishing
- Pre-stain wood conditioner - Eliminates blotchiness with oil stains
| Pine Grade | Best For | Avoid If |
|---|---|---|
| Clear All Heart | Fine furniture, visible surfaces | Budget under $5/sq ft |
| No. 1 Common | Painted projects, structural pieces | Seeking knot-free wood |
| Utility Grade | Hidden supports, practice cuts | Visible final surfaces |
5 Weekend Projects That Actually Look Pro
These beginner pine crafting projects build fundamental skills while yielding usable results. Each requires under $30 in materials:
1. Floating Shelf System
Master hidden bracket installation with this living room essential. Key tip: Use 1" x 4" pine boards with vertical grain orientation to prevent sagging. Sand edges to 45° bevel before finishing for modern appeal.
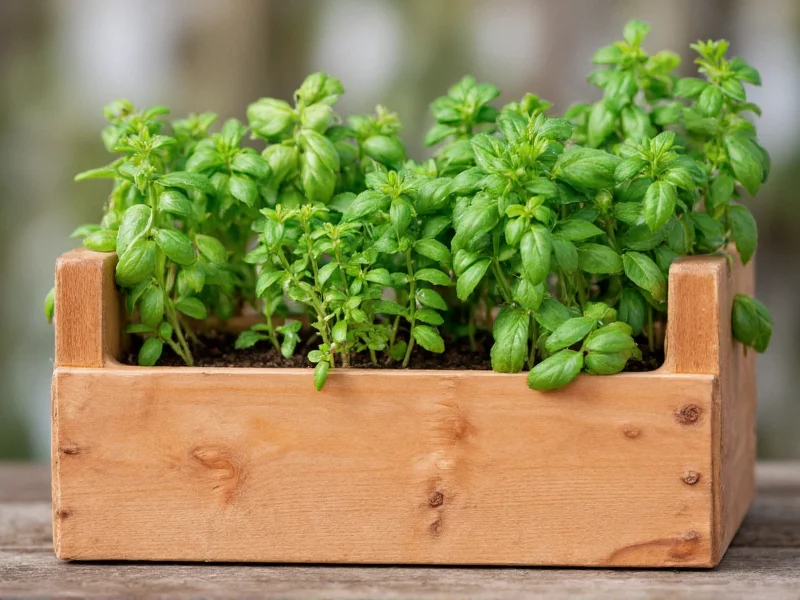
2. Herb Garden Planter Box
Perfect for balcony gardening. Drill drainage holes in a diamond pattern—never straight lines—to distribute water evenly. Line interior with landscape fabric to extend wood life.
3. Adirondack Chair Miniature
Practice compound angles with this scaled-down version. Cut seat/back slats at 10° angles using a miter saw. Sand all edges to 1/8" radius—this "soft edge" technique prevents splinters.
Advanced Techniques Worth Mastering
Move beyond basic butt joints with these professional methods:
- Kerf bending: Make parallel cuts 80% deep on pine's backside to create gentle curves for headboards
- Resin injection: Fill knots with clear epoxy before sanding for seamless finishes
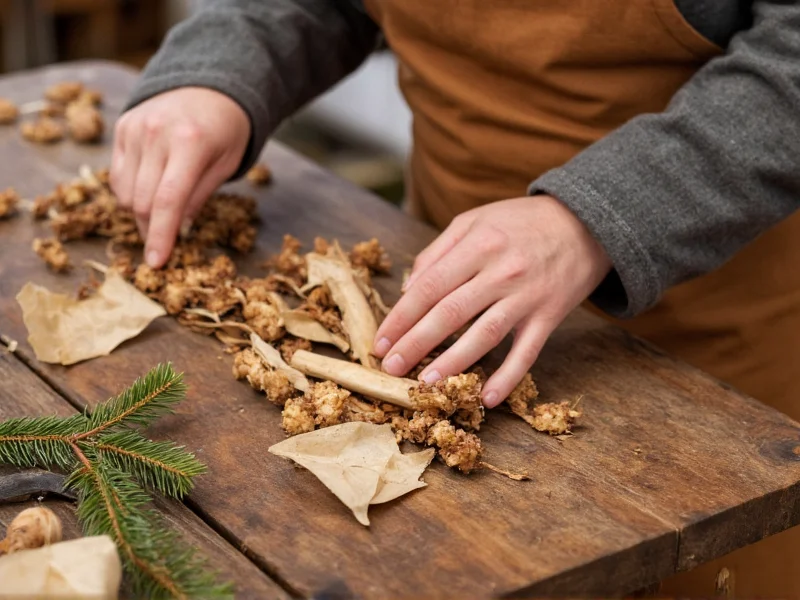
- Distressing with vinegar: Soak steel wool in white vinegar for 24 hours, then brush on pine for authentic aged patina
Sustainable Crafting Secrets
Reduce waste and environmental impact with these pro tips:
- Use "construction grade" pine scraps from home improvement stores (often free)
- Apply linseed oil instead of polyurethane for food-safe, biodegradable finishes
- Store off-cuts in labeled bins by thickness—reclaim for future project accents
Troubleshooting Common Pine Problems
Solve these frequent issues before they ruin your project:
Solution: Acclimate pine indoors for 72 hours before cutting. Always glue boards with grain running opposite directions in panels.
Solution: Apply pre-stain conditioner, then use gel stains (not liquid) which penetrate evenly.
Solution: Wipe affected areas with mineral spirits, then seal with shellac before final coat.
Your Crafting Journey Starts Now
With pine's forgiving nature and affordability, your first project should be intimidating—it's your launchpad. Start with the floating shelf to build confidence in measuring and finishing, then progress to more complex builds. Remember: every master craftsman began with warped boards and crooked nails. The true mark of skill isn't perfection—it's learning to transform "flaws" into signature design elements. Grab that scrap pine board and make your first cut today.
Frequently Asked Questions
Can I use pine for outdoor furniture projects?
Yes, but only with proper sealing. Use exterior-grade pine treated with linseed oil or marine varnish. Avoid pressure-treated pine for visible surfaces as it contains chemicals that bleed through finishes.
Why does my pine project feel rough after sanding?
Pine's soft fibers raise when sanded dry. Always sand wet with 220-grit paper, then let dry before final finishing. This prevents "fuzzing" that feels rough after staining.
How do I prevent pine from yellowing over time?
Natural pine yellows with UV exposure. For light finishes, use water-based polyurethane with UV inhibitors. For painted projects, apply two coats of white primer before topcoating to block tannins.
What's the minimum thickness for pine shelves without sagging?
For spans under 24", use 3/4" thick pine. Beyond that, add vertical supports every 12" or increase thickness to 1.5". Always orient grain vertically in the shelf board for maximum strength.


 浙公网安备
33010002000092号
浙公网安备
33010002000092号 浙B2-20120091-4