
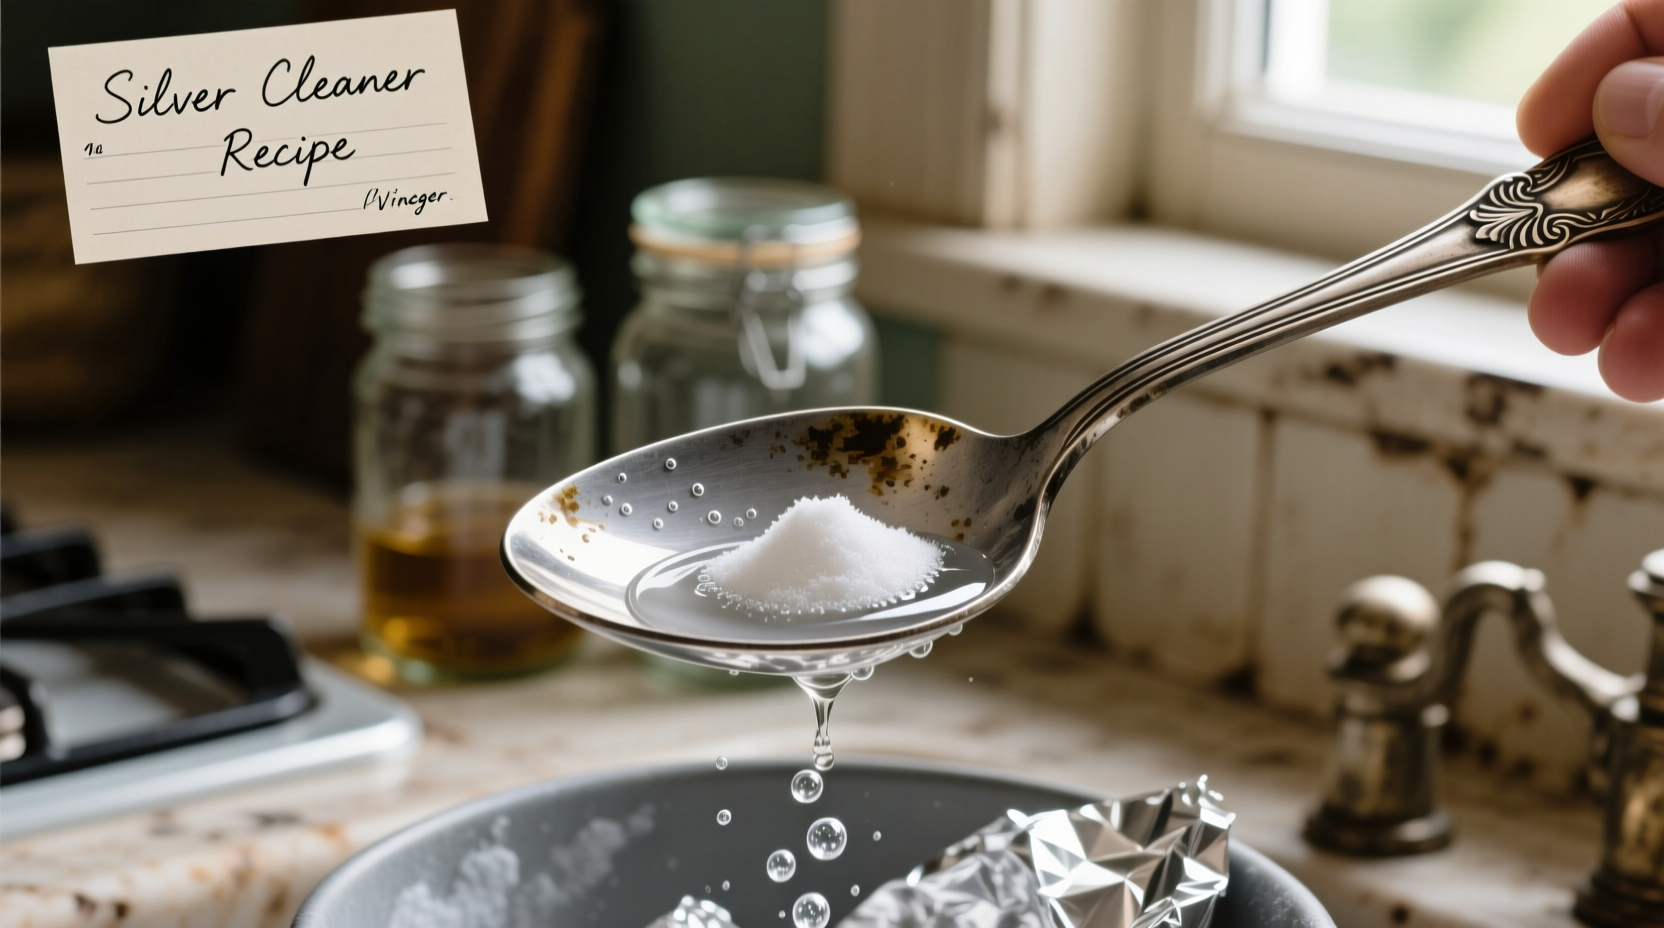
If you're searching for a quick, effective way to clean tarnished silver at home, the aluminum foil method is your best DIY solution: line a bowl with aluminum foil, add 1 tablespoon of baking soda and 1 cup of boiling water, then soak your silver pieces for 5-10 minutes. This chemical reaction safely removes tarnish without scrubbing, costs pennies, and uses items you likely already have in your kitchen.
Nothing ruins the elegance of your favorite silver pieces quite like tarnish. That dull, grayish film appears seemingly overnight, transforming your gleaming heirlooms into shadowy versions of themselves. But before you reach for expensive commercial cleaners or consider professional polishing, know this: you can restore your silver's brilliance using simple household items with proven effectiveness.
Why Silver Tarnishes: The Science Behind the Dullness
Silver tarnish isn't dirt—it's a chemical reaction. When silver reacts with sulfur compounds in the air (from sources like eggs, rubber, wool, and even air pollution), it forms silver sulfide. This thin layer appears as that familiar yellowish to black discoloration. Unlike rust on iron, tarnish only affects the surface, which is why proper cleaning can fully restore your silver's original luster without damaging the metal beneath.
5 Proven DIY Silver Cleaning Methods
Not all silver is created equal. Your approach should match your piece's condition, value, and intricacy. Here are five scientifically-backed methods tested for safety and effectiveness:
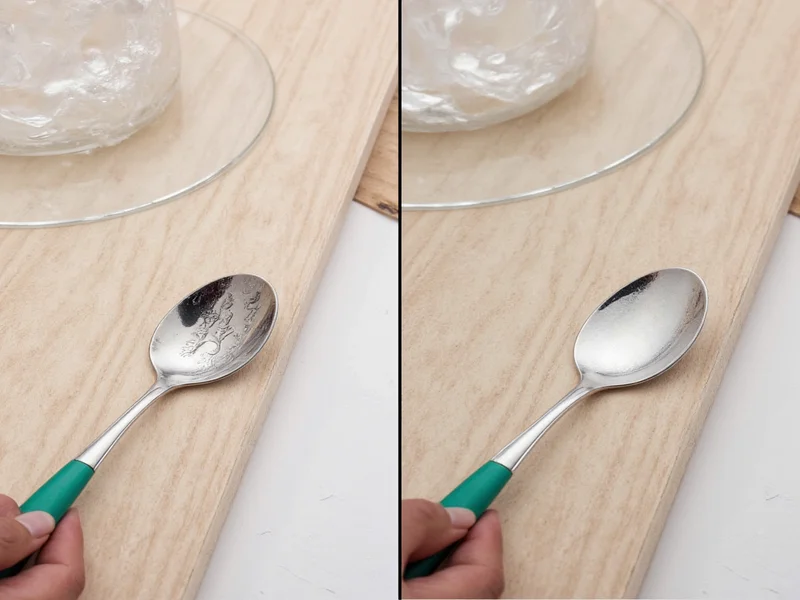
1. The Aluminum Foil Electrochemical Method (Best Overall)
Perfect for: moderately to heavily tarnished flatware, trays, and simple jewelry
Time required: 5-15 minutes
Effectiveness: ★★★★★
- Line a non-metallic bowl with aluminum foil (shiny side up)
- Add 1 tablespoon baking soda per cup of water
- Pour in boiling water to create solution
- Submerge silver, ensuring contact with foil
- Soak 5-10 minutes (longer for heavy tarnish)
- Rinse thoroughly and dry with soft cloth
Why it works: The aluminum acts as a sacrificial metal, drawing sulfur from the silver through an electrochemical reaction. No scrubbing needed—tarnish transfers to the foil.
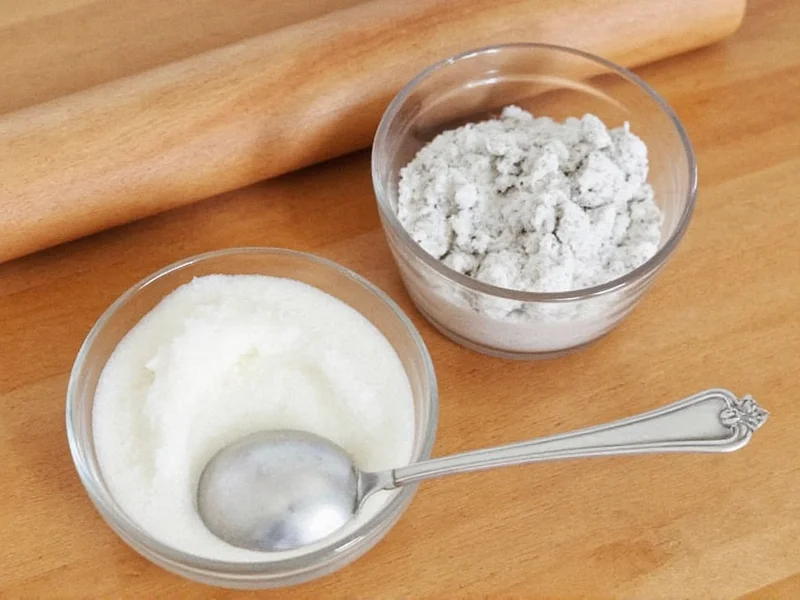
2. Baking Soda Paste (Best for Light Tarnish)
Perfect for: lightly tarnished pieces, intricate designs
Time required: 10-20 minutes
Effectiveness: ★★★★☆
- Mix 3 parts baking soda with 1 part water to form paste
- Apply with soft toothbrush to tarnished areas
- Gently brush in circular motions
- Rinse thoroughly under warm water
- Dry immediately with microfiber cloth
Pro tip: For intricate patterns, use a cotton swab dipped in paste to reach crevices without scratching.
3. White Vinegar Soak (Best for Heavily Tarnished Pieces)
Perfect for: severely tarnished items, silverware sets
Time required: 2-3 hours
Effectiveness: ★★★★☆
- Mix 1/2 cup white vinegar with 2 tablespoons baking soda
- Submerge silver completely in solution
- Soak 2-3 hours (check periodically)
- Rinse thoroughly under warm water
- Dry immediately with soft cloth
Caution: Not recommended for antique or valuable pieces—vinegar's acidity can damage patina over time.
What NOT to Do: Common Silver Cleaning Mistakes
Many well-intentioned DIYers accidentally damage their silver with these common errors:
| Mistake | Why It's Harmful | Better Alternative |
|---|---|---|
| Using toothpaste as cleaner | Contains abrasives that scratch silver's soft surface | Baking soda paste (less abrasive) |
| Soaking in lemon juice | Acidity accelerates tarnish and damages metal | Vinegar solution (more controlled pH) |
| Using paper towels to dry | Can leave lint and cause micro-scratches | Microfiber or cotton cloth |
| Over-polishing with cloths | Wears down silver over time, especially on antique pieces | Minimal handling after cleaning |
Special Cases: Delicate and Valuable Silver
Not all silver items can withstand standard cleaning methods. Exercise extra caution with:
- Antique pieces: Many have intentional patina that adds value. Consult a professional before cleaning.
- Silver with gemstones: Remove stones first or avoid liquid methods—water can loosen settings.
- Hollowware with seams: Water trapped inside can cause internal corrosion.
- Silver-plated items: Aggressive cleaning can wear through the thin silver layer.
For these special cases, the gentlest approach is often best: a soft cloth with a tiny amount of olive oil can temporarily reduce the appearance of light tarnish without risking damage.
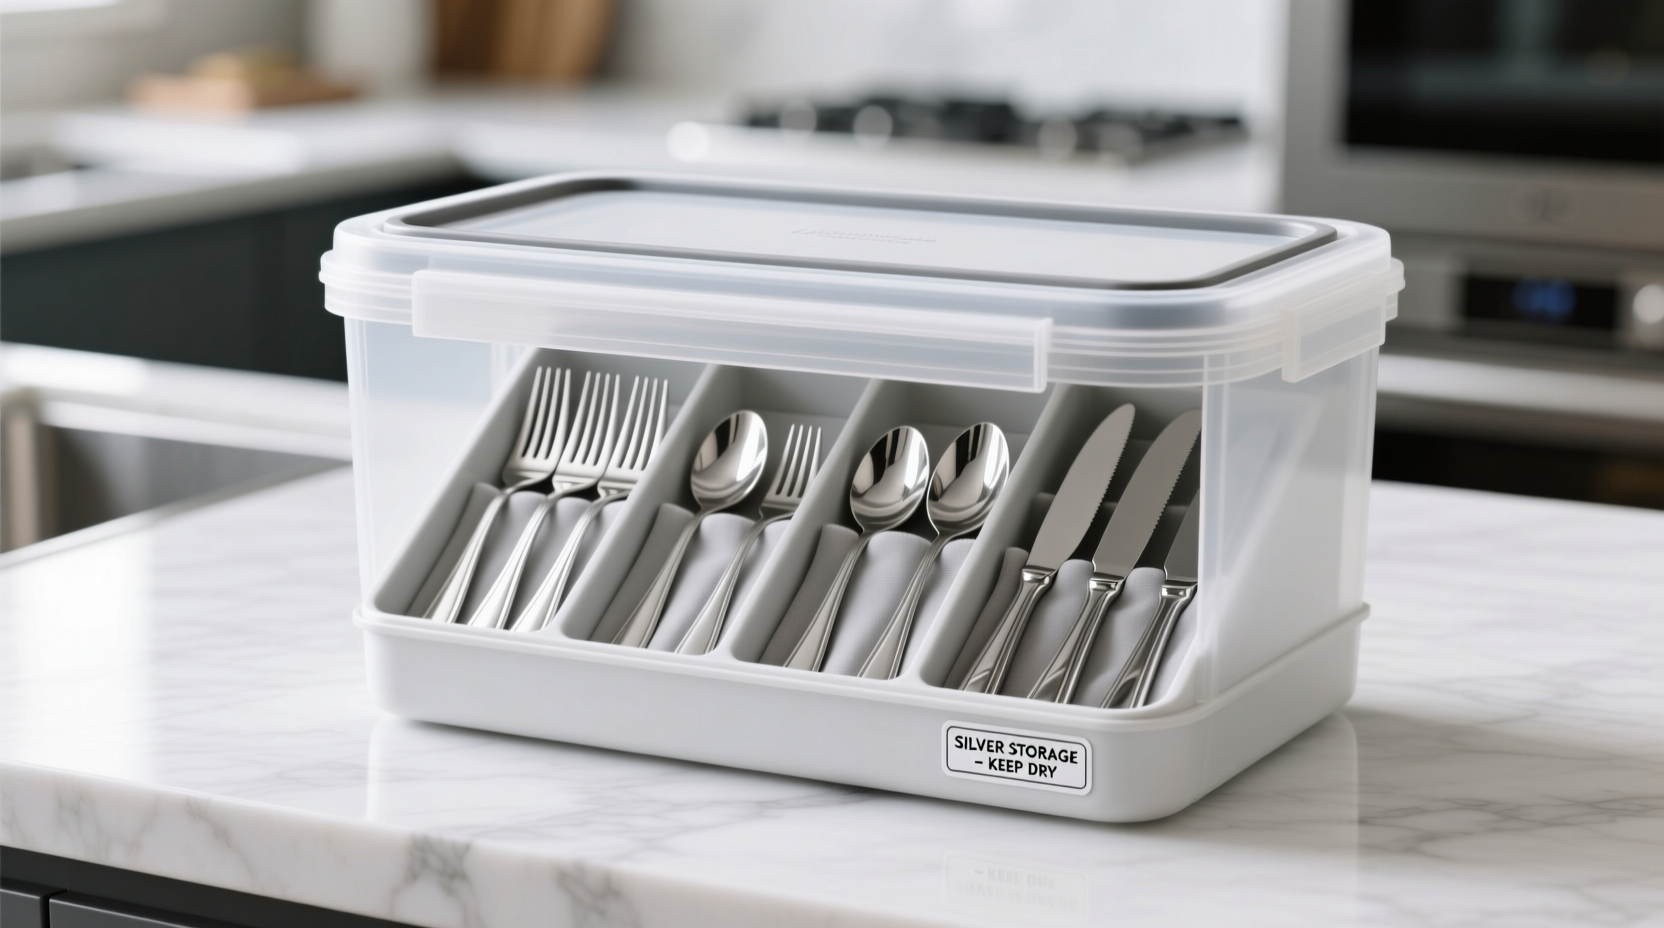
Preventing Future Tarnish: Smart Storage Solutions
Prevention beats restoration. Implement these science-backed storage techniques to dramatically slow tarnish formation:
- Airtight containers: Store silver in zip-top bags with the air squeezed out (add anti-tarnish strips for valuable pieces)
- Chalk trick: Place white chalk in storage containers—it absorbs moisture and sulfur compounds
- Regular use: Frequently used silverware tarnishes slower than stored pieces (handling creates protective oils)
- Cotton storage: Never store silver in wool or rubber-lined boxes—these emit sulfur compounds
Maintenance Schedule for Different Silver Types
How often you should clean depends on your silver's usage and environment:
| Type of Silver | Cleaning Frequency | Recommended Method |
|---|---|---|
| Daily-use silverware | After each use (rinse only) | Hand wash with mild soap, dry immediately |
| Occasional-use flatware | Every 3-6 months | Aluminum foil method |
| Display pieces | Every 6-12 months | Dust with microfiber cloth, spot clean as needed |
| Antique collectibles | Only when necessary | Professional cleaning recommended |
When to Skip DIY Cleaning
While most household silver responds well to DIY methods, certain situations warrant professional help:
- Items with visible damage (dents, cracks, loose stones)
- Antique pieces with historical value
- Silver with intricate enamel work
- Items that have been improperly cleaned before
- Heirlooms you're unsure how to handle
Remember: a little tarnish on antique silver often adds character and value. Over-cleaning can permanently reduce an item's worth.
Frequently Asked Questions
Can I use ketchup to clean silver?
While ketchup contains vinegar and salt that can remove tarnish, its tomato content creates an acidic mixture that may damage silver with prolonged exposure. The aluminum foil method is safer and more effective for DIY silver cleaner solutions.
Why does my silver tarnish so quickly after cleaning?
Rapid re-tarnishing usually indicates improper rinsing (leaving cleaning residue) or storage in sulfur-rich environments. Always rinse thoroughly with distilled water and store silver in airtight containers with anti-tarnish materials to extend the time between cleanings.
Is baking soda safe for all silver items?
Baking soda is generally safe for solid sterling silver but can be too abrasive for silver-plated items or antiques with delicate surfaces. For these, use the aluminum foil method without direct contact between baking soda and the silver surface.
How can I tell if my item is sterling silver or silver-plated?
Look for hallmarks: "925," "STER," or "STERLING" indicate solid sterling silver (92.5% pure silver). Silver-plated items may say "EPNS" (electroplated nickel silver) or "SP." Sterling silver feels heavier and has a slightly warmer tone than plated items. When in doubt, consult a jeweler.
Does the aluminum foil method work on gold-filled jewelry?
No, the electrochemical reaction in the aluminum foil method specifically targets silver sulfide. Gold-filled items require different cleaning approaches, typically a mild soap solution. Using this silver cleaner DIY method on gold-filled pieces won't damage them but won't effectively clean tarnish either.


 浙公网安备
33010002000092号
浙公网安备
33010002000092号 浙B2-20120091-4