
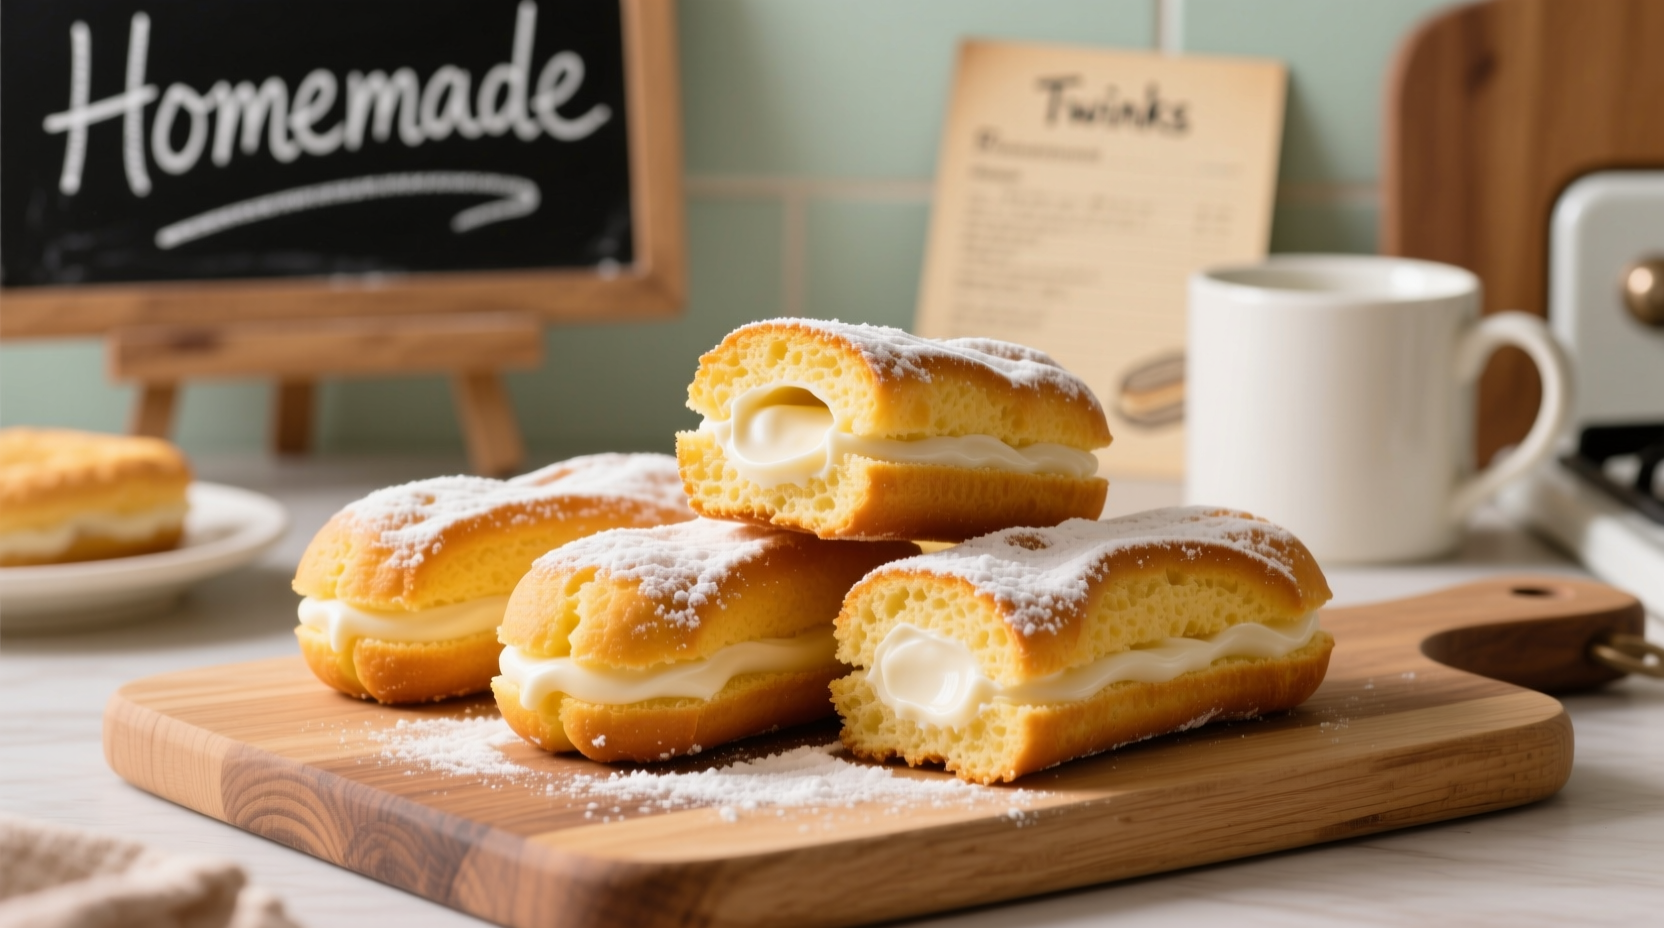
Make bakery-quality homemade twinkies in 90 minutes with this foolproof recipe. You'll get fluffy golden sponge cakes and silky vanilla cream filling without preservatives—plus professional tips for perfect results every time.
Why Homemade Twinkies Beat Store-Bought
Forget the 40-ingredient commercial versions packed with preservatives. When you make homemade twinkies from scratch, you control every element:
Key Advantages
- Fresher taste: Enjoy cakes baked hours—not months—ago
- No artificial additives: Skip polysorbate 60 and sodium stearoyl lactylate
- Customizable fillings: Swap vanilla for chocolate, strawberry, or matcha
- Cost-effective: 24 cakes for under $5 versus $3.99 per pack
Essential Tools & Ingredients
You likely have most homemade twinkie baking tools already. Critical items:
| Equipment | Why It Matters |
|---|---|
| Tube pan (or mini loaf pan) | Creates signature elongated shape |
| Piping bag with Bismarck tip | Injects filling without tearing cakes |
| Instant-read thermometer | Ensures perfect 200°F sponge temperature |
The Foolproof Recipe Process
Follow this easy homemade twinkies recipe in three phases. Total time: 1 hour prep + 30 minutes baking.
Phase 1: The Perfect Sponge Cake
Commercial twinkies use chemical leaveners for extreme fluffiness. Our natural approach:
- Cream butter and sugar until pale (5 mins)—this traps air for lift
- Whip egg whites separately to stiff peaks (key for cloud-like texture)
- Fold gently—never stir—to preserve air bubbles
- Bake at 350°F for 18 minutes until golden and springy
Phase 2: Silky Vanilla Filling
Avoid gritty fillings with this chef-tested method:
- Use powdered sugar (not granulated) for smoothness
- Add 1 tsp cornstarch to stabilize against weeping
- Infuse with real vanilla bean (not extract) for depth
- Cool completely before filling—warm cakes melt filling
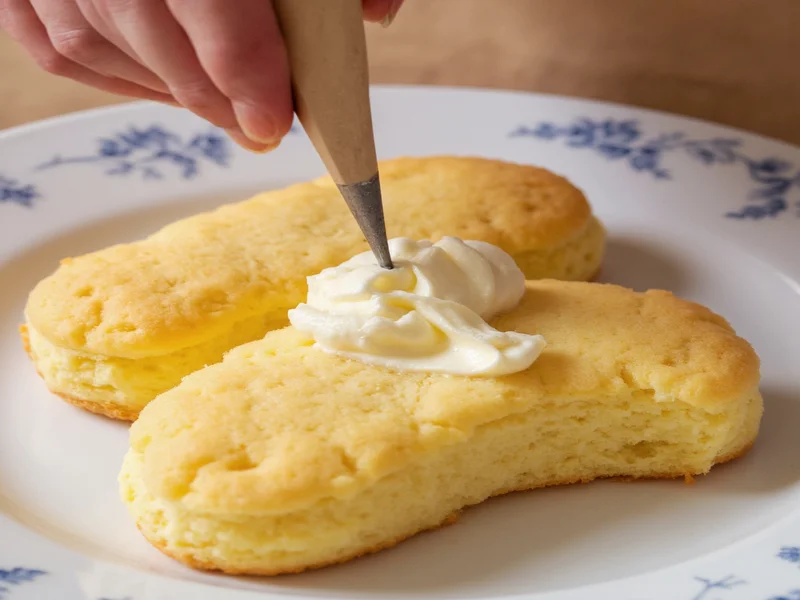
Phase 3: Filling Like a Pro
Most homemade twinkie failures happen here. Do this:
Filling Technique Checklist
- Wait 2 hours for cakes to cool completely
- Insert piping tip at 45° angle through side
- Inject 3 pulses (top/middle/bottom) for even distribution
- Wipe excess filling immediately with damp cloth
Troubleshooting Common Issues
Fix these homemade twinkie problems before they happen:
| Issue | Solution |
|---|---|
| Flat, dense cakes | Overmixed batter—fold egg whites gently in 3 additions |
| Filling leaks out | Cakes too warm—cool 2+ hours before filling |
| Dry texture | Overbaked—check at 16 minutes; use oven thermometer |
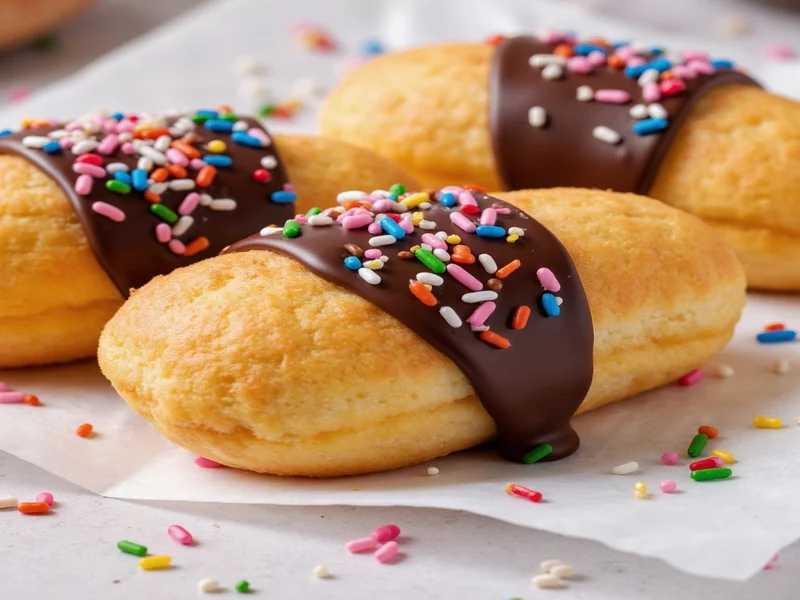
Creative Variations to Try
Once you master the basic homemade twinkies recipe, experiment:
- Chocolate Twinkies: Add 3 tbsp cocoa to dry ingredients
- Strawberry Shortcake: Replace vanilla with freeze-dried strawberry powder
- Gluten-Free: Use 1:1 GF flour blend + 1 tsp xanthan gum
- Vegan: Swap eggs for aquafaba, butter for coconut oil
Storage & Serving Tips
Homemade versions lack preservatives, so handle carefully:
- Room temperature: Store in airtight container for 2 days max
- Freezing: Wrap unfilled cakes individually; freeze 3 months
- Serving: Warm 10 seconds in microwave for fresh-baked texture
- Best eaten: Within 12 hours of filling for optimal texture
Frequently Asked Questions
Can I make homemade twinkies without a tube pan?
Yes! Use a standard mini loaf pan (7x3x2 inches). Bake 20-22 minutes and cut logs into 4-inch segments before filling. The shape will differ slightly but texture remains identical.
Why does my filling get runny after 24 hours?
This happens when cakes aren't fully cooled before filling. Residual heat melts the filling, causing separation. Always wait 2+ hours—use a thermometer to confirm cakes are below 70°F.
How do I get that golden commercial color without artificial dyes?
Add 1/8 tsp turmeric powder to the batter. It provides natural golden hue without flavor impact. For deeper color, brush cooled cakes with apricot glaze (1 tbsp jam + 1 tsp water).


 浙公网安备
33010002000092号
浙公网安备
33010002000092号 浙B2-20120091-4