
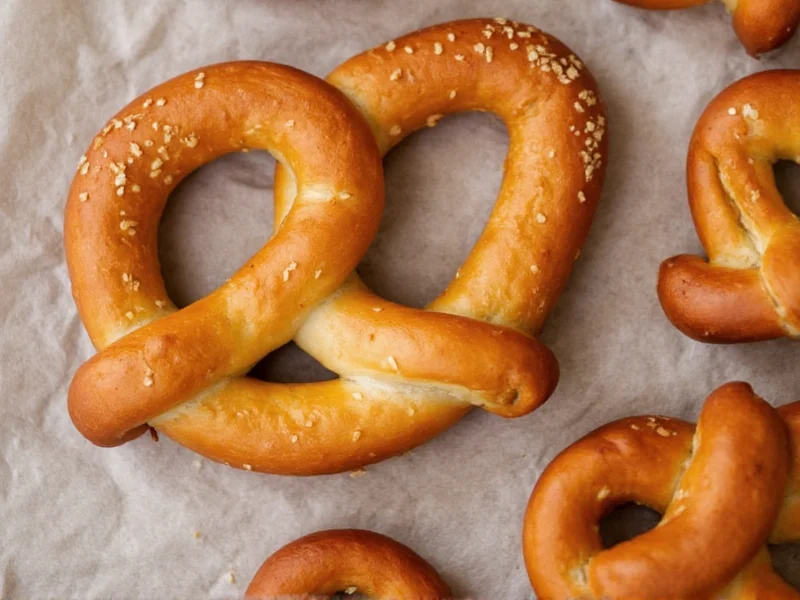
Make bakery-quality soft pretzels at home in 90 minutes with just 6 pantry staples. This foolproof recipe delivers chewy centers, crisp golden crusts, and that iconic pretzel flavor without special equipment.
Why Homemade Pretzels Beat Store-Bought Every Time
Forget stale supermarket pretzels loaded with preservatives. Homemade versions offer superior freshness, customizable toppings, and that authentic Maillard reaction crust from the baking soda bath. You'll save 40% compared to bakery prices while avoiding artificial ingredients.
Pro Insight: The Science Behind Perfect Pretzels
The alkaline baking soda bath (pH 9-10) triggers accelerated browning and creates the signature chewy-crisp texture. For deeper flavor, replace 1/4 cup water with lye solution (food-grade only) – but baking soda works perfectly for home kitchens.
Essential Ingredients & Equipment
Use precise measurements for consistent results. All ingredients should be at room temperature.
| Ingredient | Quantity | Critical Notes |
|---|---|---|
| All-purpose flour | 3½ cups (440g) | Spoon-and-level method required |
| Active dry yeast | 2¼ tsp (7g) | Must be fresh – test viability first |
| Baking soda | ½ cup (120g) | For boiling bath – non-negotiable step |
| Unsalted butter | 4 tbsp (56g) | Melted for dough, softened for topping |
Step-by-Step: Foolproof Pretzel Making
1. Activate Yeast Properly (Critical!)
- Mix 1 cup warm water (105°F-110°F), 2¼ tsp yeast, and 1 tbsp sugar
- Wait 5-7 minutes until foamy – if no bubbles form, discard and restart
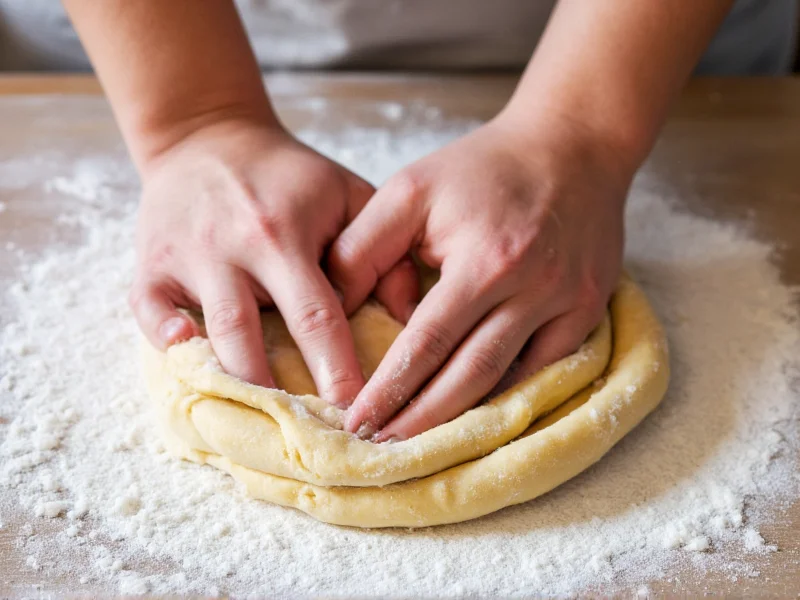
2. Master the Dough Texture
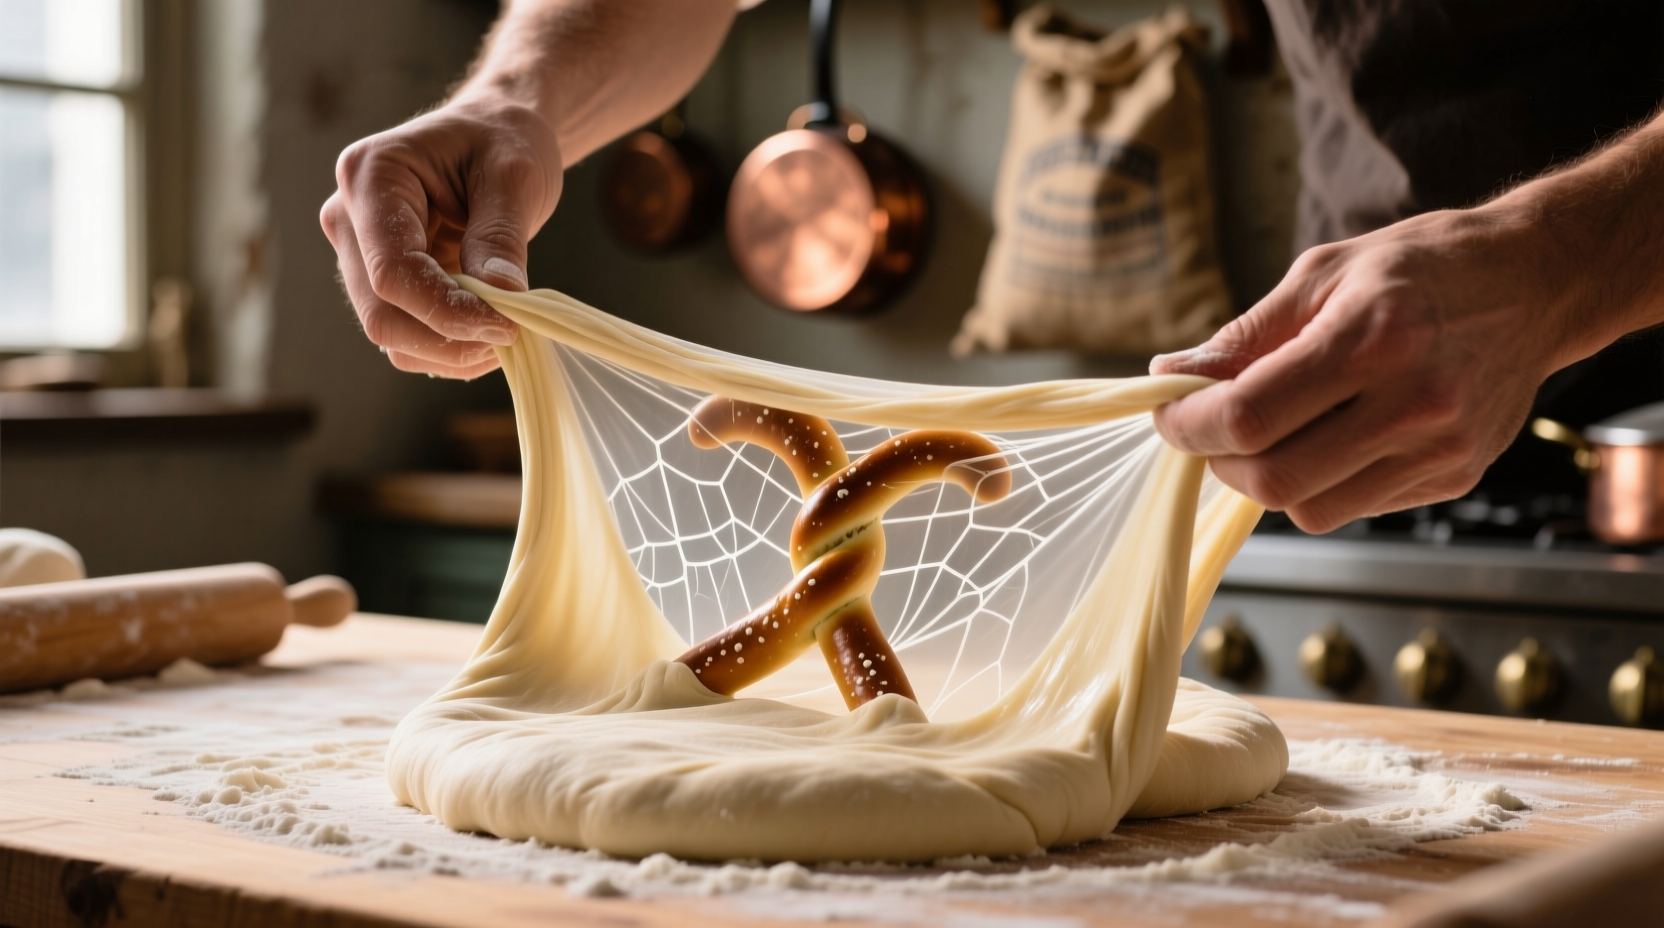
Knead 8-10 minutes until smooth and elastic. Perform the windowpane test: stretch a small piece. If it forms translucent membrane without tearing, it's ready. Under-kneaded dough causes flat pretzels.
3. Shape Like a Pro
- Roll into 24-inch rope (thicker at ends)
- Form U-shape, cross ends twice, fold down to bottom
- Press ends firmly – weak seals cause unraveling during boiling
4. The Baking Soda Bath Secret
- Boil 10 cups water + ½ cup baking soda
- Dip pretzels 20 seconds per side (use slotted spoon)
- Immediately sprinkle coarse salt
Avoid These 3 Costly Mistakes
Yeast Killed by Hot Water
Water above 115°F destroys yeast. Use a thermometer – never guess.
Rushing the Rise
Dough must double in size (60-90 mins). Cold kitchens? Place in oven with light on.
Skipping the Boil
Baking soda bath creates authentic texture. Baking alone yields breadsticks.
Flavor Variations Worth Trying
Customize after boiling but before baking:
- Everything Bagel: Sesame + poppy + garlic + onion + salt
- Cinnamon Sugar: Brush with melted butter, roll in ½ cup sugar + 2 tbsp cinnamon
- Cheese Stuffed: Wrap ½ oz cheddar in dough before shaping

Serving & Storage Guide
Best served: Within 2 hours of baking. Reheat stale pretzels at 350°F for 5 minutes wrapped in foil.
Freezing: Cool completely, vacuum-seal, freeze up to 3 months. Thaw at room temperature and refresh in oven.
Frequently Asked Questions
Can I make pretzels without a stand mixer?
Absolutely. Knead by hand for 10-12 minutes until smooth and elastic. The windowpane test confirms proper development. Many bakers prefer hand-kneading for better texture control.
Why did my pretzels turn out tough?
Over-kneading or excessive flour causes toughness. Measure flour by spooning into cup (don't scoop), and stop kneading once the dough passes the windowpane test. Under-proofed dough also creates dense texture.
How do I prevent pretzels from sticking to the baking sheet?
Line sheets with parchment paper – never silicone mats. The alkaline bath reacts with silicone, causing uneven browning. Lightly grease parchment with butter for extra insurance against sticking.


 浙公网安备
33010002000092号
浙公网安备
33010002000092号 浙B2-20120091-4