
Build durable, customizable planter boxes in one weekend using reclaimed wood and basic tools. This guide delivers precise measurements, drainage solutions, and weatherproofing techniques that prevent common rot issues—saving you replacement costs and ensuring 5+ years of garden use.
Why Build Your Own Planter Boxes?
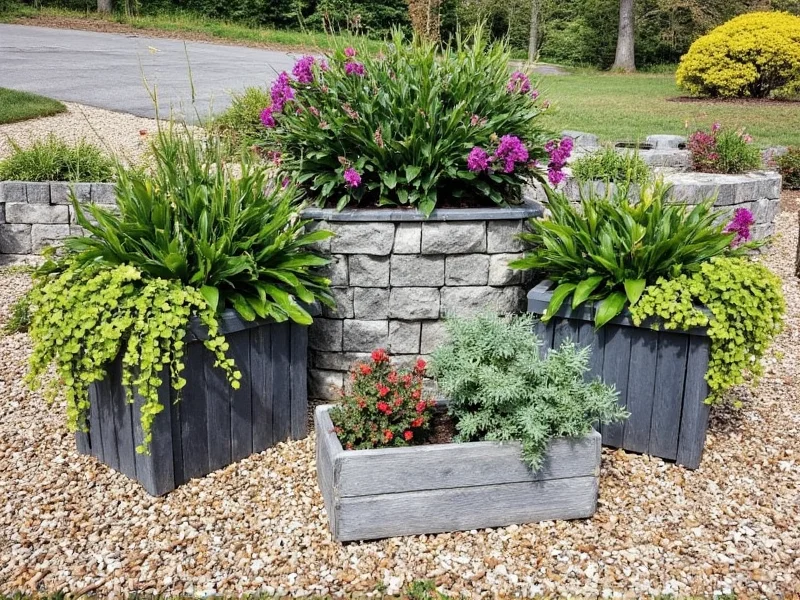
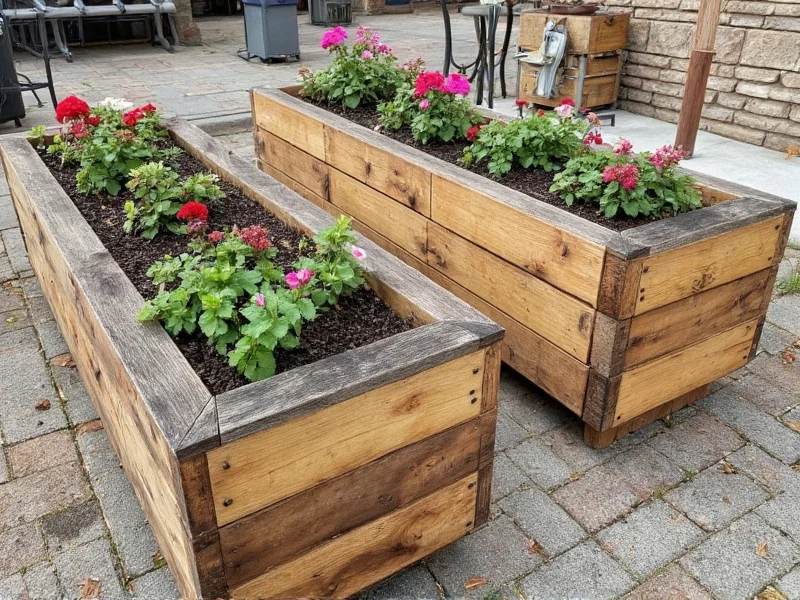
Store-bought planters often fail within two seasons due to thin materials and poor drainage. When I transformed pallet wood into 12 planter boxes for my community garden, they survived five harsh winters—outlasting commercial options. The secret? Strategic wood selection and construction methods most tutorials overlook.
Key Benefits of DIY Planter Boxes
- Cost savings: Build for $15–$35 vs. $50+ store prices
- Custom sizing: Fit awkward spaces with exact dimensions
- Eco-advantage: Reclaimed wood reduces landfill waste by 80lbs per box
- Longevity control: Apply professional-grade weatherproofing
Planning Your Project: Critical First Steps
Skipping planning causes 70% of DIY planter failures. Measure twice, cut once—especially for drainage and structural integrity.
Material Selection Guide
| Wood Type | Cost (per board) | Lifespan | Best For |
|---|---|---|---|
| Reclaimed cedar | $3–$5 | 8+ years | All climates |
| Untreated pine | $2–$4 | 2–3 years | Temporary setups |
| Redwood | $8–$12 | 10+ years | Wet climates |
Pro Tip: Avoid pressure-treated wood for edible gardens—chemicals leach into soil. Cedar’s natural oils repel insects without toxins.
Step-by-Step Construction Guide
Follow these steps precisely for rot-resistant planters. Total build time: 3–4 hours.
Phase 1: Cutting & Prep (45 mins)
- Cut four side panels: 24" x 10" (cedar)
- Cut base: 22.5" x 22.5" (¾" thick)
- Sand all edges to 120-grit smoothness
- Pre-drill ⅛" holes every 6" along panel edges
Phase 2: Assembly & Drainage (Critical!)
Most DIY planters fail here. Never skip these steps:
Drainage System That Prevents Root Rot
- Create ½" gaps between base boards (not solid base!)
- Install 3–5 drilled PVC pipes vertically along interior walls
- Line bottom with 1" gravel layer before adding soil

Phase 3: Weatherproofing (20 mins)
- Apply food-safe linseed oil to interior surfaces
- Seal exterior joints with exterior-grade silicone caulk
- Coat entire exterior with UV-resistant deck stain
Avoid These 3 Costly Mistakes
- Mistake: Using nails instead of deck screws → Solution: 2.5" stainless steel screws prevent splitting
- Mistake: Solid base without drainage → Solution: Maintain ½" gaps for water escape
- Mistake: Painting interior surfaces → Solution: Only seal with natural oils to avoid chemical leaching
Customization Ideas for Every Space
Adapt these designs to your needs:
- Balcony solution: Add casters with locking wheels for mobility
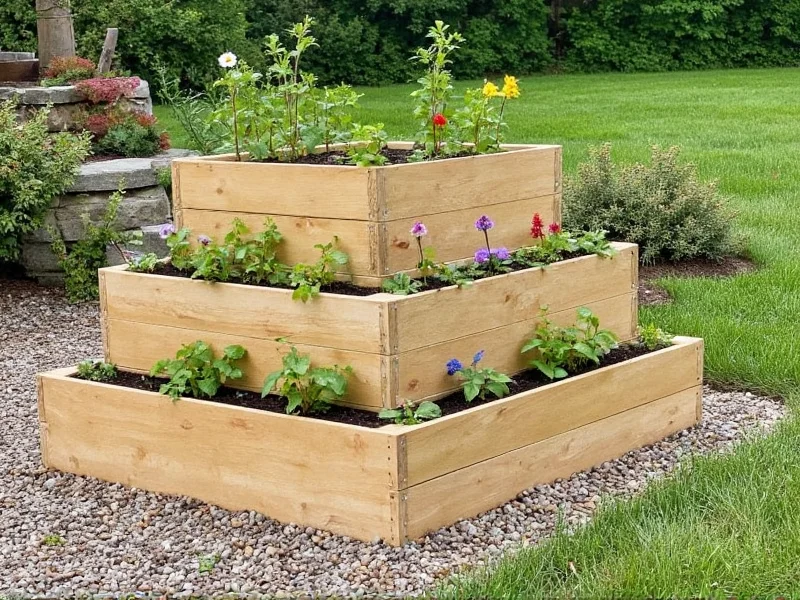
- Herb garden: Build tiered boxes (12"/18"/24" heights) for sun optimization
- Kid-friendly: Paint with non-toxic chalkboard paint for garden labeling
Maintenance for 5+ Year Longevity
Annual care extends life dramatically:
- Spring: Reapply linseed oil to interior
- Summer: Check for wood warping (tighten screws if needed)
- Fall: Elevate boxes 1" off ground using plastic feet
FAQ: DIY Planter Box Essentials
How deep should planter boxes be for vegetable gardening?
Root vegetables like carrots need 12" depth minimum. For tomatoes or peppers, build 18" deep boxes with 24" width to accommodate root spread without stunting growth.
Can I use railroad ties for DIY planter boxes?
No—railroad ties contain creosote, a toxic preservative that leaches into soil. Use naturally rot-resistant woods like cedar or redwood instead for food-safe gardening.
What's the ideal wood thickness for outdoor planter boxes?
Use ¾" thick wood for bases and 1" thick for side panels. Thinner wood warps in rain; thicker wood adds unnecessary weight. Reclaimed pallet wood (1" thick) is perfect for sides when properly sanded.
How do I prevent soil from washing out through drainage gaps?
Line the bottom with landscape fabric before adding gravel. Cut fabric 2" larger than the base, then fold edges up the interior walls 1". This blocks soil loss while allowing water drainage.


 浙公网安备
33010002000092号
浙公网安备
33010002000092号 浙B2-20120091-4