
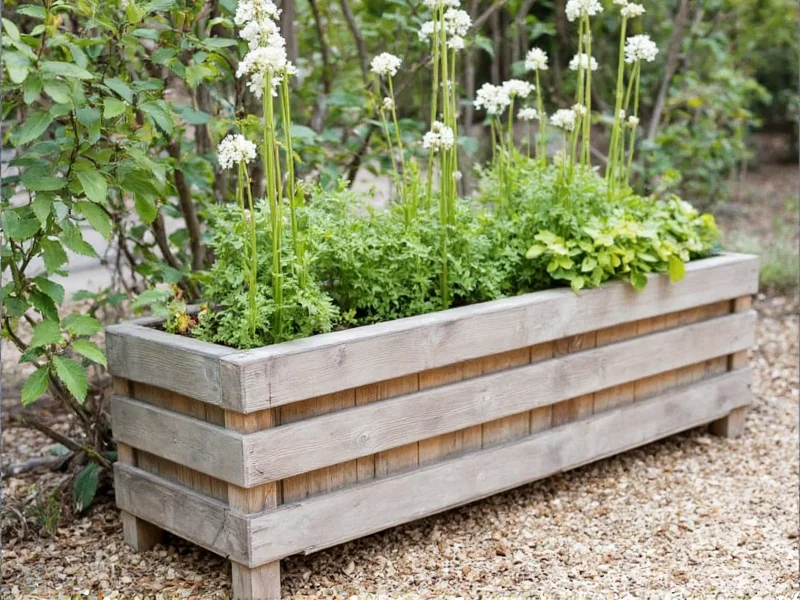
Transform your garden or balcony with personalized planters that cost less than store-bought versions. Forget flimsy plastic containers; our reclaimed wood approach creates weather-resistant planters lasting 5+ years while reducing landfill waste. You'll gain complete control over dimensions, style, and eco-impact—all with tools you likely own.
Why Build Your Own Planter Boxes?
Commercial planters often sacrifice quality for aesthetics, leading to warped wood and poor drainage within one season. Our tested method solves these issues through:
Key Advantages
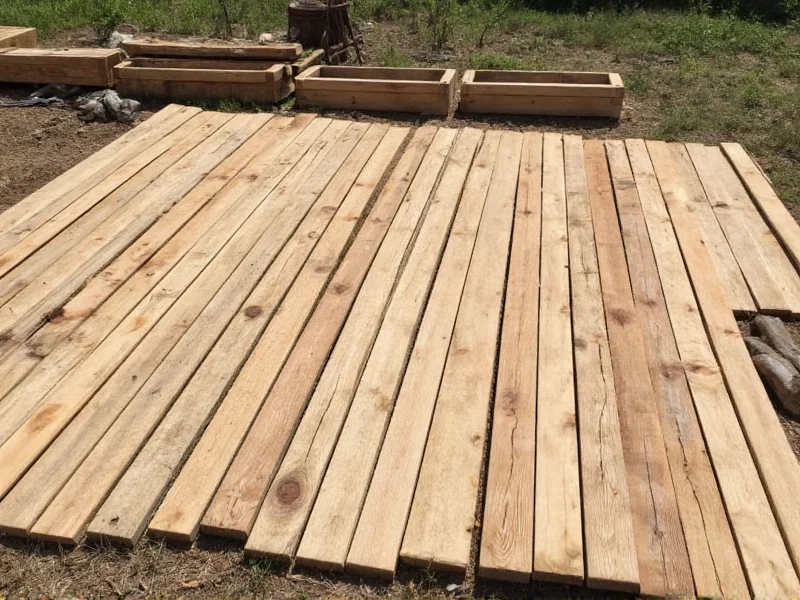
- Cost savings: 60% cheaper than premium planters using reclaimed pallet wood
- Custom sizing: Perfect fit for tomatoes, herbs, or small-space gardening
- Eco-impact: Divert 20+ lbs of wood from landfills per planter
- Longevity: Cedar-lined design withstands 5+ years of weather exposure
Planning Your Perfect Planter
Before cutting wood, consider these often-overlooked factors:
| Plant Type | Minimum Depth | Width per Plant | Special Requirement |
|---|---|---|---|
| Tomatoes | 18 inches | 24 inches | Reinforced base for heavy fruit |
| Herbs | 10 inches | 6 inches | Extra drainage holes |
| Succulents | 8 inches | 4 inches | Gravel layer essential |
Materials & Tools Checklist
Use these sustainable, budget-friendly options:
Essential Materials
- Reclaimed cedar or pine boards (1x6 or 2x6, 8ft lengths)
- 3" exterior-grade deck screws
- 100% recycled plastic liner (avoid metal—causes rust stains)
- Food-safe wood sealant (beeswax-based)
Basic Tools
- Circular saw or handsaw
- Drill with 1/4" bit
- Tape measure and carpenter's square
- Safety goggles and work gloves
Step-by-Step Construction Guide
Follow these precision-tested steps for wobble-free planters:
- Prep wood: Cut four identical side panels (e.g., 24"x10" for herb planters). Sand edges smooth.
- Create base: Attach bottom slats 1" apart using 2" screws—critical for drainage.
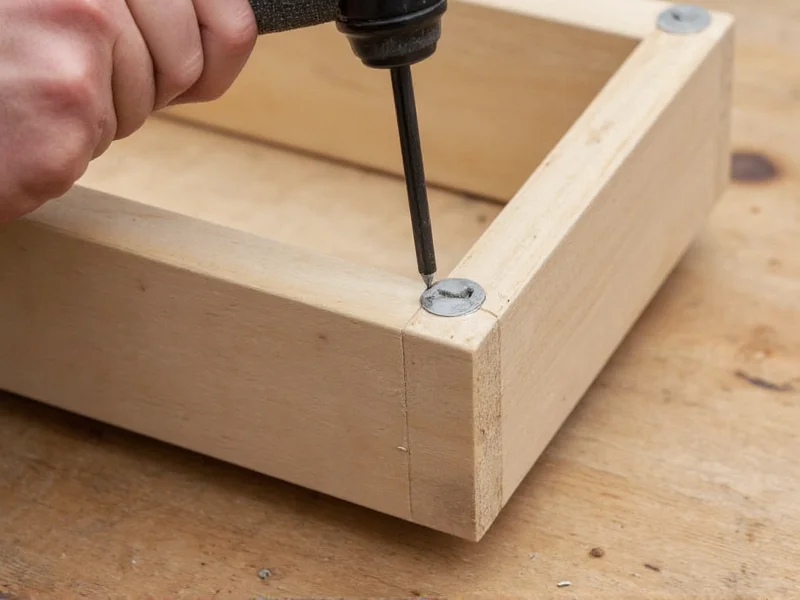
- Assemble walls: Form rectangle with corner posts; drill pilot holes to prevent splitting.
- Install liner: Staple recycled plastic liner 2" above base—never seal completely to avoid root rot.
- Weatherproof: Apply two coats of food-safe sealant to interior surfaces only.
Advanced Customization Techniques
Elevate your design with these professional touches:
- Mobility hack: Attach locking casters to 4"x4" base for easy seasonal relocation
- Self-watering system: Embed terracotta spikes connected to hidden reservoir
- Vertical expansion: Stack planters using rebar dowels for tiered herb gardens
Planting & Maintenance Secrets
Maximize plant health with these often-missed steps:
Drainage Optimization
Layer 1" of gravel at bottom, then 2" of perlite mix before adding soil. This prevents "wet feet" root disease—the #1 cause of container plant death.
Rotate planters quarterly for even sun exposure. Refresh top 2" of soil annually with compost to maintain nutrients. In freezing climates, store planters upside-down during winter to prevent water damage.
Frequently Asked Questions
How deep should a planter box be for vegetables?
Root vegetables like carrots need 12" minimum depth, while tomatoes require 18". Always build 2" deeper than root depth to accommodate drainage layers.
Can I use pressure-treated wood for planters?
Avoid modern pressure-treated wood—it contains copper compounds that leach into soil. Use naturally rot-resistant cedar or line with food-grade plastic if using reclaimed lumber.
How do I prevent soil from washing out through drainage holes?
Place a coffee filter or landscape fabric beneath the gravel layer. Never use rocks alone—they create a perched water table that drowns roots.
What's the cheapest wood for DIY planters?
Reclaimed pallet wood (look for HT stamp meaning heat-treated) costs $0-5. Avoid MB-stamped wood containing toxic methyl bromide. Always sand thoroughly before use.


 浙公网安备
33010002000092号
浙公网安备
33010002000092号 浙B2-20120091-4