
DIY shiplap installation costs 50-70% less than hiring professionals, with most homeowners spending $200-$500 for materials to cover a 10x12 foot room. The key to professional-looking results is precise layout planning and using a laser level for the first row—this single step prevents 90% of alignment issues that ruin DIY shiplap projects.
Understanding Shiplap: More Than Just a Trend
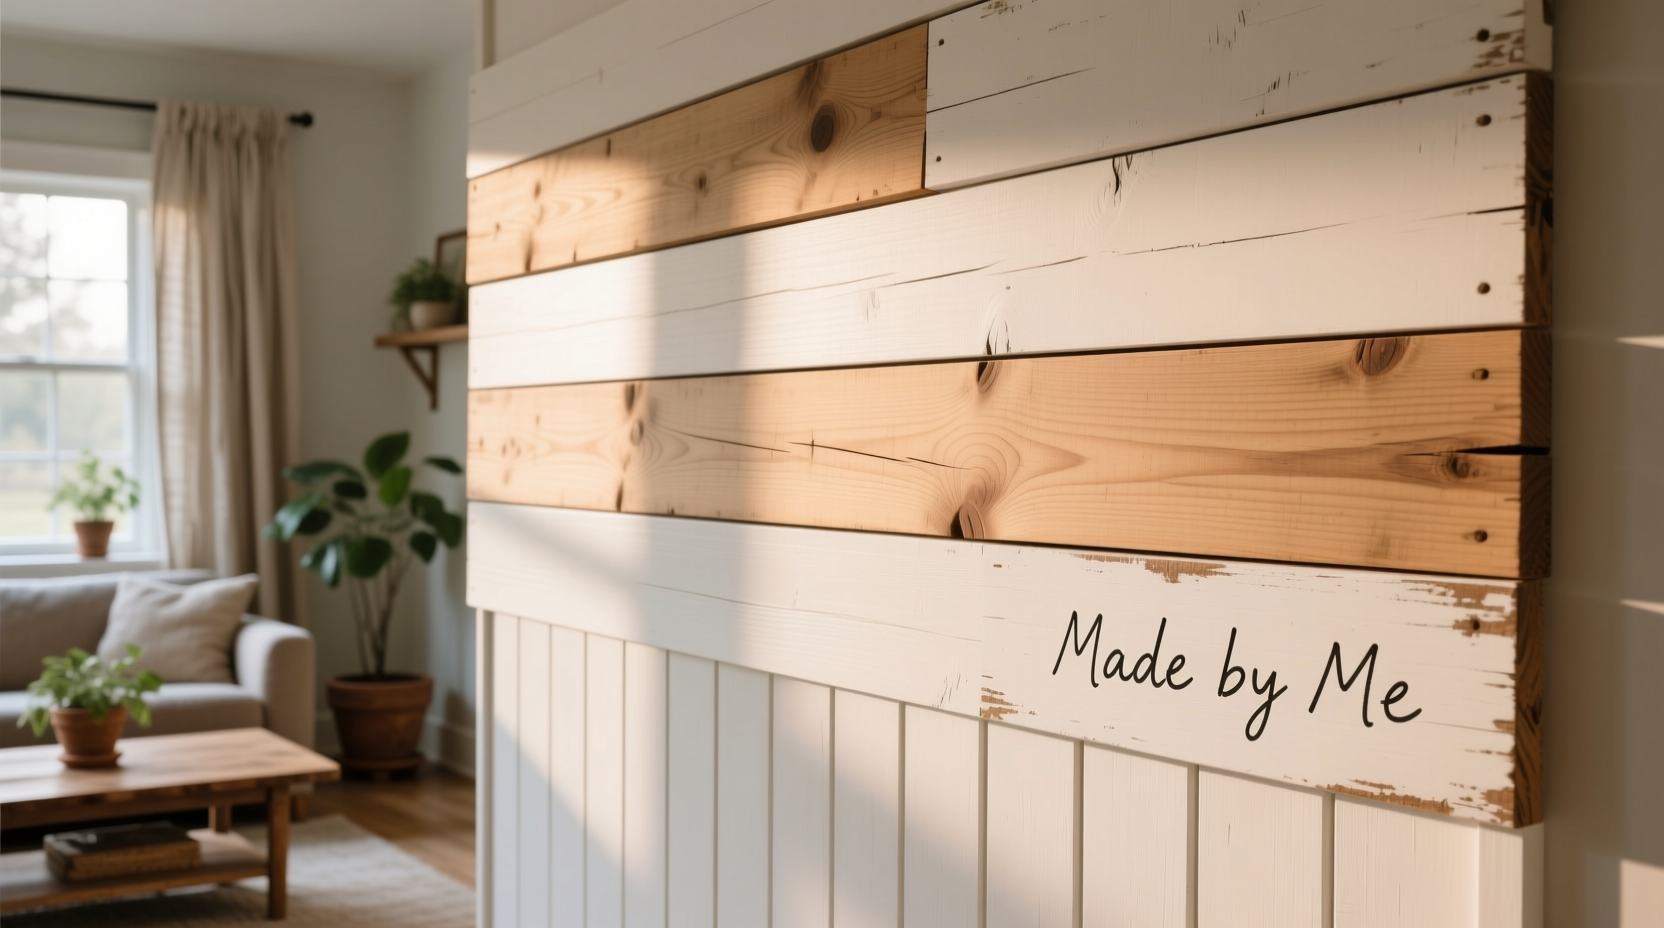
Shiplap isn't just another passing home decor fad—it's a centuries-old building technique that creates seamless, interlocking wall panels. Originally used in ship construction (hence the name), this method features overlapping boards with rabbeted edges that lock together, creating weather-tight seals. Modern DIYers love it for its clean lines and dimensional texture that adds character without overwhelming a space.
Unlike trendy alternatives like beadboard or wainscoting, shiplap offers remarkable versatility. You can install it horizontally for traditional farmhouse appeal, vertically for contemporary height emphasis, or even in geometric patterns for custom statement walls. The secret to successful DIY shiplap lies in understanding material options and installation fundamentals before picking up your first nail.
Material Selection: Finding Your Perfect Fit
Choosing the right material makes or breaks your shiplap project. Here's how different options stack up for DIYers:
| Material Type | Cost per Board | DIY Friendliness | Best For |
|---|---|---|---|
| Pine Boards (1x6) | $3-$5 | ★★★★☆ | Painted accent walls, budget projects |
| MDF Shiplap Panels | $8-$12 | ★★★☆☆ | Moisture-resistant areas, painted finishes |
| Reclaimed Wood | $6-$10 | ★★☆☆☆ | Natural finishes, rustic spaces |
| Vinyl Shiplap | $10-$15 | ★★★★★ | Bathrooms, rental properties |
For beginners, I recommend starting with pre-milled pine boards from your local hardware store. They're affordable, easy to work with, and forgiving of minor installation errors. Avoid pressure-treated lumber—the chemicals can bleed through paint and cause health concerns indoors.
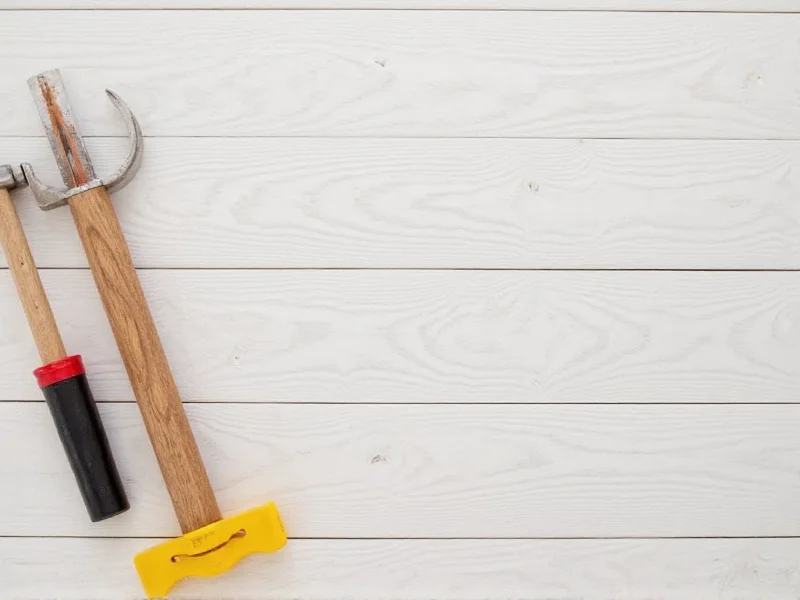
Essential Tools Checklist
Having the right tools prevents frustration and ensures professional results. Here's what you'll need:
- Laser level (critical for perfect first row alignment)
- 16-gauge finish nailer (regular nail guns split thin boards)
- Table saw or circular saw with fine-tooth blade
- Spacers (1/8" for traditional gaps, 0" for tight seams)
- Stud finder (magnetic type works best with shiplap)
- Safety glasses and dust mask (wood dust is no joke)
Pro tip: Rent a panel lift if covering large areas—holding boards in place while nailing becomes exhausting on ceilings or tall walls.
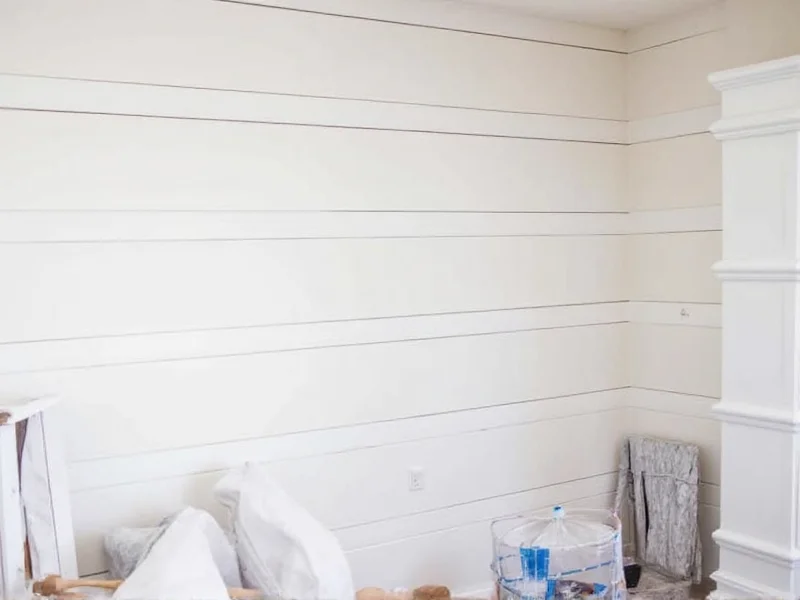
The Layout Secret Professionals Won't Tell You
Most DIY shiplap disasters happen before the first board goes up—during layout. Here's the method I've refined through dozens of installations:
- Measure wall height and divide by your board width (typically 5.5" for 1x6)
- Adjust starting point so the top row isn't a tiny sliver—ideally 3" or more
- Mark stud locations every 16" with painter's tape (not pencil)
- Use laser level to create perfectly horizontal reference line
- Install a temporary ledger board at this line (removable after first row)
This approach solves the #1 problem in DIY shiplap: cumulative alignment errors. By establishing a perfect starting point, you prevent the "drunken wall" effect where small errors compound across multiple rows.
Avoiding Costly Installation Mistakes
After teaching hundreds of DIYers, I've identified these critical pitfalls:
Gap Consistency Issues
Using inconsistent spacers creates visual chaos. Solution: Cut uniform spacers from 1/8" luan plywood—they won't compress like plastic wedges.
Paint Bleed-Through
Paint seeping into wood grain ruins clean lines. Prevention: Seal edges with clear shellac before final painting.
Electrical Box Problems
Standard boxes sit too shallow. Fix: Install shiplap adapter rings before mounting boards.
Design Variations Beyond Basic Installation
Once you've mastered fundamentals, explore these creative applications:
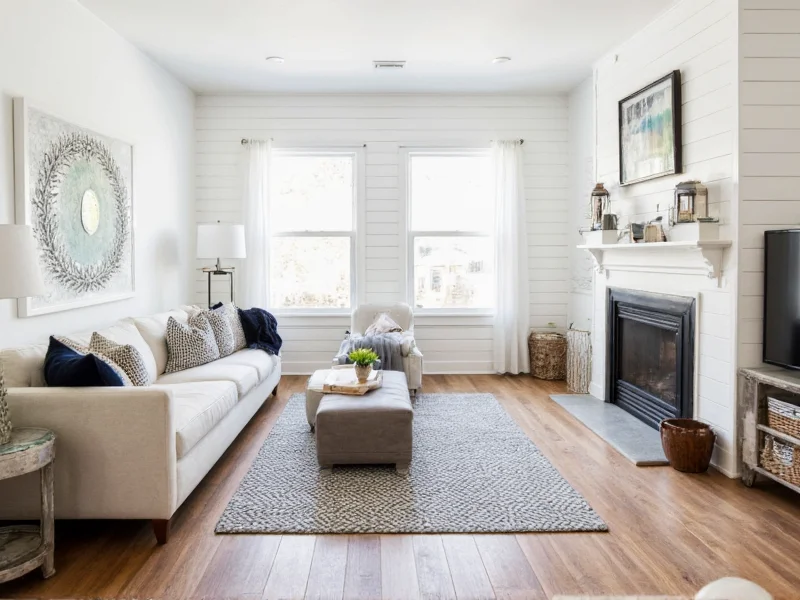
- Half-Wall Treatment: Install shiplap only on lower 3-4 feet with chair rail molding for classic elegance
- Color Blocking: Paint every third board a contrasting color for subtle pattern
- Textured Accent: Use wire-brushed reclaimed wood for organic, tactile walls
- Ceiling Application: Vertical shiplap on ceilings adds dramatic height to low rooms
Realistic Time and Cost Estimates
Manage expectations with these actual project metrics from my workshop students:
| Room Size | Material Cost | Time Required | Skill Level |
|---|---|---|---|
| 8x10 ft bedroom | $220-$350 | 12-18 hours | Beginner |
| 12x15 ft living room | $400-$650 | 25-35 hours | Intermediate |
| Full kitchen | $300-$500 | 15-22 hours | Advanced |
Remember: These estimates assume proper preparation. Rushing wall prep or layout adds 30-50% more time correcting errors later. Always buy 10% extra material for mistakes and future repairs—matching wood grain later is nearly impossible.
When to Call a Professional
While DIY shiplap is achievable for most homeowners, certain situations warrant professional help:
- Installing on textured or popcorn ceilings
- Working with curved walls or vaulted ceilings
- Historic homes with plaster walls (risk of damage)
- When electrical or plumbing modifications are needed
The break-even point is typically 400+ square feet—beyond this size, professional installation costs become competitive with DIY material savings.
Frequently Asked Questions
Can I install shiplap over existing drywall without removing it?
Yes, but proper preparation is crucial. Clean walls thoroughly, fill any holes, and prime glossy surfaces. Use construction adhesive along with nails for secure attachment, especially on vertical surfaces. Avoid installing over heavily textured walls as the texture will telegraph through.
What's the most common mistake beginners make with shiplap installation?
Skipping the layout phase is the #1 error. Many DIYers start at the ceiling or floor without checking for level, causing cumulative alignment errors. Always establish a perfectly level reference line using a laser level, and install a temporary ledger board to guide your first row.
How do I handle corners and transitions between rooms?
For inside corners, miter the boards at 45 degrees for clean joints. Outside corners require corner molding—never try to bend shiplap around sharp turns. When transitioning between rooms, use a simple trim piece like a 1x2 to create a defined separation point that maintains visual continuity.
Is shiplap suitable for bathrooms and high-moisture areas?
Traditional wood shiplap isn't recommended for full bathrooms due to moisture concerns. Instead, use moisture-resistant MDF shiplap panels or PVC alternatives. If using real wood, apply multiple coats of marine-grade polyurethane and ensure proper bathroom ventilation to prevent warping and mold growth.


 浙公网安备
33010002000092号
浙公网安备
33010002000092号 浙B2-20120091-4