
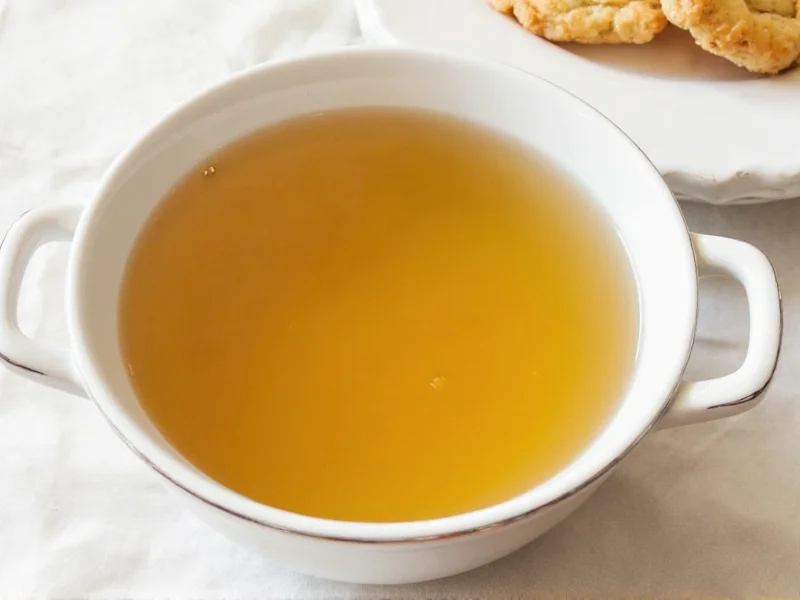
Homemade chicken broth is made by simmering chicken bones, vegetables, and aromatics in water for 4-12 hours, creating a nutrient-rich liquid far superior to store-bought versions in both flavor and nutritional value. This guide reveals the exact ingredients, timing, and techniques for perfect broth every time.
Creating exceptional homemade chicken broth isn't just about following a recipe—it's understanding the science behind flavor extraction and nutrient preservation. Unlike store-bought versions loaded with sodium and preservatives, your kitchen-crafted broth delivers pure, clean flavor while maximizing the nutritional benefits locked in chicken bones and vegetables.
Why Homemade Beats Store-Bought Every Time
Commercial broths sacrifice quality for shelf stability, while your homemade version offers significant advantages:
| Feature | Homemade Broth | Store-Bought Broth |
|---|---|---|
| Sodium Content | Controlled to your preference | Often 500-800mg per cup |
| Gelatin Content | Naturally high (gels when chilled) | Minimal or none |
| Flavor Complexity | Rich, layered depth | Flat, one-dimensional |
| Nutrient Density | Full spectrum of minerals | Significantly reduced |
The magic happens during the long simmering process, where collagen transforms into gelatin—releasing gut-healing compounds and creating that luxurious mouthfeel you can't replicate with shortcuts.
Essential Ingredients for Flavorful Broth
Quality ingredients make the difference between mediocre and magnificent broth. Here's what you need:
Chicken Components
- Bones: 2-3 pounds (backs, necks, feet, or roasted carcass)
- Meat scraps: Optional for richer flavor (avoid heavily seasoned)
- Why bone variety matters: Different bones release unique compounds—feet provide extra gelatin, while backs offer balanced flavor
Aromatic Foundation (The Holy Trinity+)
- 1 large onion (quartered, skin on for color)
- 2 carrots (roughly chopped)
- 3 celery stalks (with leaves)
- 4 garlic cloves (smashed)
- 1 leek (white and light green parts)
Flavor Enhancers
- 1 tablespoon apple cider vinegar (helps extract minerals)
- 10-12 black peppercorns
- 2 bay leaves
- Small bunch fresh parsley
- Optional: 1 inch ginger, 1 star anise for complexity
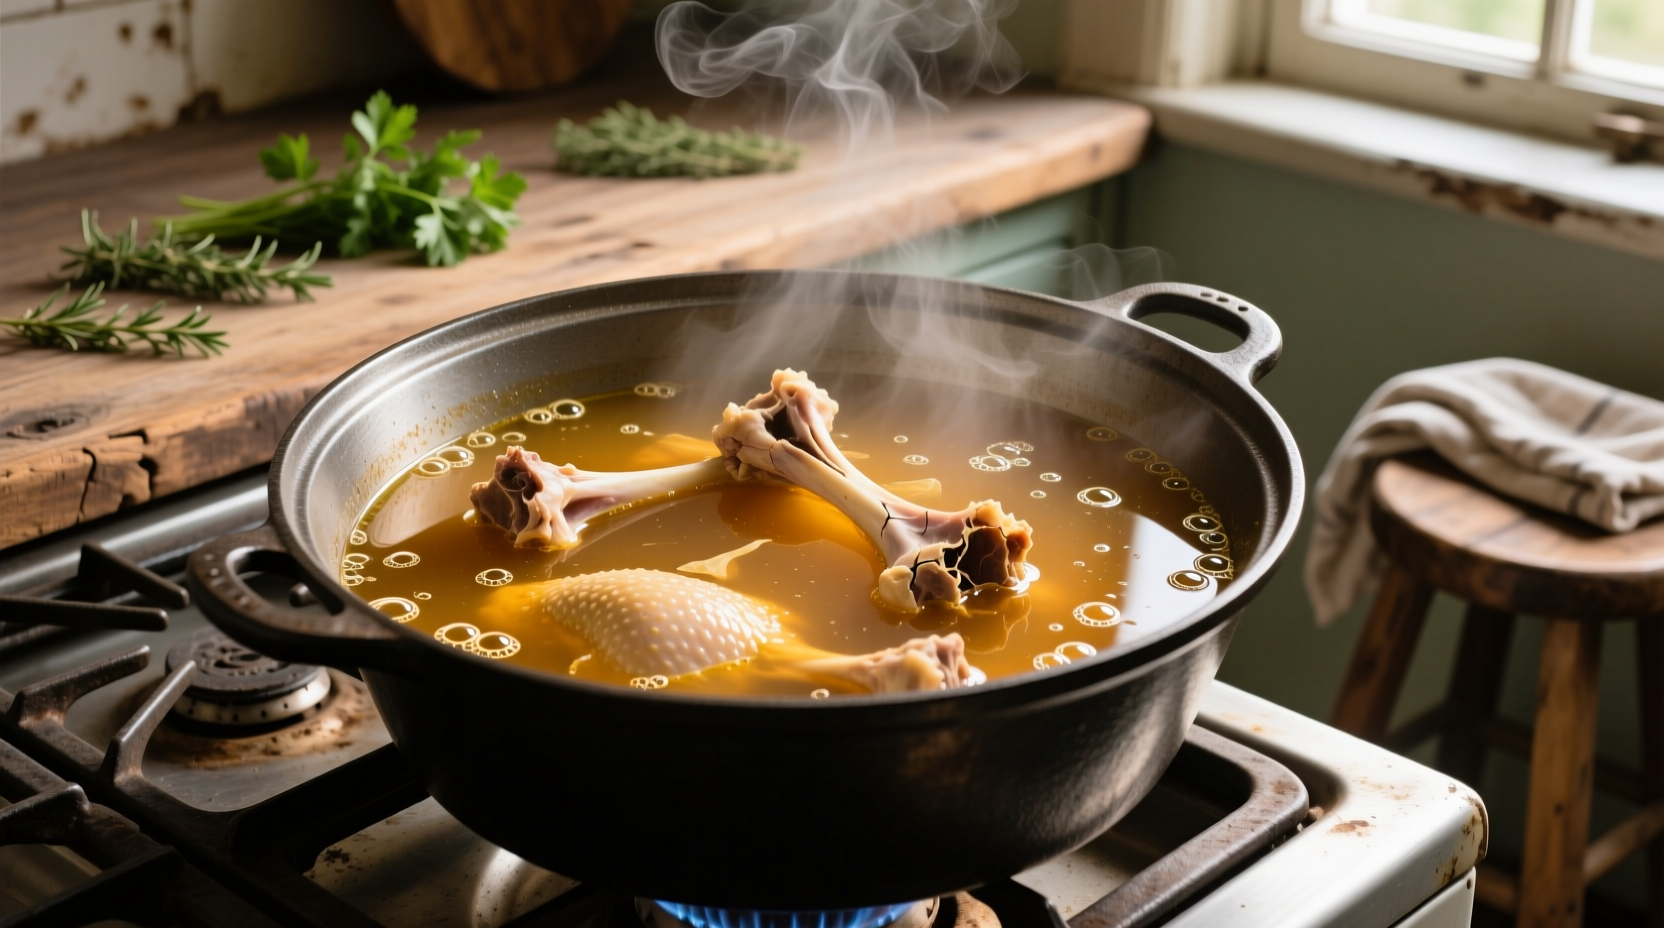
The Step-by-Step Process for Perfect Broth
Preparation Phase (15 minutes)
- Rinse bones under cold water, removing any blood clots
- Optional roast: Spread bones on baking sheet, roast at 400°F for 30 minutes for deeper flavor
- Prepare vegetables with rough chop (no need for precision)
- Fill stockpot with bones, vegetables, and enough cold water to cover by 2 inches
Simmering Science (4-12 hours)
The timing depends on your bone selection and desired intensity:
- White meat bones: 4-6 hours (delicate flavor)
- Dark meat bones: 6-8 hours (richer profile)
- Chicken feet + backs: 10-12 hours (maximum gelatin)
Maintain a bare simmer—bubbles should occasionally break the surface, but never reach a rolling boil. This gentle extraction preserves delicate flavors while maximizing nutrient release.
Straining & Refining (20 minutes)
- Remove large solids with slotted spoon
- Pour through fine-mesh strainer lined with cheesecloth
- Critical step: Let broth cool slightly before straining to prevent cloudiness
- Skim fat with spoon or use fat separator for crystal-clear broth
Pro Techniques Most Guides Miss
The Acid Secret
Adding 1 tablespoon apple cider vinegar at the beginning increases mineral extraction by 30-50%. The small amount won't affect flavor but dramatically boosts nutritional value.
Temperature Control Matters
Use a thermometer to maintain 180-190°F (82-88°C). Higher temperatures emulsify fats, creating cloudy broth. Lower temperatures won't extract sufficient collagen.
Waste-Not Approach
After first batch, return bones to pot with fresh water for "remouillage"—a lighter second broth perfect for cooking grains or thinning sauces.
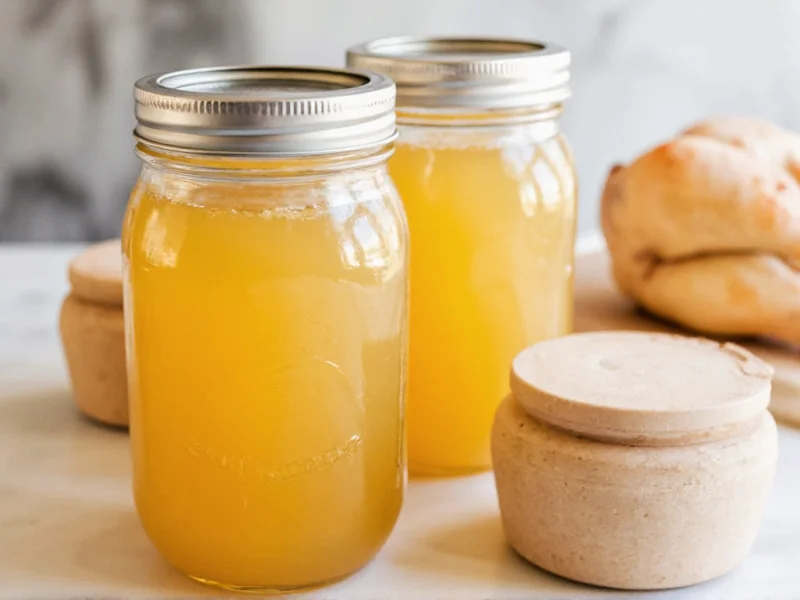
Storage & Creative Usage Ideas
Proper storage maintains quality while creative applications maximize your effort:
Storage Guidelines
- Refrigeration: Up to 5 days (fat layer on top extends freshness)
- Freezing: In 1-cup portions for 6 months (ice cube trays then transfer to bags)
- Pressure canning: 25 minutes at 10 PSI for shelf-stable broth
Unexpected Culinary Applications
- Replace water when cooking rice or quinoa
- Base for creamy sauces (replaces milk for dairy-free option)
- Hydrate dough for richer breads and pastries
- Simmer dried beans for enhanced texture and digestibility
- Revive stale bread in strata or bread pudding

Troubleshooting Common Issues
| Problem | Causes | Solutions |
|---|---|---|
| Bland flavor | Insufficient bones, short cooking time | Add roasted bones, extend simmer, or reduce broth |
| Cloudy appearance | Boiling too vigorously, improper straining | Cool before straining, use cheesecloth, avoid stirring |
| Weak gel | Not enough collagen-rich bones | Add chicken feet, use more joints, extend cooking time |
| Off flavors | Old bones, overcooked vegetables | Use fresh bones, remove veggies after 2 hours |
Frequently Asked Questions
Can I make broth without a whole chicken?
Absolutely. Save bones from roasted chicken dinners, purchase backs/neck from butcher, or use chicken feet specifically for gelatin-rich broth. The key is using bones with connective tissue.
Why does my broth not gel when chilled?
Lack of gel indicates insufficient collagen extraction. Use more joints/feet, extend cooking time to 10-12 hours, ensure proper acid (vinegar) addition, and avoid boiling which breaks down gelatin structure.
How can I reduce broth-making time without sacrificing quality?
Pressure cooking cuts time to 2-3 hours while maintaining quality. Use high pressure for 120 minutes with natural release. Alternatively, roast bones thoroughly and use hotter (but not boiling) simmer for 6 hours with frequent skimming.
Is it safe to leave broth simmering overnight?
Yes, when maintained at proper temperature (180-190°F). Use a heavy-bottomed pot, ensure adequate water level, and place on back burner away from edges. Modern stoves have safety features, but check periodically during first attempt.


 浙公网安备
33010002000092号
浙公网安备
33010002000092号 浙B2-20120091-4