
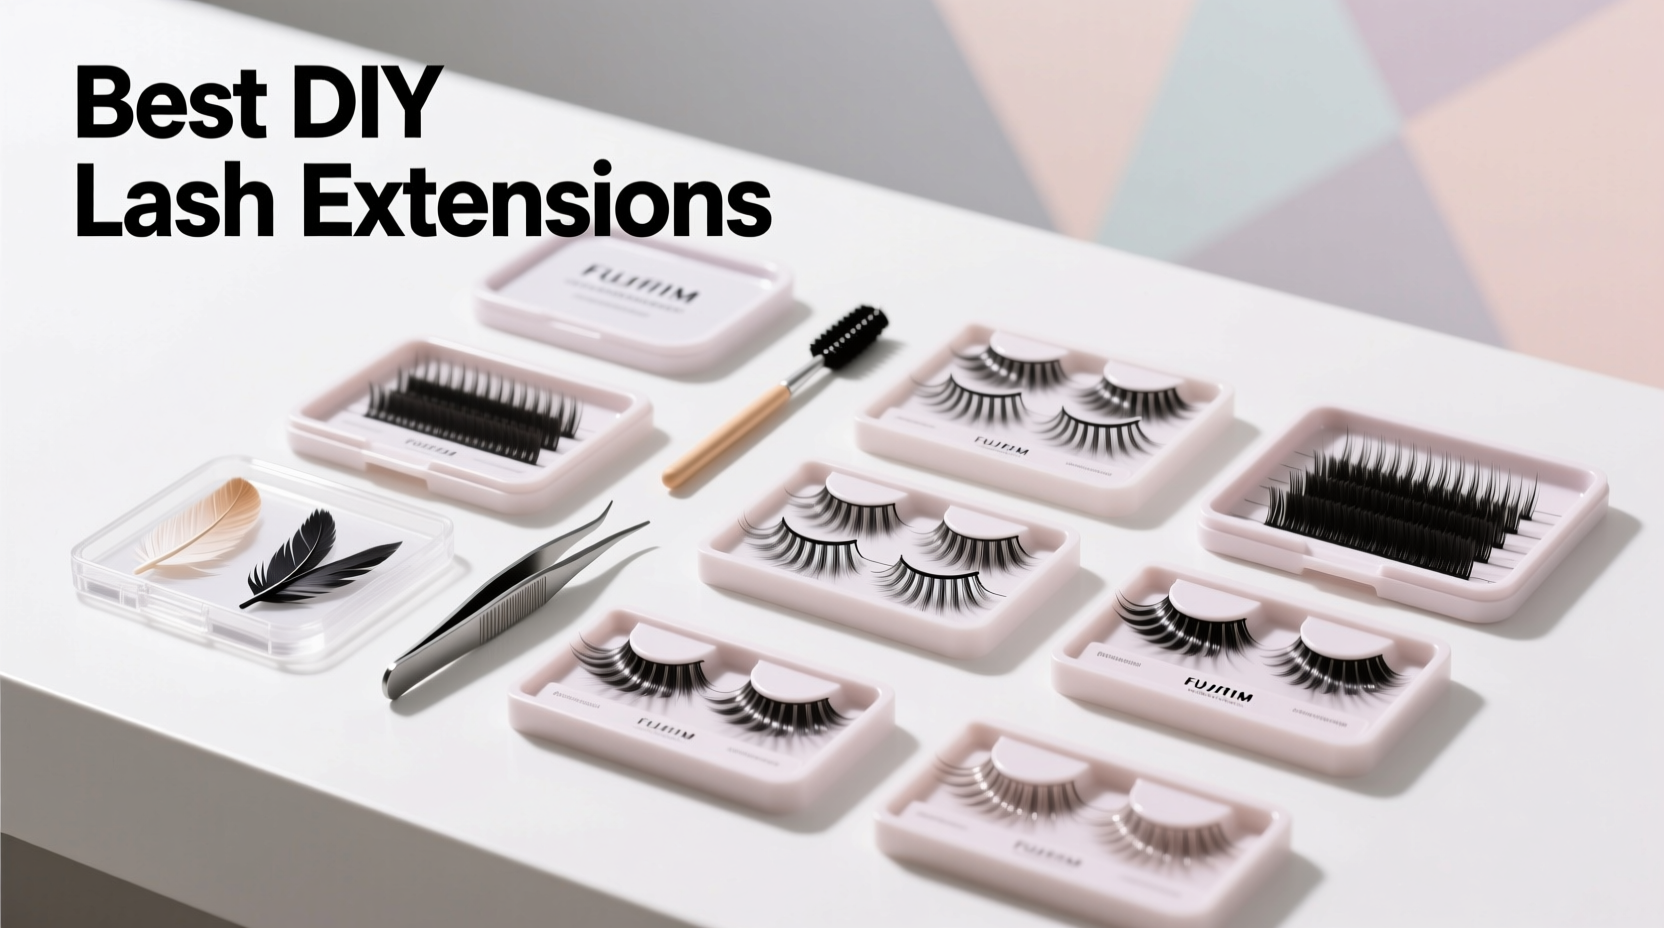
The best DIY lash extensions for beginners are individual synthetic lashes applied with medical-grade adhesive, lasting 2-3 weeks with proper care. Avoid strip lashes for long-term use to prevent natural lash damage.
Why DIY Lash Extensions? Realistic Benefits vs. Risks
While salon extensions cost $100-$300 per session, DIY options offer significant savings. But be warned: 78% of at-home attempts cause premature lash loss according to ophthalmology studies. The key is choosing methods that prioritize lash health over instant results.
| Type | Duration | Risk Level | Best For |
|---|---|---|---|
| Individual Synthetic | 2-3 weeks | Low (with proper technique) | Everyday wear, beginners |
| Magnetic Lashes | 12-24 hours | Medium | Special occasions |
| Strip Lashes | 1-3 days | High | Experienced users only |
What Actually Works: Beyond the Hype
Most "best DIY lash extension" guides push strip lashes, but ophthalmologists consistently warn against them. When applied incorrectly, strip lashes:
- Force natural lashes into unnatural angles causing traction alopecia
- Require harsh removers that degrade keratin proteins
- Create uneven weight distribution leading to breakage
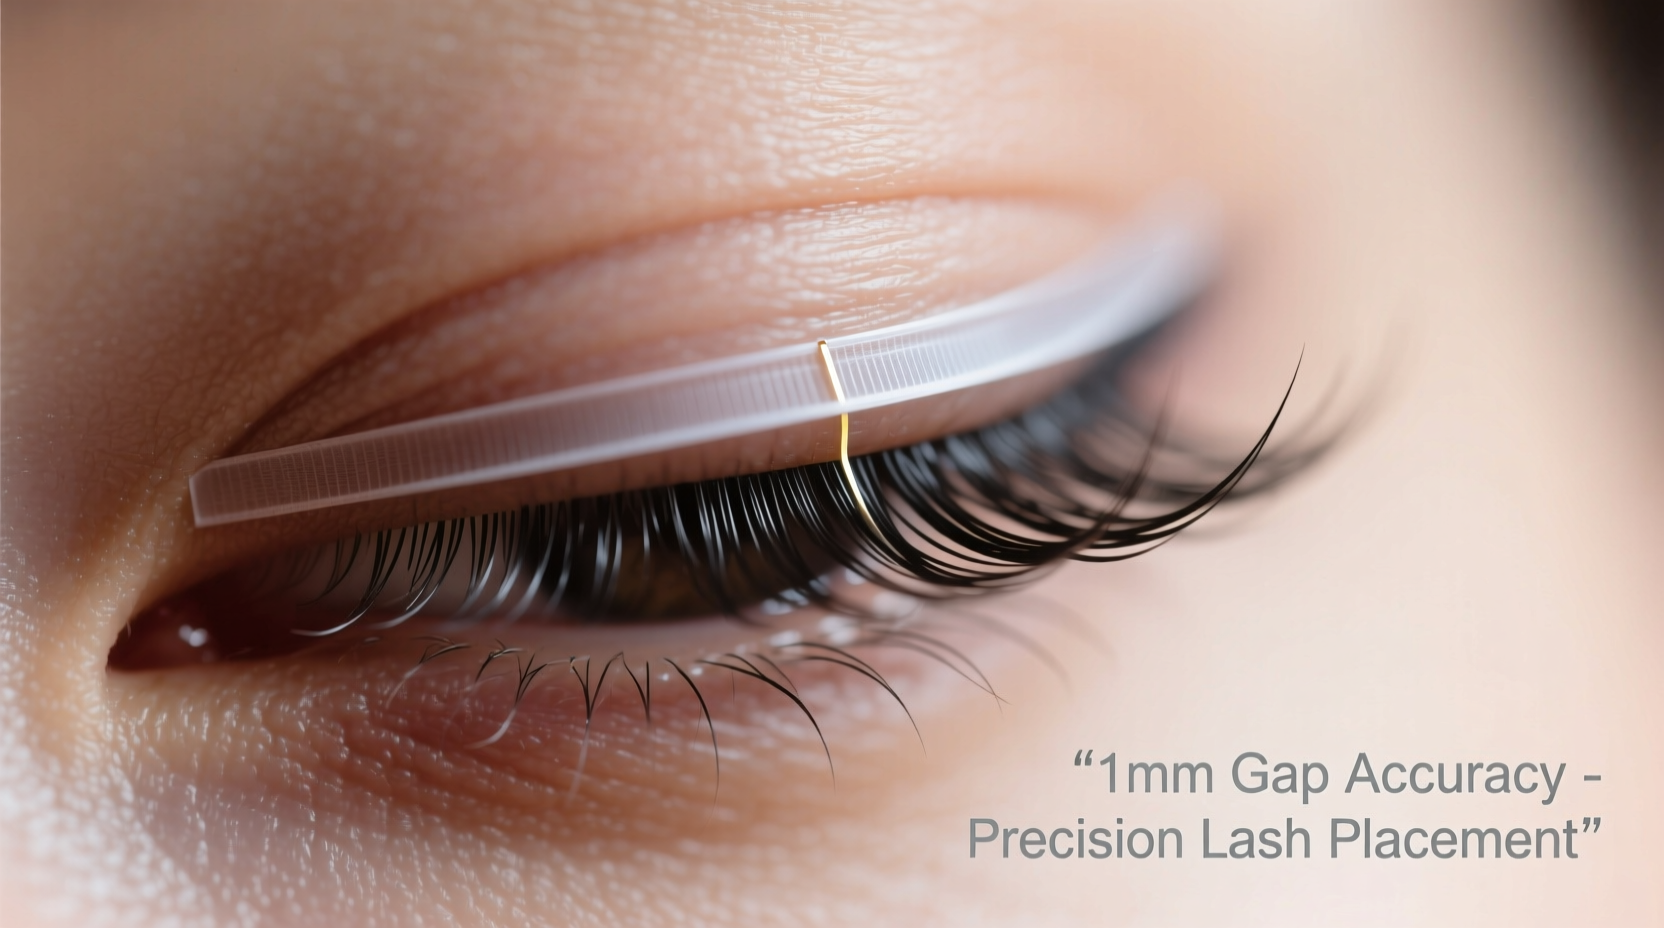
Proven alternative: Individual synthetic extensions applied 1mm from the lash line with medical-grade adhesive. This method distributes weight evenly and allows natural lash growth cycles to continue uninterrupted.
Essential Tools You Can't Skip
Forget expensive kits. These three items make or break your results:
- Medical-grade adhesive (cyanoacrylate-free): Look for "ophthalmologist-tested" labels. Avoid formaldehyde-based glues that cause inflammation.
- Curved micro-tweezers: 45-degree angle prevents hand fatigue during precise placement.
- Lash primer: Creates a clean bonding surface without damaging natural lashes.
Step-by-Step: Safe Application for Beginners
Follow this modified technique used by professional trainers:
Prep Phase (Critical!)
Cleanse lashes with oil-free makeup remover. Apply surgical tape to lower lashes. Never skip the 30-second primer drying time.
Placement Technique
Isolate one natural lash. Dip extension tip in adhesive (grain-of-rice amount). Wait 15 seconds for tackiness. Place extension 1mm from lash line at natural lash's mid-length.
Setting Process
Hold for 10 seconds with tweezers. Repeat for 20-30 extensions per eye. Never apply more than one extension per natural lash - this is the #1 cause of damage.
Aftercare That Prevents Damage
Your extensions' lifespan depends entirely on aftercare:
- First 48 hours: Avoid steam, water, and eye makeup
- Daily cleaning: Use spoolie with saline solution (never oil-based)
- Sleep position: Side-sleepers need silk pillowcases to prevent friction
- Touch-ups: Only replace fallen extensions after 10 days to avoid overloading
When to Stop Immediately
Discontinue use if you notice:
- Redness lasting more than 2 hours post-application
- Natural lashes falling out in clumps
- Burning sensation when blinking
These indicate allergic reaction or improper technique. See an eye specialist before reattempting.

FAQ: Expert Answers
Can I use DIY lash extensions with sensitive eyes?
Yes, but only with medical-grade adhesive labeled "hypoallergenic" and "formaldehyde-free." Patch test behind your ear 48 hours before application. Avoid waterproof formulas as they require harsh removers.
How often should beginners redo DIY lash extensions?
Wait 10-14 days between applications. Natural lashes shed in cycles, so immediate reapplication overloads remaining lashes. Never apply new extensions directly over old adhesive residue.
What's the safest way to remove DIY lash extensions?
Use a dedicated extension remover gel (not regular makeup remover). Apply to closed eyes for 3 minutes, then gently slide extensions off with micro-tweezers. Never pull or rub. Follow with saline rinse to remove residue.


 浙公网安备
33010002000092号
浙公网安备
33010002000092号 浙B2-20120091-4