

Creating your own bathroom vanity isn't just about saving money—it's about designing a functional centerpiece that perfectly fits your space and style. Unlike mass-produced options, a DIY vanity lets you control every detail from storage configuration to material selection. Most homeowners spend $1,200-$3,500 on prefabricated vanities, while a custom build typically costs $400-$1,400 in materials. The real value comes from solving specific pain points: awkward wall angles, unusual plumbing layouts, or the need for specialized storage that store-bought units can't address.
Planning Your Custom Vanity Project
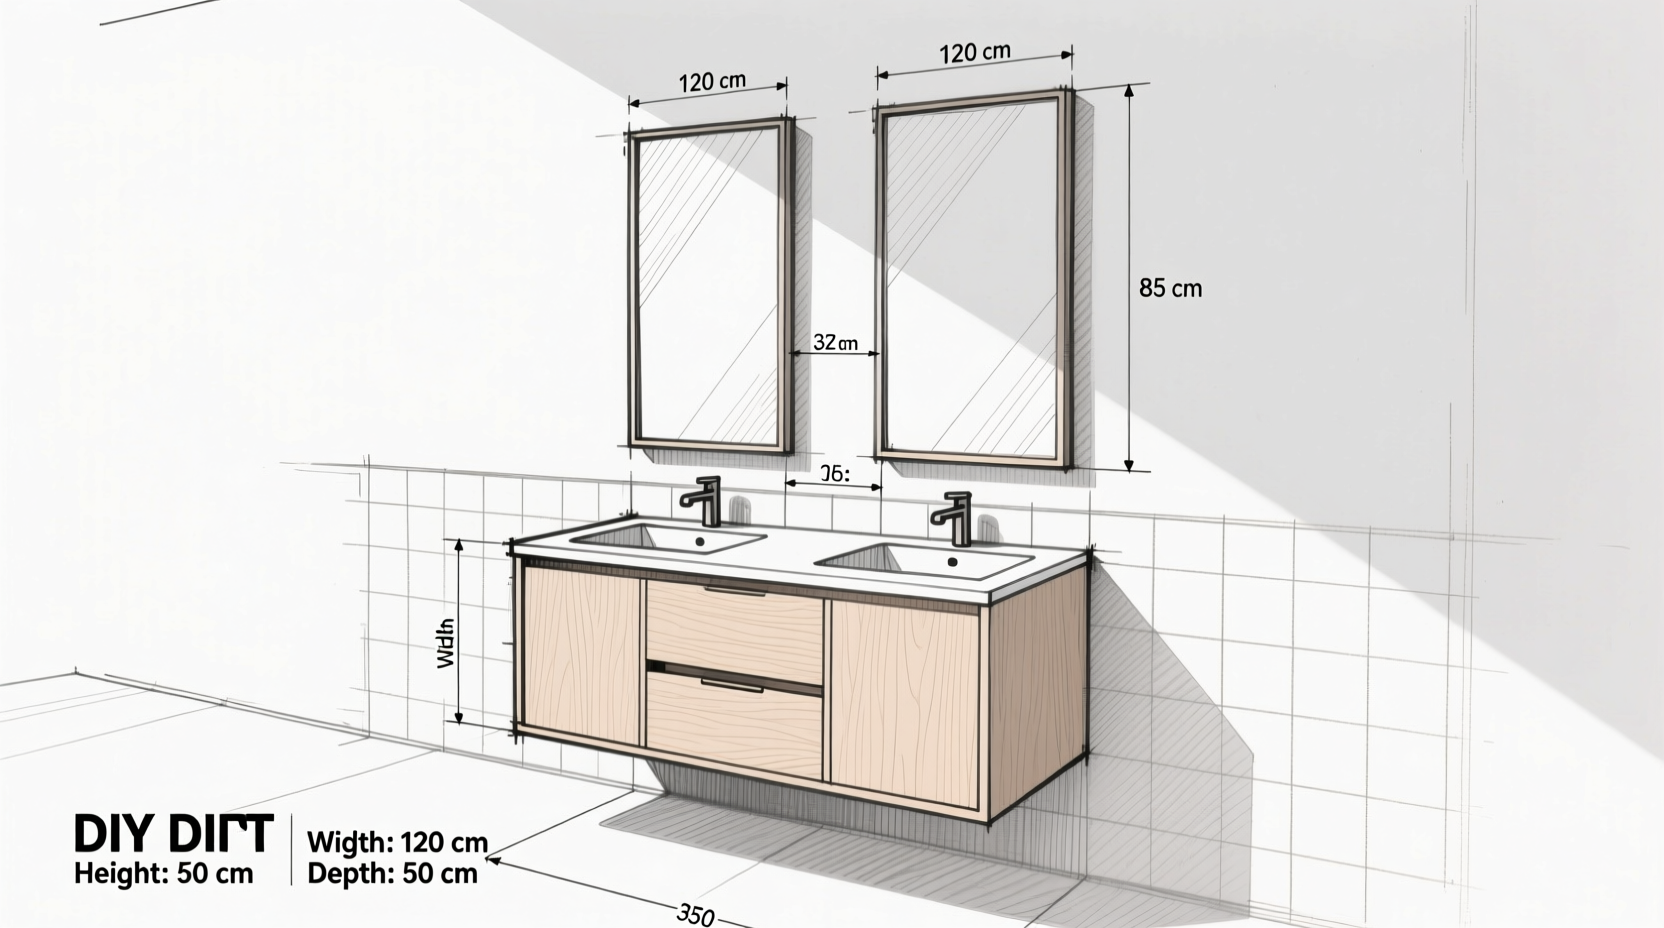
Successful vanity projects start with precise planning. Measure your space twice before purchasing materials—bathroom dimensions often have hidden obstacles like pipes or uneven walls. Standard vanity heights range from 30-36 inches, but consider your household's needs: taller users benefit from 34-36 inch heights, while families with children might prefer lower countertops.
Key Planning Considerations
- Confirm plumbing location and required clearance (minimum 21" depth)
- Determine storage needs: drawers vs doors, towel bar integration
- Check local building codes for bathroom modifications
- Allow 3-5 days for construction plus drying time between stages
Materials & Tools Checklist
Choose materials based on your skill level and budget. Reclaimed wood offers character and sustainability but requires more preparation. New plywood provides consistency for beginners. Always use moisture-resistant materials in bathroom environments.
| Essential Tools | Beginner Alternatives | Pro Upgrade |
|---|---|---|
| Circular saw | Handsaw + pre-cut lumber | Track saw system |
| Drill/driver | Screwdriver set | Cordless impact driver |
| Level | Smartphone level app | Laser level |
| Clamps | Rope + tension system | Quick-release clamps |
Step-by-Step Construction Guide
Step 1: Building the Cabinet Frame
Cut your base pieces to size using 3/4" plywood. Assemble the box with pocket holes and wood glue for maximum strength. Ensure perfect squareness by measuring diagonally—both measurements must match. Add a moisture barrier to the bottom panel before assembly.
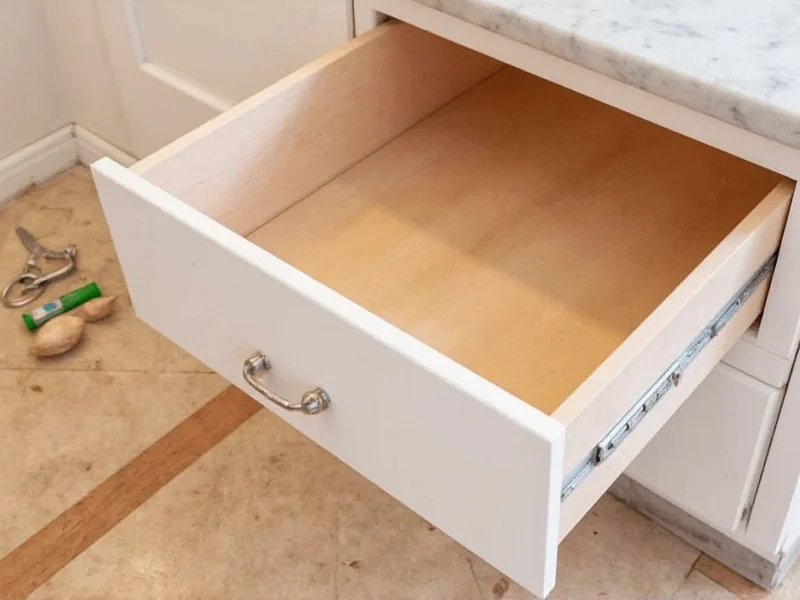
Step 2: Creating Drawer Boxes
Use 1/2" plywood for sides and 1/4" for bottoms. Rabbet joints provide stronger connections than basic butt joints. Install soft-close drawer slides at exact height to prevent binding. Test drawer movement before final assembly.
Step 3: Countertop Preparation
Measure twice, cut once. Leave 1/2" overhang on front and sides. For integrated sinks, cut the hole 1/4" smaller than template and sand to fit. Always seal the underside of wood countertops with marine epoxy.
Avoiding Costly Mistakes
Most DIY vanity failures stem from three preventable issues:
- Plumbing miscalculations - Measure existing pipes before building. Leave 3" clearance behind sink for connections.
- Inadequate moisture protection - Seal all wood surfaces with至少 two coats of oil-based polyurethane.
- Structural weakness - Reinforce cabinet sides with vertical supports every 16" for widths over 36".
Budget Breakdown & Value Analysis
A 48-inch vanity typically costs $850-$1,200 in materials when using mid-range materials. Compare this to $1,800-$2,500 for comparable store-bought units. The real savings come from solving unique spatial challenges:
- Custom corner solutions: +$300 value
- Perfect plumbing alignment: +$200 value
- Tailored storage configuration: +$150 value
- Personalized aesthetic: priceless

Frequently Asked Questions
How difficult is building a floating vanity for beginners?
Floating vanities require precise wall mounting but simplify plumbing access. Start with a small 24-inch unit using pre-cut lumber. The main challenge is locating wall studs and using proper anchors—follow our step-by-step wall mounting guide with torque specifications.
Can I use reclaimed wood for a bathroom vanity?
Yes, but proper preparation is crucial. Sand reclaimed wood thoroughly, treat with borate solution to prevent pests, and apply至少 three coats of marine-grade sealant. Avoid using reclaimed wood for structural components that bear weight—use it for drawer fronts and decorative elements instead.
How do I connect plumbing to a DIY vanity?
Measure existing pipes before construction. Leave 3" clearance behind sink area. Use flexible supply lines and slip-nut connections for easier installation. Always dry-fit plumbing before final assembly. For complex setups, consider installing a access panel in the wall for future maintenance.
What's the most cost-effective material for DIY vanities?
Baltic birch plywood offers the best balance of cost, durability, and appearance. At $70-$90 per 4x8 sheet, it's more stable than particleboard and requires less finishing than solid wood. For budget projects, use plywood for structural components and add solid wood veneer to visible surfaces.


 浙公网安备
33010002000092号
浙公网安备
33010002000092号 浙B2-20120091-4