
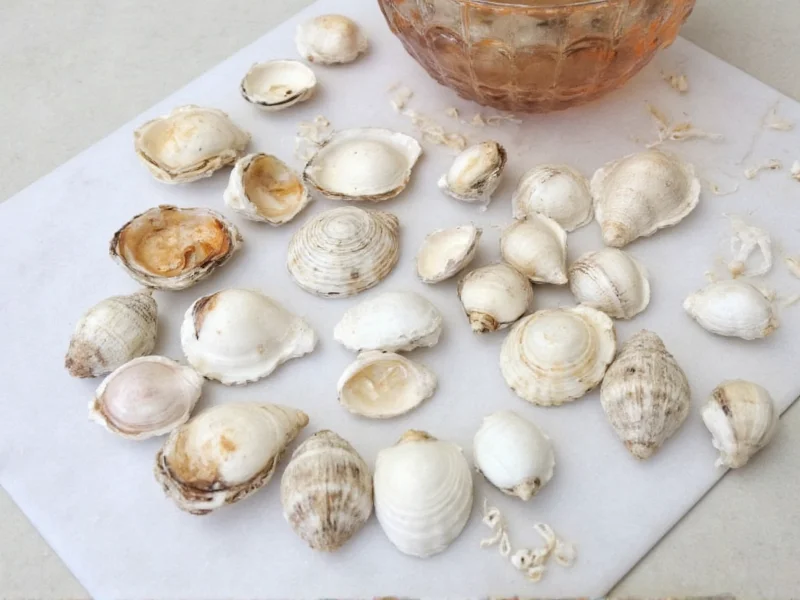
Discarded oyster shells aren't just coastal clutter—they're nature's free crafting treasure. With proper preparation, these calcium-rich relics become durable materials for wind chimes that sing in ocean breezes, shimmering mosaic tabletops, and garden pathways that deter pests. Unlike fragile seashells, oyster shells withstand weathering while adding organic texture to home decor. This guide reveals how to ethically source shells, eliminate safety risks from sharp edges, and execute projects requiring only basic household tools.
Why Oyster Shells Outperform Other Natural Materials
Most crafters overlook oyster shells' unique advantages compared to clam or mussel shells:
| Material | Durability | Texture Variety | Eco-Impact |
|---|---|---|---|
| Oyster shells | ★★★★★ (Weather-resistant) | Rough exterior, smooth interior | Repurposes seafood waste |
| Clam shells | ★★☆☆☆ (Fragile) | Uniform smoothness | Often harvested live |
| Scallop shells | ★★★☆☆ (Moderate) | Delicate ridges | Commercial fishing byproduct |
Oyster shells' dual-textured surfaces create visual interest impossible with uniform shells. Their irregular shapes naturally interlock in mosaics, while the chalky composition accepts paint without priming. Crucially, using restaurant-discarded shells supports circular economies—never harvest live oysters for crafts.
Ethical Sourcing: Where to Find Shells Without Harming Ecosystems
Responsible crafters avoid beachcombing near active oyster beds. Instead:
- Restaurant partnerships: Ask seafood restaurants to save shells in labeled bins (most discard 50+ lbs weekly)
- Community shell recycling programs: 78% of coastal US cities now operate shell collection for reef restoration—request craft-worthy pieces
- Post-storm collection: Gather only loose shells above high-tide lines after major weather events
Avoid shells with attached organisms or those from protected marine sanctuaries. When in doubt, contact local conservation groups—they often provide pre-sanitized shells for educational projects.
Safe Preparation: The 3-Step Cleaning Method Professionals Use
Raw shells harbor bacteria and sharp fragments. Follow this foolproof process:
- Soak: Submerge in 1:10 bleach-water solution for 48 hours (kills pathogens)
- Scrub: Use old toothbrush to remove barnacles—never sandpaper (creates hazardous dust)
- Deburr: Smooth sharp edges with 120-grit sandstone (not sandpaper) under running water
Pro tip: Bake cleaned shells at 200°F for 20 minutes to eliminate moisture before painting. This prevents paint bubbling—a common frustration in oyster shell craft projects for beginners.
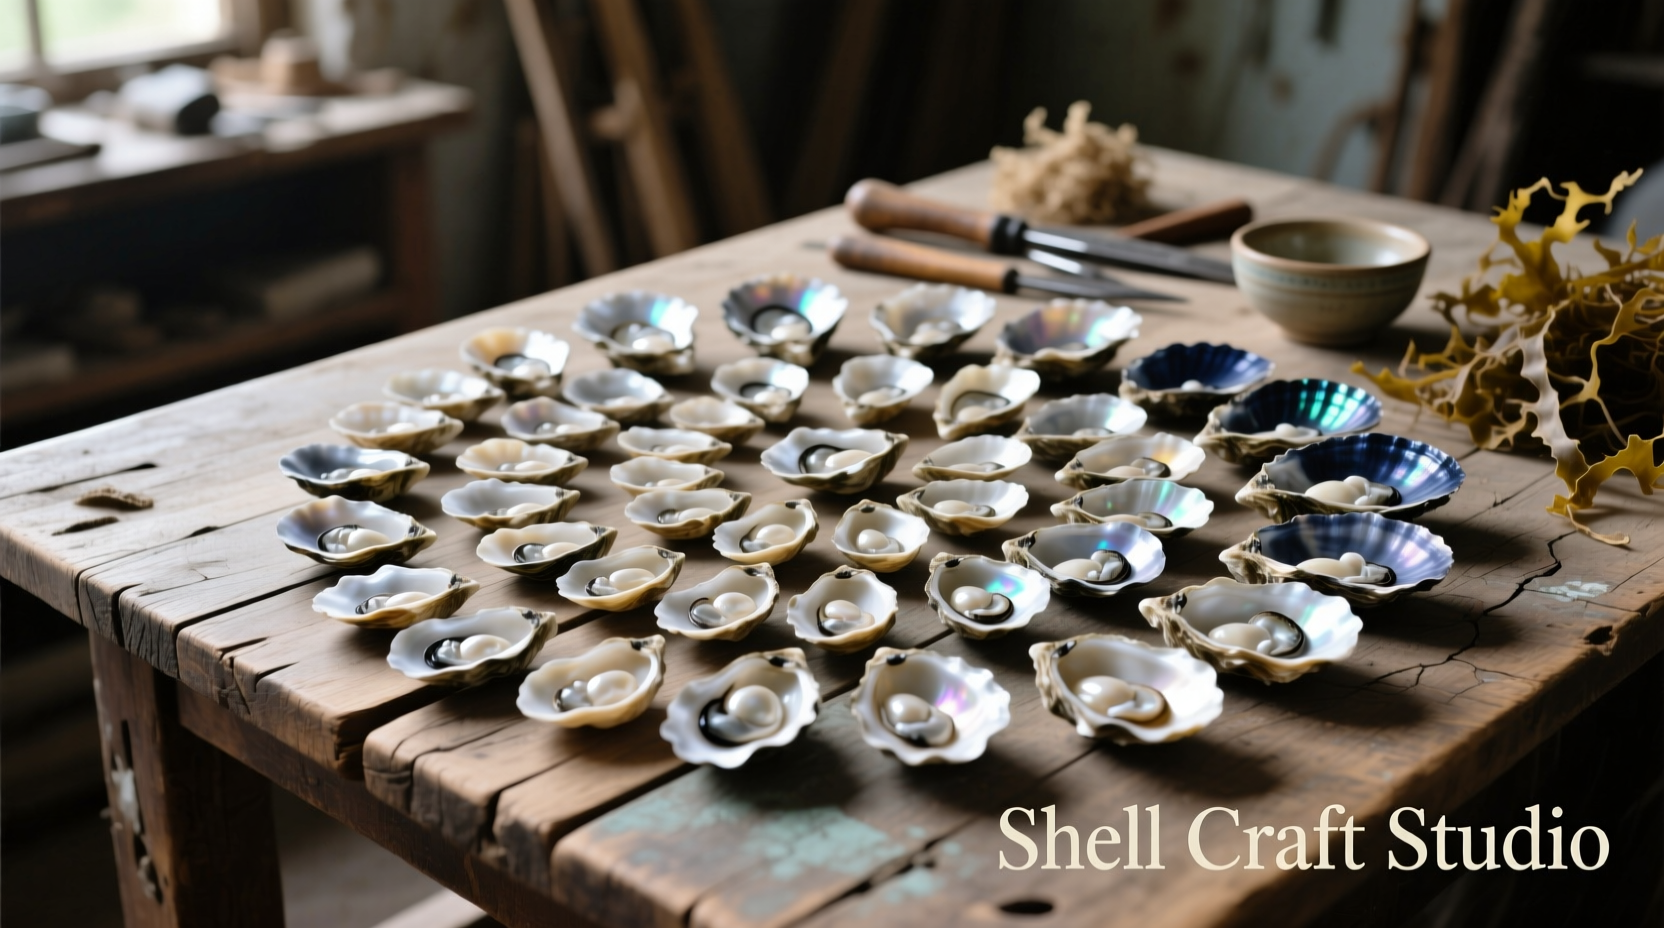
5 Transformative Craft Projects (No Special Tools Needed)
1. Resonant Wind Chimes
Materials: 12 medium shells, leather cord, driftwood branch
Unique benefit: Creates deeper tones than metal chimes
Beginner hack: Drill holes at shell's natural stress points (near hinge) using nail and hammer—no power tools required
2. Garden Path Edging
Materials: Large shells, landscape adhesive
Eco-advantage: Deters slugs naturally (sharp edges irritate soft bodies)
Pro tip: Angle shells 45 degrees into soil for permanent hold—no digging required
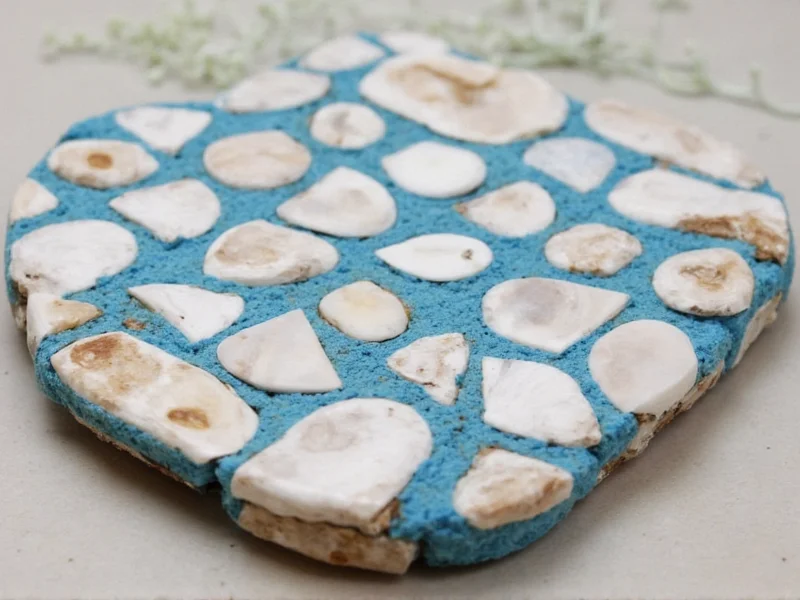
3. Mosaic Coasters
Materials: Small shell fragments, cork base, non-toxic grout
Time-saver: Skip grout sealing—oyster shells' natural porosity binds grout permanently
Design secret: Mix shell sizes for "wave pattern" effect
4. Candle Holders
Materials: Flat-bottomed shells, soy wax, wicks
Safety note: Place shells on non-flammable surface—never use curved shells
Unique feature: Shells absorb wax drips, eliminating mess
5. Wall Art Sconces
Materials: Large shells, LED puck lights, mounting hardware
Lighting magic: Shell interiors diffuse light like stained glass
Installation hack: Use museum putty for damage-free hanging
Avoiding Common Pitfalls: Expert Troubleshooting
Even experienced crafters encounter these issues:
- "Shells crack during drilling": Solution—freeze shells 1 hour before drilling; cold makes calcium brittle
- "Paint peels off": Solution—wipe shells with vinegar before painting; removes residual oils
- "Sharp edges cut fingers": Solution—rub edges with beeswax after sanding for smooth finish
Remember: Oyster shells contain natural ridges that catch light beautifully—embrace imperfections rather than over-sanding. This creates the organic aesthetic that defines sustainable oyster shell home decor.
Environmental Responsibility: Beyond the Craft Table
While crafting, consider shells' ecological role. Discarded shells replenish oyster reefs when returned to waterways—critical for coastal erosion control. Partner with organizations like The Nature Conservancy's Shell-a-Recycle to donate unused shells. Never use shells from living reefs; focus on restaurant waste where upcycling oyster shells supports marine conservation.
Frequently Asked Questions
Can I use oyster shells found on the beach for crafts?
Only if they're loose above the high-tide line and from non-protected areas. Never remove shells from active oyster beds—opt for restaurant-donated shells instead to support sustainable practices.
How do I prevent oyster shells from smelling?
Complete the 48-hour bleach soak during cleaning. If odor persists, bake shells at 200°F for 30 minutes. Never skip the vinegar wipe before painting—this neutralizes organic residues causing smells.
Are oyster shell crafts safe for children?
Only with supervision. Deburr all edges thoroughly and use non-toxic adhesives. For kids' projects, focus on gluing pre-smoothed shells to cardboard—avoid drilling or sharp tools. Always wear eye protection during preparation.
What paint works best on oyster shells?
Acrylic paints adhere perfectly without primer due to shells' porous surface. For outdoor projects, use exterior-grade acrylics and seal with non-toxic beeswax. Avoid spray paints—they clog shell textures.


 浙公网安备
33010002000092号
浙公网安备
33010002000092号 浙B2-20120091-4