
Create beautiful, functional planters for under $10 using everyday household items—no special tools required. This guide reveals five beginner-friendly DIY planter projects with step-by-step instructions, material lists, and pro tips to avoid common drainage and material compatibility issues.
Transform ordinary containers into stunning plant homes while reducing waste and saving money. Whether you're working with limited space, tight budgets, or simply want personalized garden decor, these DIY planters deliver professional results without professional costs. Most projects take under two hours and use materials you likely already have at home.
Why DIY Planters Beat Store-Bought Options
Commercial planters cost $15-$50 each, while DIY versions typically cost under $5 in materials. Beyond savings, handmade planters offer unmatched customization and environmental benefits:
| Factor | DIY Planters | Store-Bought |
|---|---|---|
| Average Cost | $2-$8 | $15-$50+ |
| Customization | Complete creative control | Limited color/size options |
| Environmental Impact | Repurposes waste materials | New resource consumption |
| Personal Satisfaction | High ("I made this!") | Standard |
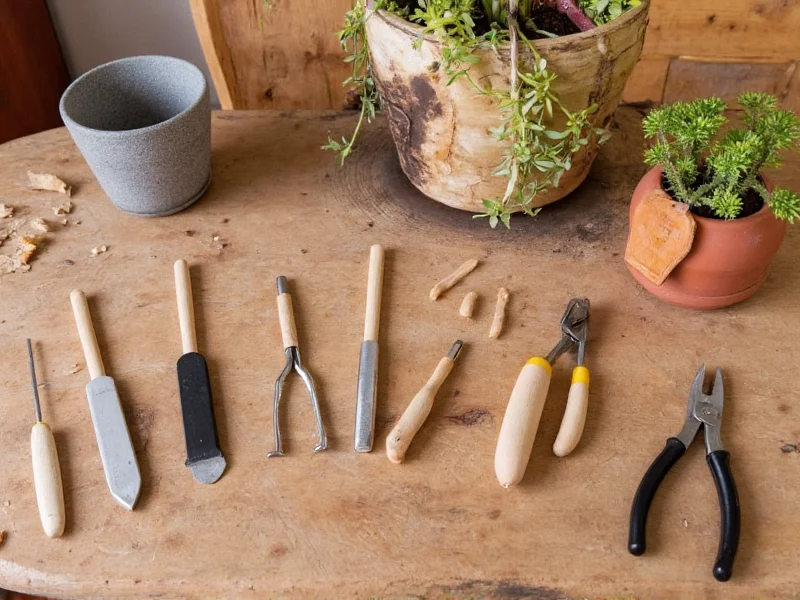
Essential Tools & Materials Checklist
Before starting any project, gather these basics. Most items cost nothing if you already have them at home:
- Drill or nail set - For creating drainage holes
- Waterproof sealant - Essential for wood and paper containers
- Measuring tape - Ensures proper sizing for plants
- Sandpaper - Smooths rough edges on reclaimed materials
- Outdoor-grade paint - For weather-resistant finishes
Top 5 Beginner DIY Planter Projects
1. Upcycled Tin Can Herb Garden (15 Minutes)
Skill Level: Beginner | Cost: $0 | Time: 15 minutes
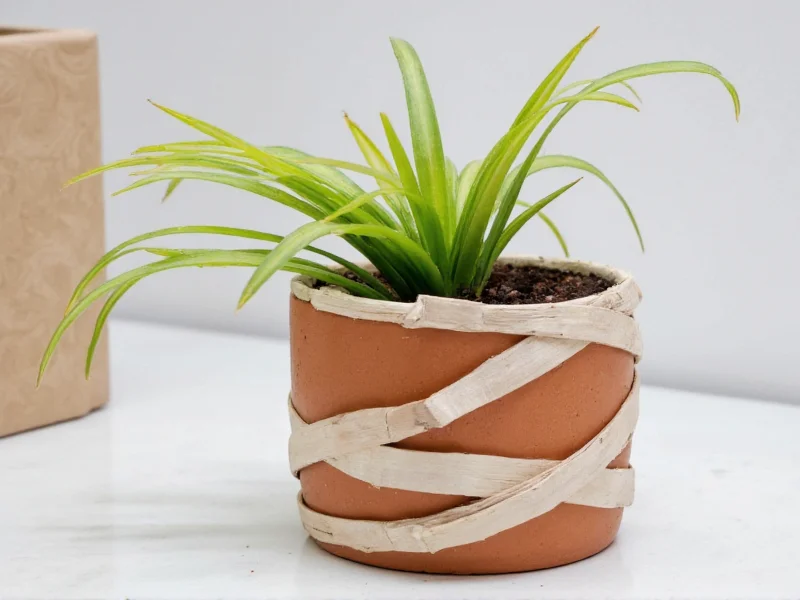
Ideal for kitchen windowsills, these food-safe containers grow basil, mint, and parsley. Remove labels, wash thoroughly, then drill 3-5 drainage holes in the bottom. Wrap with twine or paint with outdoor acrylics for decorative flair.
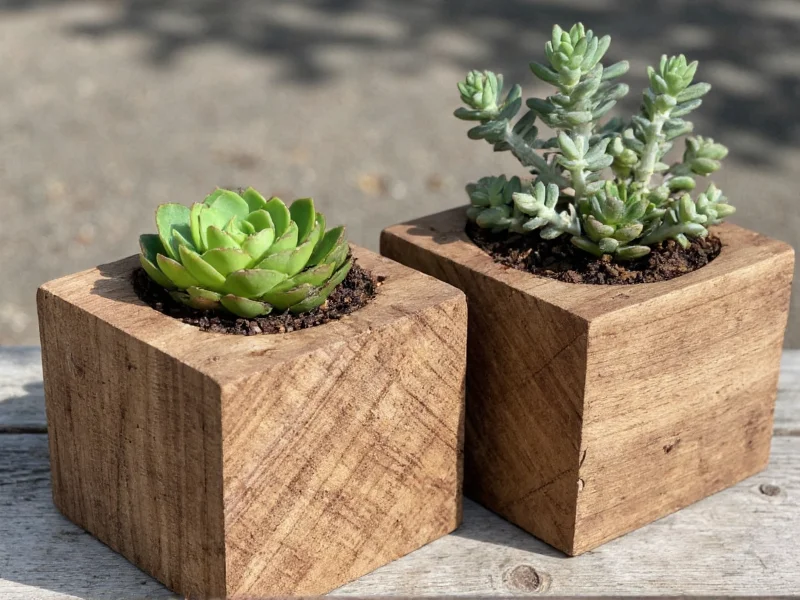
2. Reclaimed Wood Crate Planter (45 Minutes)
Skill Level: Beginner+ | Cost: $3-$8 | Time: 45 minutes
Perfect for patios and balconies. Use pallet wood or old crates (ensure they're heat-treated, not chemically treated). Sand edges smooth, assemble with exterior wood glue, then line with landscape fabric to prevent soil leakage. Stain with eco-friendly wood finish for weather protection.
3. Mason Jar Terrarium (20 Minutes)
Skill Level: Beginner | Cost: $1-$5 | Time: 20 minutes
Create miniature ecosystems using recycled jars. Add 1" gravel layer, activated charcoal, then potting mix. Choose low-light plants like ferns or mosses. Ideal for desktops and bathrooms. Skip drainage holes since terrariums are closed systems.
Avoid These 3 Common DIY Planter Mistakes
Mistake #1: Skipping drainage holes in non-terrestrial containers. Without proper drainage, roots rot within days. Solution: Drill holes in all non-terracotta containers—even wood needs drainage.
Mistake #2: Using untreated wood for outdoor planters. Rainwater causes untreated wood to warp and decay within months. Solution: Apply two coats of linseed oil or outdoor wood sealant before planting.
Mistake #3: Choosing containers too small for plant growth. Most beginners underestimate root space needs. Solution: Select containers at least 2" wider than the plant's current pot.
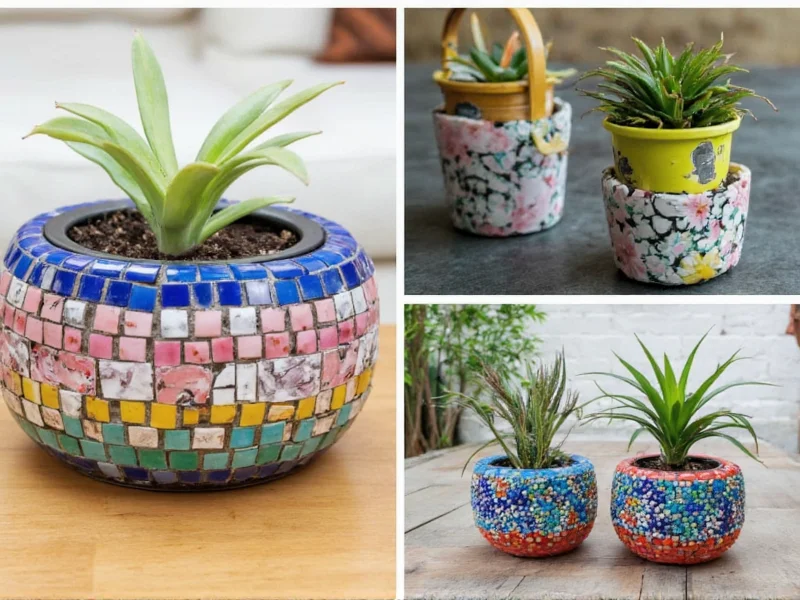
Pro Customization Techniques
Elevate basic planters with these professional touches:
- Texture accents: Press sea glass, broken tiles, or bottle caps into wet concrete planters
- Color blocking: Use painter's tape to create geometric patterns with outdoor paint
- Natural finishes: Rub wood planters with walnut oil for warm, chemical-free protection
Matching Planters to Plants
Not all containers suit all plants. Follow this quick reference:
| Planter Type | Best For | Avoid With |
|---|---|---|
| Terracotta pots | Succulents, cacti, herbs | Moisture-loving plants |
| Wood containers | Vegetables, flowers, shrubs | Acidic plants like blueberries |
| Plastic/metal | Indoor plants, seedlings | Full-sun outdoor locations |
Frequently Asked Questions
Can I use food containers for edible plants?
Yes, but only with containers originally designed for food storage (like yogurt cups or tin cans). Avoid plastic containers not labeled food-safe, as chemicals can leach into soil. Always drill drainage holes and wash containers thoroughly before use.
How do I prevent wooden planters from rotting?
Line the interior with landscape fabric before adding soil, and apply two coats of exterior-grade wood sealant. Elevate planters slightly off the ground using pot feet, and avoid overwatering. Cedar and redwood naturally resist rot better than other woods.
What's the easiest DIY planter for complete beginners?
Tin can herb planters are the simplest project. They require no tools beyond a nail for drainage holes, cost nothing, and work with almost any small herb. Just remove labels, wash thoroughly, add drainage, and fill with potting mix.
Do DIY planters need special soil?
Use standard potting mix for most DIY containers. For wood planters, add extra perlite for better drainage. Avoid garden soil, which compacts in containers. Terrariums require specialized mix with more drainage components like orchid bark.


 浙公网安备
33010002000092号
浙公网安备
33010002000092号 浙B2-20120091-4