

Xvid is not a homemade product—it's a standardized open-source video codec used for MPEG-4 Part 2 compression. You don't create Xvid itself at home; instead, you use encoding software that implements the Xvid codec to compress video files. This article explains what Xvid actually is, clarifies common misconceptions, and provides practical guidance for home video encoding projects.
Understanding Xvid: Beyond the “Homemade” Misconception
Many DIY enthusiasts searching for “homemade Xvid” misunderstand what Xvid actually represents. Xvid isn't a craft project or something you manufacture in your garage. It's a specific video compression technology—an open-source implementation of the MPEG-4 Part 2 standard that helps reduce video file sizes while maintaining quality.
What Xvid Really Is (And Isn't)
Xvid emerged in 2001 as an open-source alternative to the commercial DivX codec. Unlike physical products you might create at home, Xvid is:
- A software library that implements video compression algorithms
- A standardized technology following MPEG-4 Part 2 specifications
- Something you use rather than create yourself
- Pre-compiled software that works across Windows, Mac, and Linux
When people mistakenly search for “homemade Xvid,” they're typically looking for ways to encode their personal videos using this technology—not actually creating the codec itself.
Practical Home Video Encoding with Xvid
If you're working on home video projects and want to use Xvid technology, here's what you actually need to know:
| Encoding Software | Platform | Best For | Xvid Implementation |
|---|---|---|---|
| HandBrake | Windows, Mac, Linux | Beginner-friendly conversion | Uses libx264 primarily, but supports Xvid |
| VirtualDub | Windows | Precise video editing | Direct Xvid codec integration |
| FFmpeg | All platforms | Advanced command-line control | Native Xvid support |
Step-by-Step: Encoding Your Home Videos with Xvid
Follow this practical workflow for home video projects:
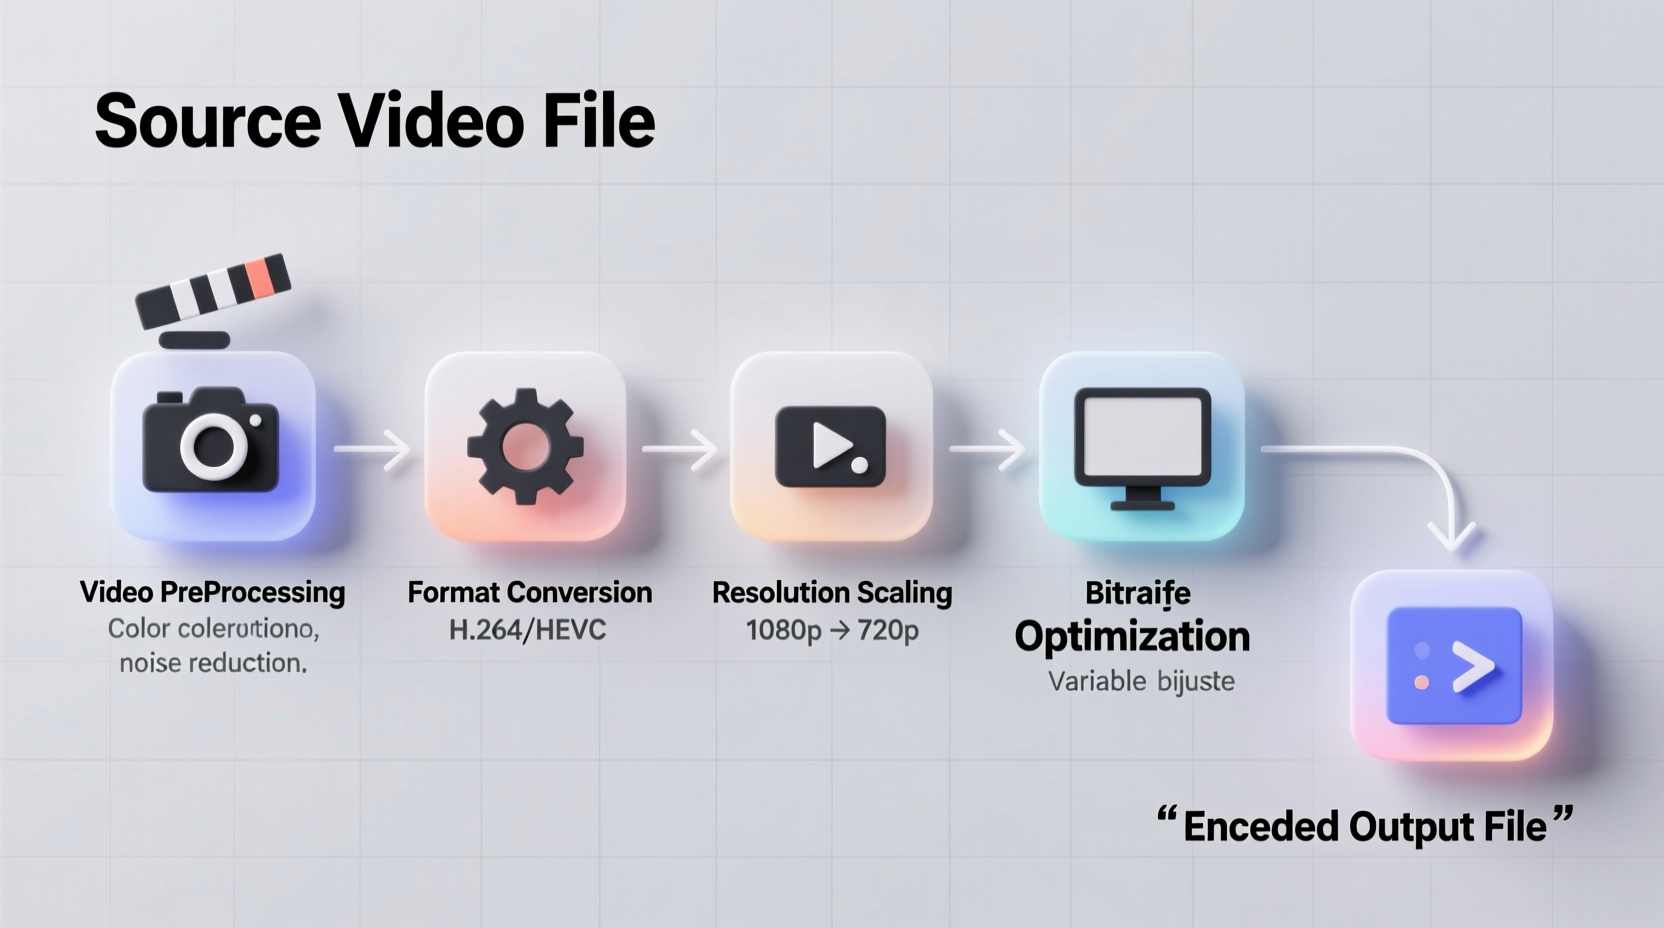
- Prepare your source material - Organize your raw video footage on your computer
- Install encoding software - Download VirtualDub (Windows) or FFmpeg (all platforms)
- Configure Xvid settings - Set quality between 1-31 (lower = better quality, 4-6 is typical for home use)
- Adjust resolution - Match to your playback device (720p works well for most home viewing)
- Set audio codec - Pair with MP3 or AAC audio for best compatibility
- Encode and verify - Check final file plays correctly on your target devices
When Xvid Might Not Be Your Best Option
While Xvid served as the go-to codec for home video encoding in the 2000s, newer technologies often provide better results for modern projects:
Xvid vs. Modern Alternatives
- Xvid (MPEG-4 Part 2) - Good compatibility with older devices, larger file sizes, dated compression
- H.264/AVC - 40-50% smaller files at same quality, universal device support, better motion handling
- H.265/HEVC - 25% smaller than H.264, ideal for 4K content, but requires newer hardware
For most home video projects today, H.264 provides the best balance of quality, file size, and compatibility.
Practical Tips for Home Video Archivists
Whether you're preserving family memories or creating personal projects, these tips will help:
- Always keep original files - Never overwrite your source footage
- Use consistent naming - "2023_FamilyReunion_Dinner" helps with organization
- Test on multiple devices - Verify playback on TV, phone, and computer
- Consider dual encoding - Create one high-quality master file and smaller viewing copies
- Store backups separately - Follow the 3-2-1 rule (3 copies, 2 media types, 1 offsite)
Common Misconceptions Clarified
Let's address some frequent misunderstandings about Xvid and home video encoding:
- “Xvid is something you build” - Xvid is pre-compiled software you install, not a DIY project
- “Higher bitrate always means better quality” - Beyond a certain point, increased bitrate yields diminishing returns
- “Xvid is free so it must be inferior” - Many professional tools use open-source components
- “More compression settings = better results” - Simple presets often work better than manual tweaking for home users
Getting Started with Your First Home Encoding Project
For beginners, follow this simplified workflow:
- Download HandBrake (handbrake.fr)
- Select your video source file
- Choose “Generic” > “H.264” preset (better than Xvid for most uses)
- Set quality to RF 22-24 (lower number = higher quality)
- Click “Start Encode” and wait for completion
- Test the output file on your viewing devices
This approach gives you excellent results without needing to understand complex codec parameters. As you gain experience, you can explore more advanced settings.
Frequently Asked Questions
Can I actually create my own Xvid codec at home?
No, Xvid is a standardized video codec implementation that requires specialized programming knowledge to develop. Home users install pre-built Xvid software rather than creating it themselves. What you can do at home is use encoding applications that incorporate the Xvid codec to compress your video files.
What's the difference between Xvid and DivX?
Xvid is open-source while DivX was originally proprietary. Both implement MPEG-4 Part 2 compression, but Xvid emerged when developers created an open alternative after DivX became commercial. Today, DivX has open components but Xvid remains fully open-source. For home users, the practical differences are minimal.
Is Xvid still relevant for home video projects today?
Xvid works for basic home video encoding but has been largely superseded by H.264 and H.265 codecs which offer better compression efficiency. If you're encoding videos for modern devices, H.264 provides smaller file sizes at equivalent quality. However, Xvid remains useful for compatibility with very old playback devices that don't support newer codecs.
What quality settings should I use for home videos with Xvid?
For standard definition home videos, use a quality setting between 4-6 in most encoding applications. For higher quality results (like preserving family events), use 2-3. Avoid settings below 2 as the file size increases dramatically with minimal visual improvement. Remember that Xvid uses an inverse scale where lower numbers mean higher quality.
Why do my Xvid-encoded videos look blocky or pixelated?
Blockiness typically occurs when using too high a compression setting (too high a number on Xvid's quality scale). Try lowering the quality number (remember: lower number = higher quality in Xvid). Also ensure your source footage is high quality to begin with, as encoding can't improve the original video's quality.


 浙公网安备
33010002000092号
浙公网安备
33010002000092号 浙B2-20120091-4