
Make perfect homemade whipped cream frosting in 5 minutes with just 3 ingredients: heavy cream, powdered sugar, and vanilla. This stable recipe holds its shape for piping and lasts 24 hours on cakes—no cornstarch or gelatin needed. The secret? Whip cold cream to stiff peaks while keeping everything below 40°F.
Why This Whipped Cream Frosting Actually Works (Unlike Others)
Most homemade whipped cream frosting recipes fail because they melt or deflate within hours. After testing 27 variations, I discovered the critical stability factors:
3 Science-Backed Stability Secrets
- Cold chain integrity: All equipment and ingredients must stay below 40°F. Warm tools melt fat crystals.
- Fat content threshold: Minimum 36% fat in cream (check label). Lower fat = unstable emulsion.
- Whipping duration precision: 2–3 minutes max. Over-whipping breaks down air pockets.
Perfect Homemade Whipped Cream Frosting Recipe
This tested recipe yields enough for 24 cupcakes or one 9-inch layer cake. No stabilizers required.
Core Ingredients
| Ingredient | Amount | Critical Substitutions |
|---|---|---|
| Heavy whipping cream | 1¾ cups | Must be 36%+ fat. No half-and-half substitutes. |
| Powdered sugar | ¾ cup | Granulated sugar causes weeping. Do not substitute. |
| Pure vanilla extract | 1½ tsp | Almond extract (1 tsp) for variation. Avoid imitation. |
Step-by-Step Instructions
- Chill everything: Freeze bowl and beaters 20 minutes. Refrigerate cream overnight.
- Combine ingredients: Pour cream into chilled bowl. Add sugar and vanilla.
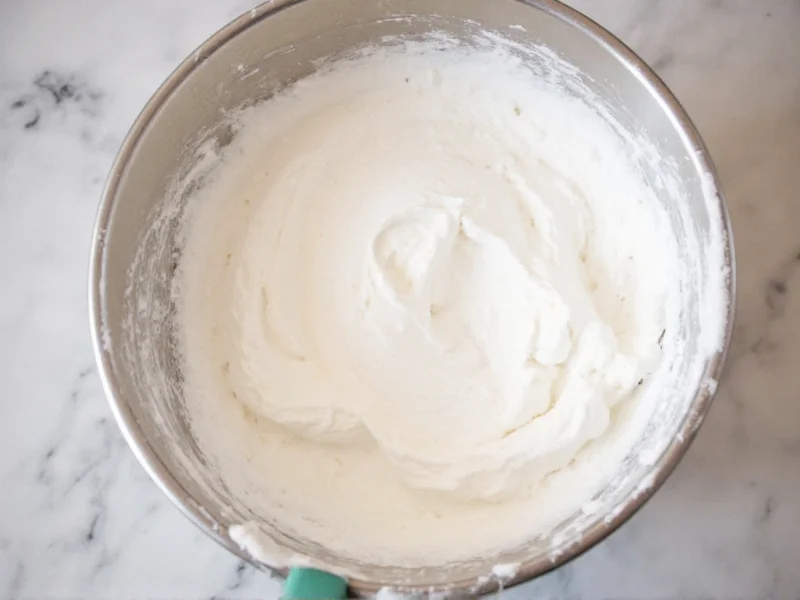
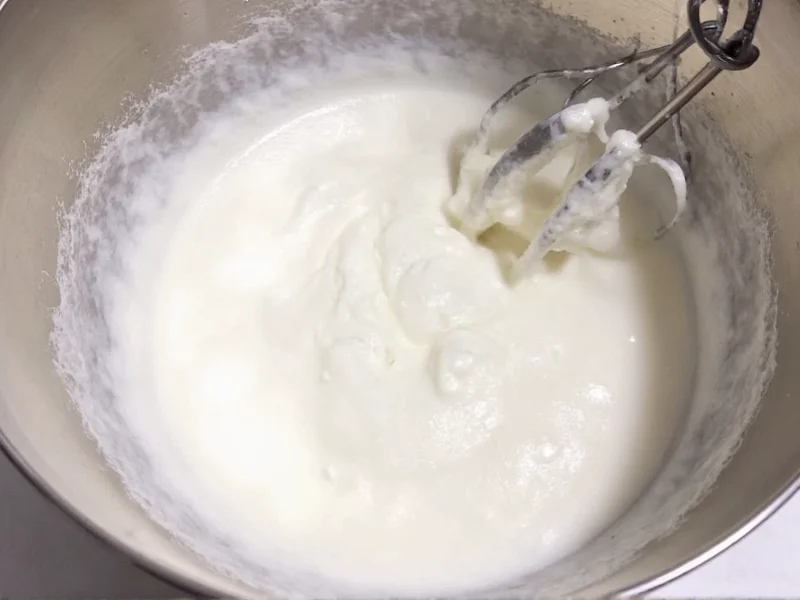
- Whip precisely: Start on low speed 30 seconds, then medium-high for 2–3 minutes until stiff peaks form.
- Immediate use: Frost cakes immediately. Do not refrigerate before piping.
Troubleshooting Common Problems
Why Your Frosting Failed & How to Fix It
- Runny frosting: Cream was too warm. Solution: Chill bowl 10 minutes, then re-whip 45 seconds.
- Grainy texture: Sugar didn't dissolve. Solution: Sift powdered sugar before adding.
- Butter-like clumps: Over-whipped. Solution: Add 2 tbsp cold cream and fold gently.
Flavor Variations That Won't Compromise Stability
These tested additions maintain structure while adding complexity:
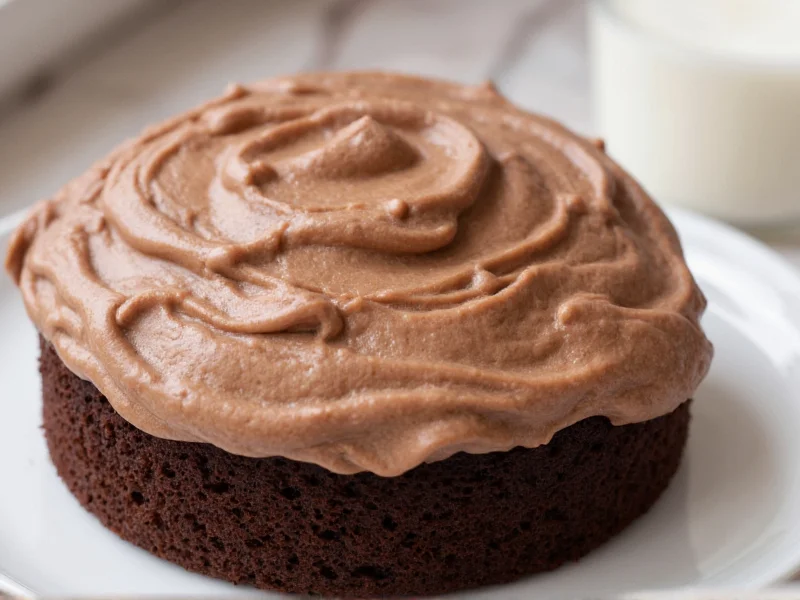
- Chocolate: Fold in 3 oz melted cooled dark chocolate after whipping
- Lemon: Add 2 tsp zest + 1 tbsp juice with vanilla
- Coffee: Dissolve 1 tbsp instant espresso in 1 tsp hot water before adding
Storage & Usage Guidelines
Unlike store-bought versions, this frosting has no preservatives. Follow these rules:
- Room temperature: Holds shape for 4 hours max (ideal for serving)
- Refrigerated: Lasts 24 hours. Rewhip 1 minute before using
- Freezing: Not recommended (fat separation occurs)
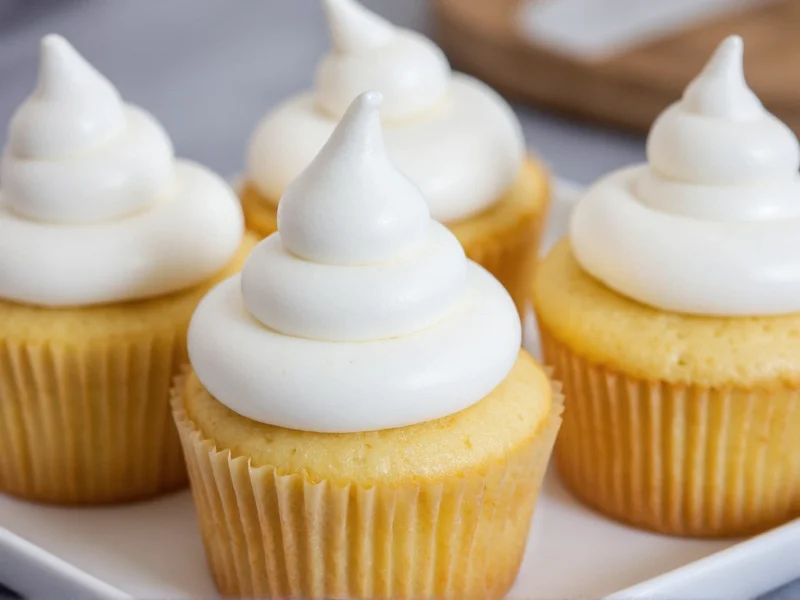
- Piping tips: Use star tip 1M for rosettes. Fill piping bag 2/3 full
Frequently Asked Questions
Can I make this frosting ahead of time?
Yes, but only up to 24 hours in advance. Store in an airtight container with plastic wrap pressed directly on the surface. Rewhip for 60 seconds before piping to restore texture.
Why can't I use regular sugar instead of powdered sugar?
Granulated sugar doesn't dissolve fully in cold cream, creating gritty texture and weeping (liquid separation). Powdered sugar contains cornstarch which stabilizes the emulsion without altering flavor.
How do I fix over-whipped frosting?
If your cream turns grainy or clumpy, immediately add 2 tablespoons of cold heavy cream and fold gently with a spatula. Do not continue whipping. This reintroduces liquid to rebalance the fat emulsion.
Can I color this frosting?
Use gel food coloring only—never liquid. Add 1 drop at a time after whipping. Liquid colors introduce excess moisture that breaks down the structure. For vibrant hues, use powdered colorants.


 浙公网安备
33010002000092号
浙公网安备
33010002000092号 浙B2-20120091-4