
Get perfectly creamy homemade ice cream in just 30 minutes of active time using your ice cream maker. This foolproof vanilla base recipe yields smooth, rich results every time with no ice crystals, and serves as the foundation for endless flavor variations. Follow our step-by-step guide for guaranteed success.
The Ultimate Guide to Perfect Homemade Ice Cream Using Your Ice Cream Maker
There's nothing quite like the rich, creamy texture of homemade ice cream made with your own machine. Forget the icy, artificial-tasting store-bought versions—when you make ice cream at home, you control the ingredients, customize the flavors, and achieve that luxurious texture that only fresh churned ice cream provides. Whether you're using a classic electric model or a manual hand-crank machine, this guide delivers professional results every time.
Why This Ice Cream Maker Method Works Every Time
Key Success Factors
- Pre-chilled base - Reduces churning time and prevents ice crystals
- Optimal fat content - Creates that signature creamy mouthfeel
- Controlled sugar ratio - Balances sweetness while lowering freezing point
- Perfect churning duration - Achieves ideal texture without over-processing
Essential Equipment Checklist
| Equipment | Why It Matters | Pro Tip |
|---|---|---|
| Ice cream maker | Proper freezing mechanism is crucial | Pre-freeze canister 24 hours for best results |
| Mixing bowls | Multiple sizes needed for preparation | Chill your largest bowl before starting |
| Instant-read thermometer | Ensures proper custard temperature | Target 170-175°F for perfect texture |
| Fine mesh strainer | Removes any cooked egg bits | Double-strain for ultra-smooth results |
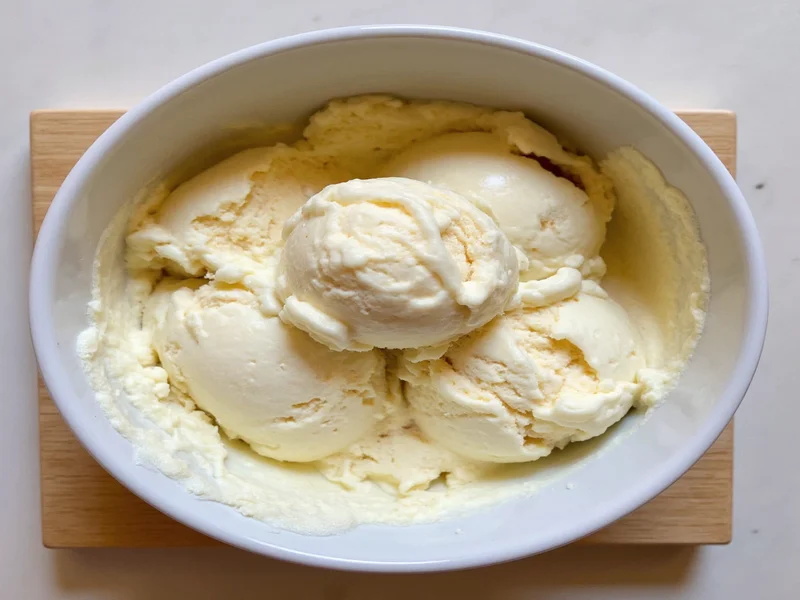
The Perfect Vanilla Ice Cream Base Recipe
This foundational recipe creates the ideal canvas for endless flavor variations. The magic happens through proper technique rather than complicated ingredients.
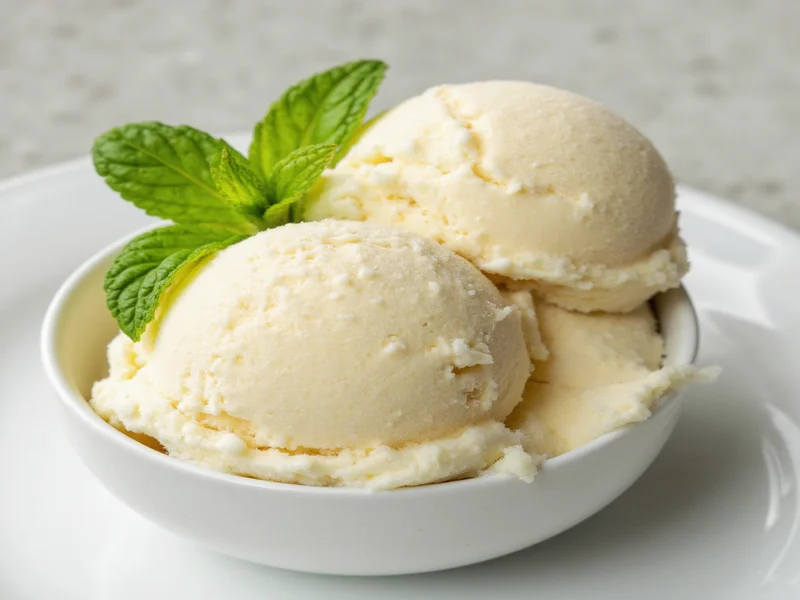
Classic Vanilla Ice Cream (1.5 quarts)
Ingredients
- 2 cups heavy cream (480ml)
- 1 cup whole milk (240ml)
- 3/4 cup granulated sugar (150g)
- 1 tablespoon pure vanilla extract
- 1/8 teaspoon fine sea salt
- 6 large egg yolks (for custard-style)
Step-by-Step Instructions
- Prepare the base - Heat cream, milk, half the sugar, and salt until steaming (do not boil)
- Temper eggs - Slowly whisk hot cream into beaten egg yolks
- Cook custard - Return mixture to heat, stirring constantly until it thickens enough to coat the back of a spoon (170-175°F)
- Chill thoroughly - Strain into chilled bowl, stir in remaining sugar and vanilla, then refrigerate at least 4 hours or overnight
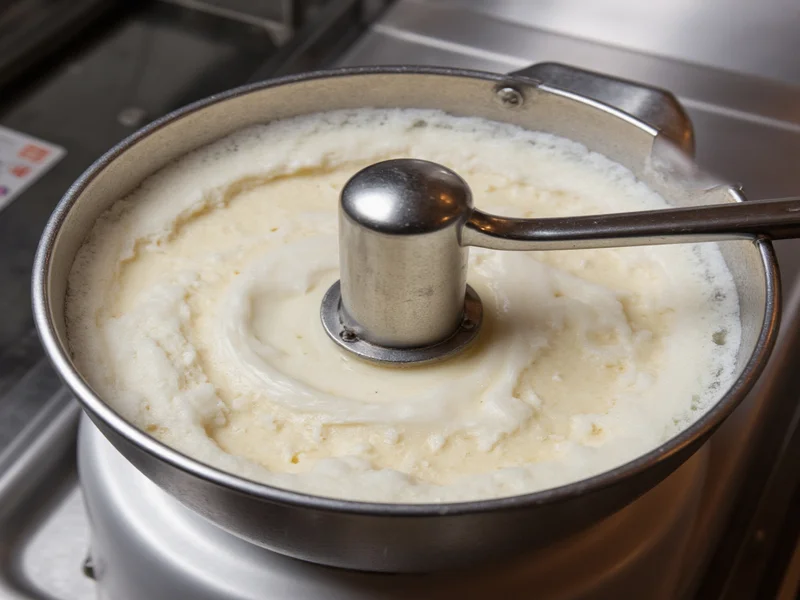
- Churn - Pour cold base into pre-frozen canister and churn according to manufacturer's instructions (typically 20-25 minutes)
- Freeze - Transfer to airtight container and freeze 2-4 hours before serving
Pro Tips for Guaranteed Success
Avoid Common Pitfalls
- Temperature matters - Your base must be thoroughly chilled (below 40°F) before churning
- Don't overfill - Fill canister only 1/2 to 2/3 full for proper churning action
- Watch the texture - Stop churning when it reaches soft-serve consistency (like thick yogurt)
- Quick transfer - Move churned ice cream to storage container immediately to prevent melting
- Storage solution - Press parchment paper directly on surface to prevent ice crystals
Delicious Flavor Variations to Try
Once you've mastered the basic recipe, experiment with these popular homemade ice cream recipe variations using ice cream maker techniques:
Chocolate Lover's Dream
Whisk 4 ounces melted dark chocolate and 1/4 cup cocoa powder into warm base before chilling. Add 1/2 cup chocolate chunks during last 2 minutes of churning.
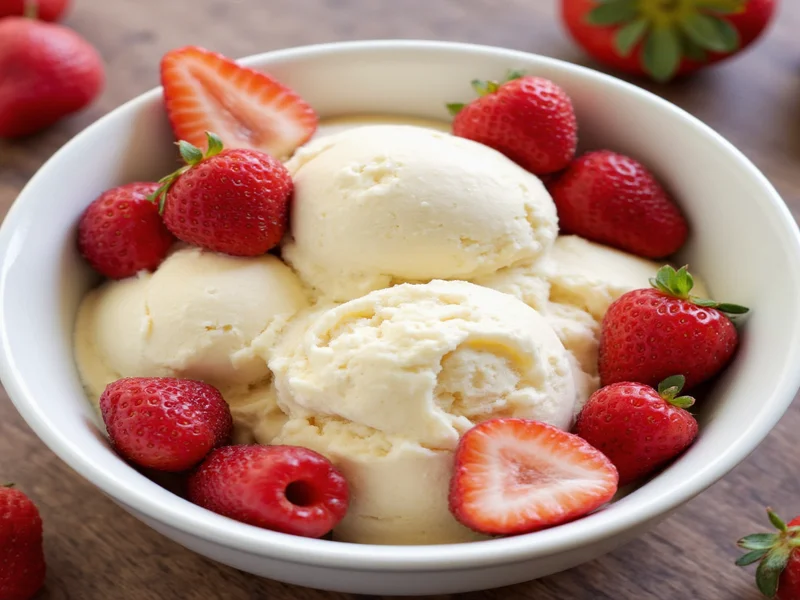
Fresh Strawberry Swirl
Fold 1 cup homemade strawberry compote (simmer 2 cups chopped strawberries with 1/4 cup sugar until thickened) into churned ice cream.
Coffee Bean Infusion
Steep 2 tablespoons coarsely ground coffee beans in warm cream for 30 minutes before straining. Add 1 tablespoon espresso powder to base.
Troubleshooting Your Homemade Ice Cream
| Issue | Most Likely Cause | Solution |
|---|---|---|
| Ice crystals | Base not cold enough or improper storage | Chill base thoroughly, use airtight container, press parchment on surface |
| Too soft | Not enough freezing time or high sugar content | Freeze at least 4 hours, reduce sugar by 1-2 tablespoons |
| Grainy texture | Over-churning or improper custard preparation | Stop churning at soft-serve stage, ensure proper custard thickness |
| Machine won't churn | Canister not frozen long enough | Freeze canister 24 hours, check manufacturer's requirements |
Storage Guidelines for Long-Lasting Freshness
Proper storage makes all the difference in maintaining that fresh-churned quality. Use these techniques to extend your homemade ice cream's shelf life:
- Store in shallow, airtight containers (deep containers promote ice crystals)
- Press plastic wrap or parchment paper directly on the ice cream surface
- Keep freezer temperature at 0°F (-18°C) or lower
- Allow to sit at room temperature 5-10 minutes before scooping
- Best consumed within 1-2 weeks for optimal texture and flavor
Take Your Homemade Ice Cream to the Next Level
Now that you've mastered the basic homemade ice cream recipe using ice cream maker techniques, consider these advanced tips for truly exceptional results:
- Aged base - Let your chilled base rest in the refrigerator for 24-48 hours before churning for more developed flavors
- Alcohol addition - A tablespoon of vodka or liqueur prevents over-hardening without affecting flavor
- Texture enhancers - Add 1 tablespoon of corn syrup to your base for extra smoothness
- Layered flavors - Alternate layers of different flavors or mix-ins for a marbled effect
Remember that making perfect homemade ice cream is both science and art. Each batch teaches you something new about the process. Don't be discouraged if your first attempt isn't perfect—adjust sugar levels, churning time, or freezing duration based on your results. With this reliable homemade ice cream recipe using ice cream maker method, you'll consistently create frozen treats that surpass anything you can buy at the store.
Frequently Asked Questions
How long should I chill my ice cream base before churning?
Your ice cream base should be thoroughly chilled to below 40°F (4°C) before churning, which typically requires 4-8 hours in the refrigerator. For best results, chill your base overnight. Properly chilled base reduces churning time and prevents ice crystal formation, resulting in creamier homemade ice cream using your ice cream maker.
Why does my homemade ice cream get icy in the freezer?
Ice crystals form when your ice cream is exposed to temperature fluctuations or improper storage. To prevent this in your homemade ice cream recipe using ice cream maker, ensure your base is thoroughly chilled before churning, transfer immediately to an airtight container, press parchment paper directly on the surface, and maintain a consistent freezer temperature of 0°F (-18°C) or lower. Avoid repeatedly thawing and refreezing your ice cream.
Can I make ice cream without eggs using my ice cream maker?
Yes, you can create excellent Philadelphia-style ice cream without eggs using your ice cream maker. Simply combine 2 cups heavy cream, 1 cup whole milk, 3/4 cup sugar, and flavorings, then chill thoroughly before churning. While custard-based (with eggs) yields richer texture, egg-free versions work perfectly well and are ideal for those avoiding raw eggs in their homemade ice cream recipe using ice cream maker.
How do I know when my ice cream is done churning?
Your ice cream is ready when it reaches soft-serve consistency—thick enough to hold its shape but still soft and creamy, typically after 20-25 minutes. It should mound slightly when dropped from a spoon. Over-churning can cause separation, while under-churning results in a runny texture. For perfect results with your homemade ice cream recipe using ice cream maker, watch for this visual cue rather than relying solely on time.


 浙公网安备
33010002000092号
浙公网安备
33010002000092号 浙B2-20120091-4