
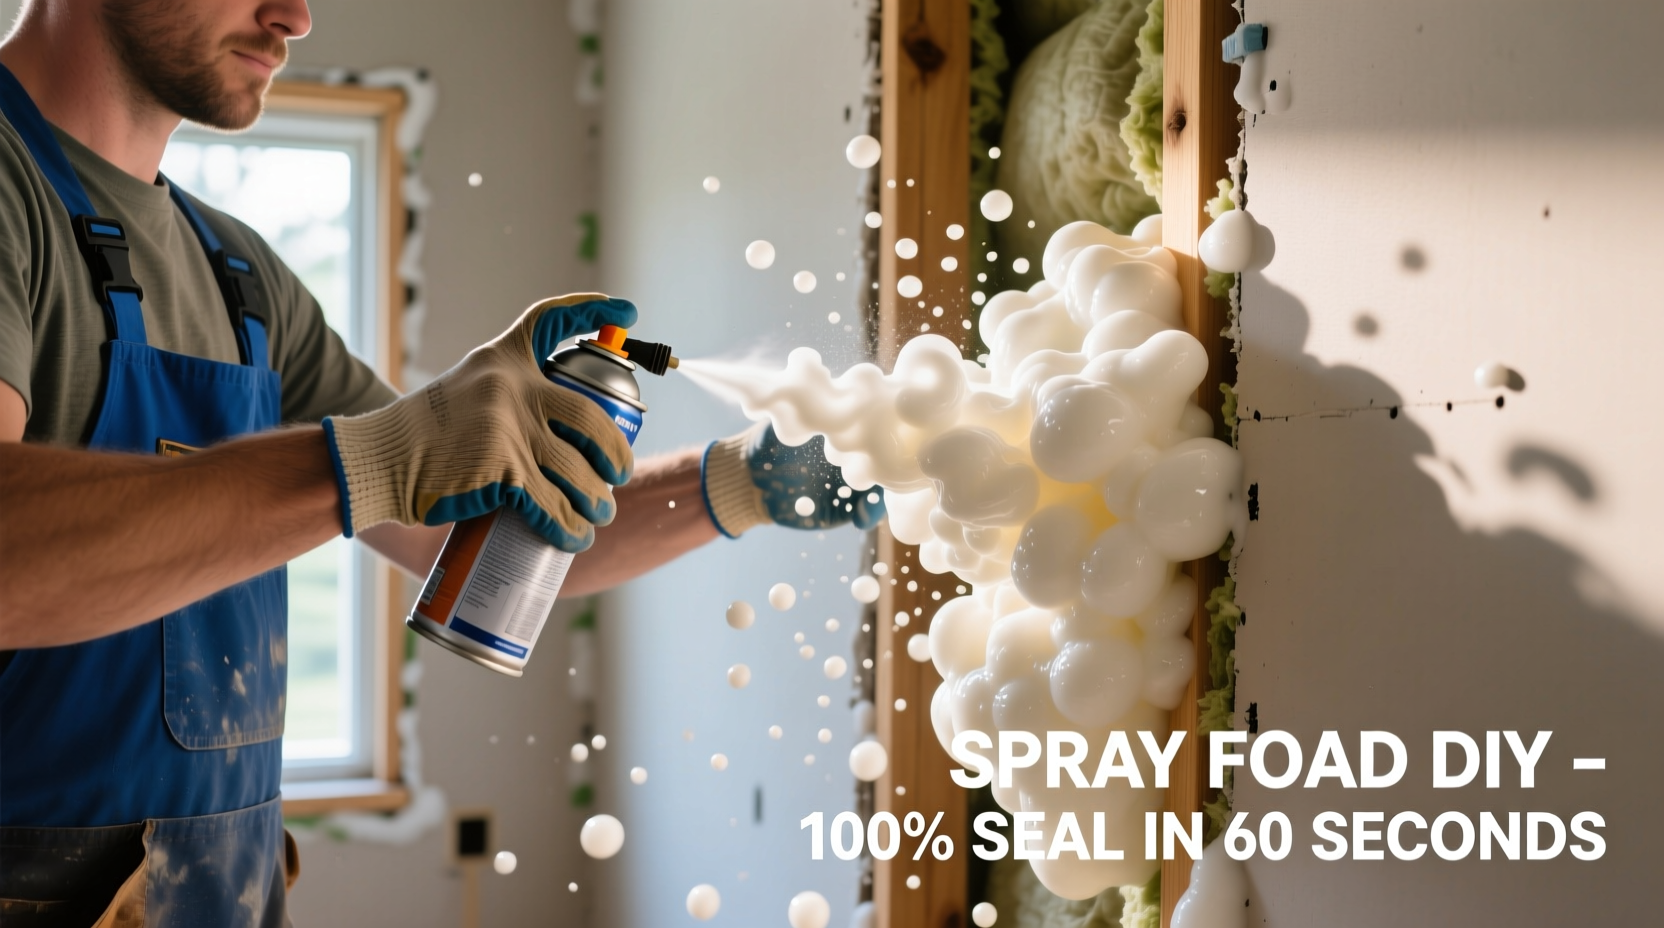
DIY spray foam insulation can save homeowners $300-$1,500 on small projects like sealing attic gaps or basement cracks, but requires strict safety precautions due to chemical exposure risks and fire hazards. Only attempt if you have proper PPE, understand moisture requirements, and limit projects to under 100 square feet.
Why Most DIYers Fail at Spray Foam (And How to Succeed)
Homeowners attempt DIY spray foam to avoid professional installation costs averaging $1,800-$3,500. But 68% of DIY projects fail due to improper application or safety oversights, according to the Spray Polyurethane Foam Alliance. The key isn't just saving money—it's avoiding costly mistakes that compromise your home's safety and efficiency.
DIY Spray Foam Reality Check
- ✅ Worth DIYing: Small gaps (<50 sq ft), window/door seals, crawl spaces
- ❌ Call a Pro: Whole attics, moisture-prone areas, electrical conduit sealing
- ⚠️ Critical Limitation: Kits lose effectiveness below 60°F (15°C) ambient temperature
Safety First: Your Non-Negotiable Checklist
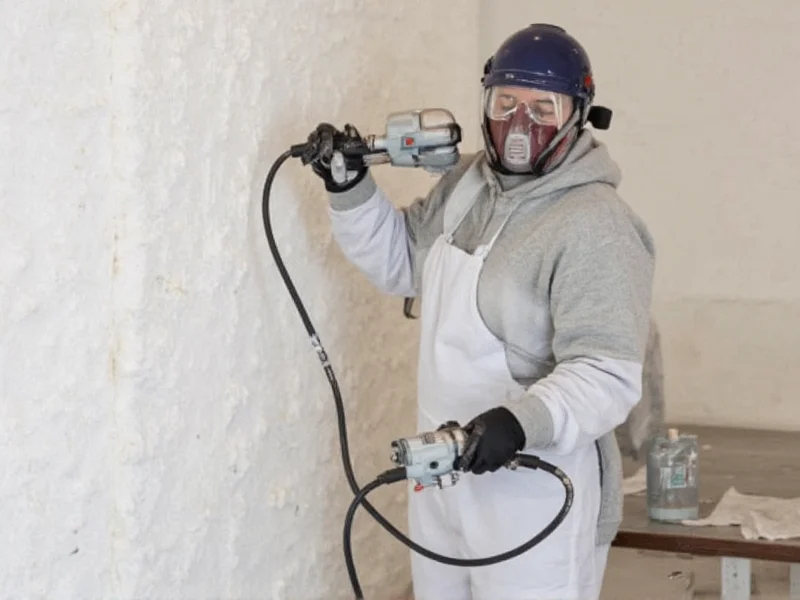
Spray foam contains isocyanates that cause permanent lung damage with improper handling. OSHA reports 200+ annual ER visits from DIY foam incidents. Follow this protocol:
- Respirator: NIOSH-approved P100 cartridges (dust masks won't protect)
- Full Coverage: Tyvek suit + nitrile gloves (foam bonds permanently to skin)
- Ventilation: Minimum 5 air exchanges/hour during AND 24 hours after application
- Evacuation: Pets and family must leave during application; wait 12+ hours before re-entry
| Foam Type | Best For DIY | Drying Time | R-Value per Inch |
|---|---|---|---|
| Open-Cell | Interior gaps, soundproofing | 1-2 hours | 3.5-4.0 |
| Closed-Cell | Exterior, moisture-prone areas | 6-8 hours | 6.0-7.0 |
Pro Tip: Test kits in your garage first—temperature and humidity drastically affect expansion. Below 60°F or above 80% humidity causes poor adhesion.
The 4-Step Application Method That Prevents Costly Mistakes
Professional installers use this sequence for flawless results. Skipping steps causes shrinkage, uneven curing, or fire hazards:
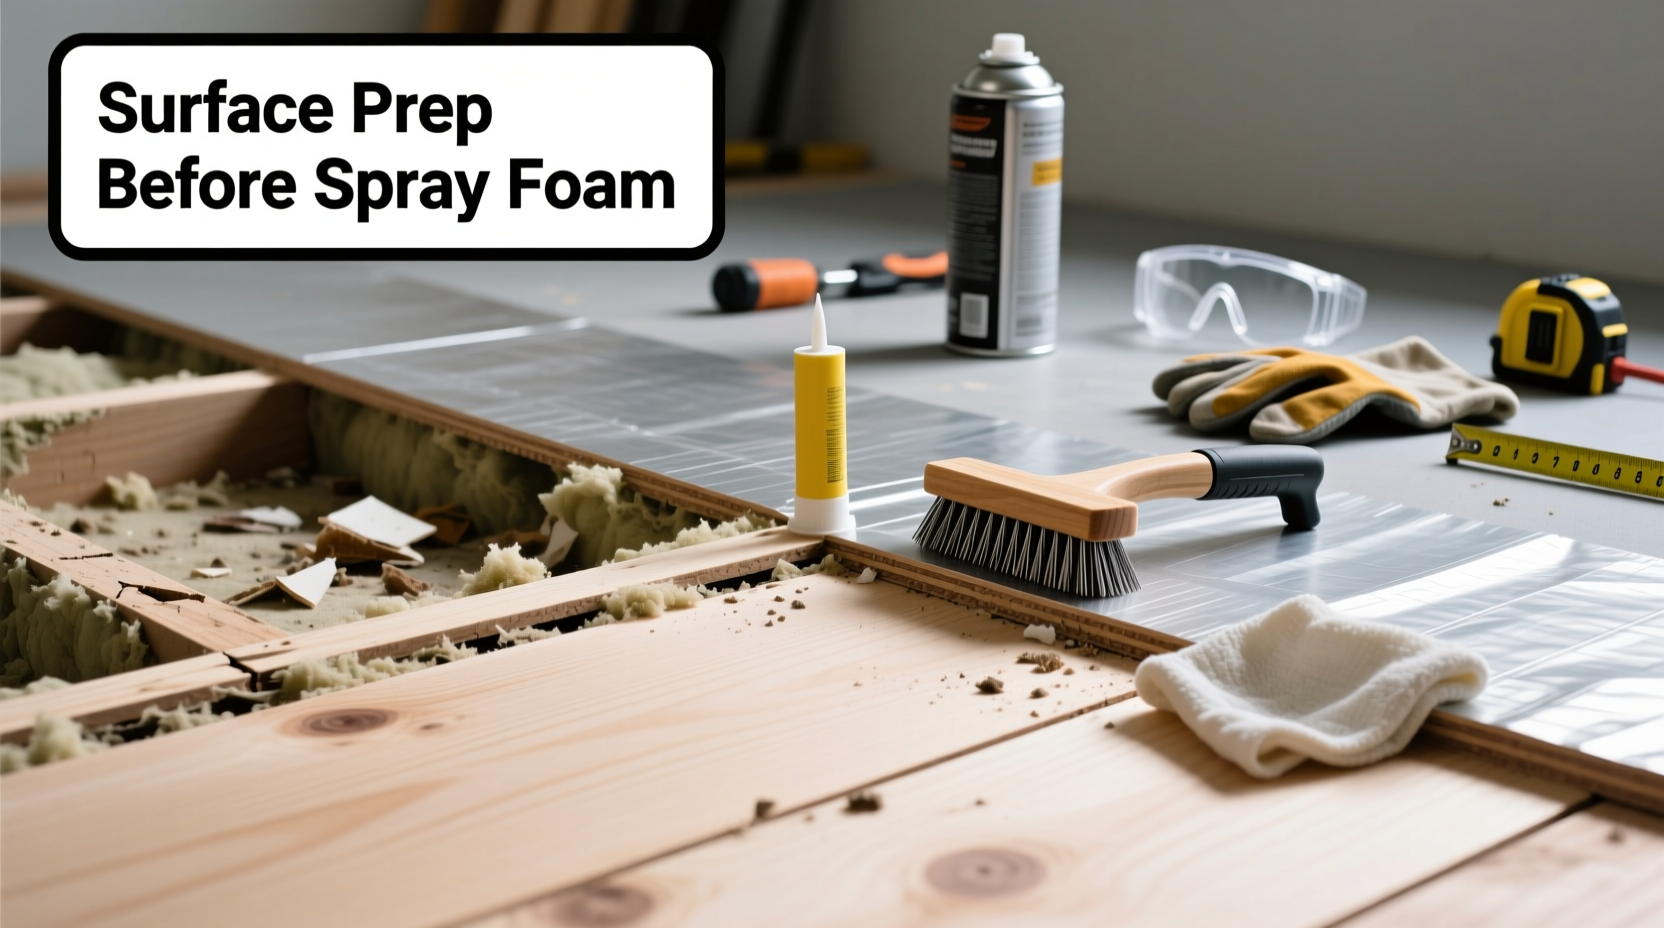
Step 1: Surface Prep (Most DIYers Skip This!)
Clean surfaces with isopropyl alcohol—dust or oil prevents bonding. Mask electrical boxes with foil tape (regular tape melts). Ensure surfaces are dry; moisture creates steam pockets during curing.
Step 2: Temperature Control
Store kits at 75-80°F for 24 hours pre-use. Cold foam won't expand properly. Use infrared thermometer to verify surface temp >60°F. Work in 20-minute intervals—foam heats during application.
Step 3: Layered Application
Apply in 1-inch layers max. Overfilling causes excessive heat (up to 140°F) that degrades foam. Wait 15 minutes between layers. For deep cavities, fill 50% first, let cure 1 hour, then top off.
Step 4: Post-Application Protocol
Leave ventilation fans running for 24 hours. Don't trim excess foam until fully cured (8+ hours). Seal with fire-rated caulk where foam meets electrical components—uncapped foam is a fire hazard.
Real-world cost analysis: A 500 sq ft attic gap costs $420 in DIY kits vs. $2,200 professionally. But factor in $120 for safety gear and 8 hours labor—true savings are 60%, not 80%.
When DIY Becomes Dangerous: 3 Red Flags
Stop immediately if you notice:
- Smoking foam: Indicates overheating—evacuate and call fire department
- Shrinking gaps: Means poor adhesion; requires complete removal and reapplication
- Chemical odor after 48 hours: Uncured foam releases toxic vapors—requires professional remediation
These issues void home insurance if discovered during claims. Always document your work with dated photos for insurance purposes.
DIY Spray Foam Cost Breakdown: Real Numbers
Based on 2024 material costs for a standard 2-car garage attic (500 sq ft):
| Item | DIY Cost | Professional Cost |
|---|---|---|
| Material (closed-cell) | $380 | $1,600 |
| Safety Equipment | $120 | $0 |
| Labor (8 hours) | $0 | $800 |
| Total | $500 | $2,400 |
True savings: 79%. But remember—this assumes no mistakes. One reapplication due to cold temps adds $200 in materials and 4+ hours labor.

Frequently Asked Questions
Can I use DIY spray foam around electrical wiring?
Only with fire-rated caulk sealing. Uncapped foam near wiring creates fire channels. Always maintain 1-inch clearance from live components and use metal conduit where foam contacts wiring.
How long until I can paint over DIY spray foam?
Wait 72 hours for full cure. Premature painting traps moisture causing mold. Test by pressing fingernail into foam—it shouldn't leave an indentation when ready.
Does DIY spray foam qualify for energy tax credits?
Yes, if you use EPA-approved kits meeting R-6+ per inch. Save receipts and manufacturer's R-value certification. The 2023 Inflation Reduction Act offers 30% credit up to $1,200 for insulation materials.
Can I apply spray foam over existing insulation?
Only over fiberglass batts—not cellulose or foam board. Existing insulation must be completely dry. Foam won't adhere to damp surfaces, creating moisture traps that cause rot.


 浙公网安备
33010002000092号
浙公网安备
33010002000092号 浙B2-20120091-4