
Build a custom, sturdy table for under $50 in one weekend using basic tools. This guide delivers step-by-step instructions, material hacks, and pro tips to avoid common mistakes—no prior woodworking experience needed. You'll gain confidence in measuring, cutting, and finishing while creating furniture perfectly sized for your space.
Why Build Your Own Table? Beyond Saving Money
While store-bought tables cost $150-$500+, a DIY project puts you in control of design, materials, and timeline. But the real value? Customization and sustainability. Unlike mass-produced furniture, your handmade table can:
- Fit awkward spaces (e.g., 32" wide for narrow apartments)
- Use reclaimed wood from pallets or fallen trees
- Match existing decor with your chosen finish
- Teach transferable skills for future projects
Planning Your Perfect Table: Dimensions & Design
Skipping planning causes 70% of DIY table failures. Follow this framework before buying materials:
Key Questions to Answer
| Question | Beginner Recommendation |
|---|---|
| What's the primary use? | Coffee table (16-18" height) or side table (24-28") |
| What space will it occupy? | Measure clearance: 18" from seating for coffee tables |
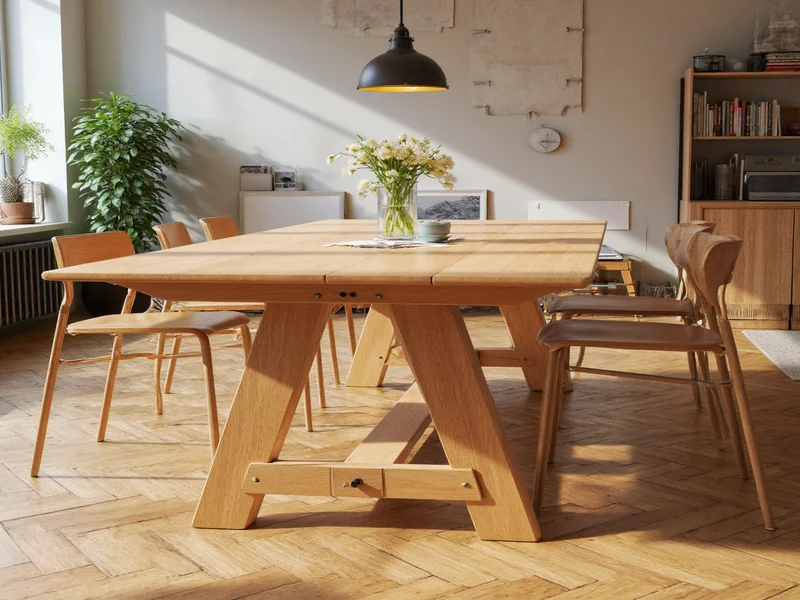
| What style suits your home? | Simple slab top + hairpin legs for modern spaces |
Materials & Tools: Budget-Friendly Essentials
You don't need a workshop. Here's what actually matters for a wobble-free table:
Non-Negotiable Materials
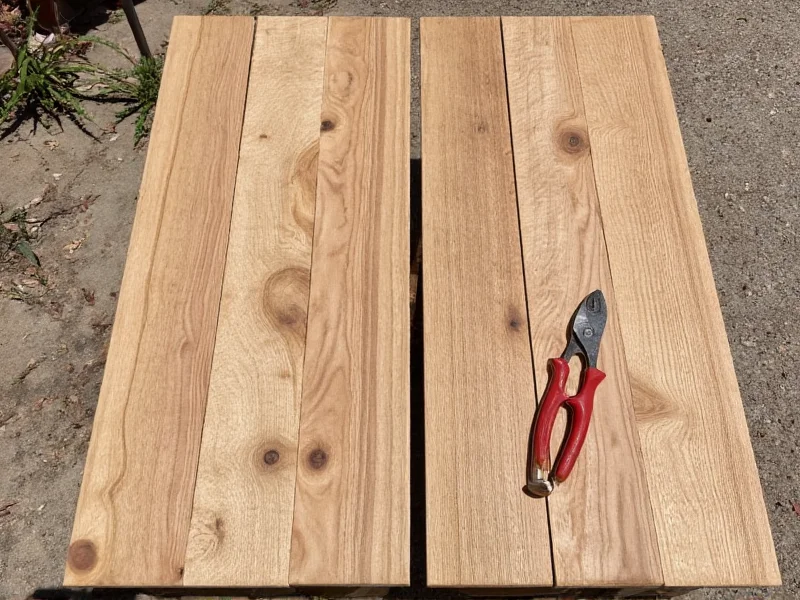
- Wood: 1" x 6" pine boards (8' length) or reclaimed pallet wood (avoid chemically treated)
- Hardware: 2.5" exterior wood screws, wood glue, sandpaper (120/220 grit)
- Finish: Water-based polyurethane (low odor, dries fast)
Tool Hacks for Apartment Dwellers
- Use a $15 hand saw instead of a circular saw
- Borrow a drill from neighbors (most hardware stores rent)
- Sand with old t-shirts + sandpaper strips

Step-by-Step Construction: Zero Wobble Guarantee
Follow these phases in order—rushing causes alignment errors. Allow 4 hours total.
- Prep Wood: Cut top boards to length (e.g., 36" for coffee table). Sand edges smooth.
- Build Frame: Attach two 2x2" supports underneath top using wood glue + screws. Pro tip: Clamp pieces for 20 minutes before screwing.
- Leg Attachment: Position legs at corners. Drill pilot holes to prevent splitting. Secure with 3 screws per leg.
- Stability Test: Lift one corner—if legs wobble, add triangular corner braces.
Finishing Like a Pro: Avoiding Common Mistakes
Amateur finishes ruin great builds. Do this instead:
- Sanding sequence: 120 grit → wipe dust → 220 grit → wipe again
- Stain trick: Wipe on with cloth, wait 5 mins, wipe off excess immediately
- Sealing: Apply 2 thin polyurethane coats (not thick globs) with 4-hour drying between

Troubleshooting Guide: Fixing Real Issues
Encountering problems? These solutions come from 10+ years of workshop experience:
Wobbly Legs
Cause: Uneven floor or loose joints. Solution: Add adjustable furniture glides or sand leg bottoms on flat surface.
Cracks in Wood
Cause: Natural wood movement. Solution: Fill with wood epoxy, not caulk—let dry 24 hours before sanding.
Sticky Finish
Cause: Too much polyurethane. Solution: Lightly sand with 400 grit paper, apply thinner second coat.
FAQs: Your DIY Table Questions Answered
How much does a basic DIY table cost?
Using reclaimed wood and borrowed tools, you can build a small table for $15-$30. New materials typically cost $40-$65 for a coffee table-sized project, including finish.
Can I build a table without power tools?
Absolutely. A hand saw, hammer, and manual screwdriver work for small tables. Focus on simple designs like slab tops with pre-cut hairpin legs. Allow extra time for sanding and cutting.
What's the easiest wood for beginners?
Pine is ideal—soft enough for easy cutting but stable when assembled. Avoid plywood for tops (edges show layers) and oak (too hard for hand tools). Reclaimed cedar from pallets works well if properly sanded.
How do I prevent gaps between tabletop boards?
Clamp boards tightly during assembly and use wood glue on all seams. For wider tables, add an "H"-shaped support frame underneath to distribute pressure evenly and prevent warping.


 浙公网安备
33010002000092号
浙公网安备
33010002000092号 浙B2-20120091-4