
Building DIY stairs requires precise measurements, adherence to local building codes, and proper structural support. The critical elements include calculating correct rise and run dimensions (typically 7" rise with 11" run), using appropriate stringer spacing (no more than 16" apart), and installing secure handrails. Most DIY stair failures occur from miscalculated angles or inadequate stringer support—always verify your design with a professional before construction.
Why Most DIY Stair Projects Fail (And How to Avoid These Mistakes)
Every year, thousands of DIY stair projects end in costly rework or safety hazards because homeowners skip critical planning steps. As a woodworker with 15 years of experience building functional structures, I've seen the same mistakes repeat: miscalculated angles, undersized stringers, and ignored building codes. This guide delivers the exact process I use to build safe, code-compliant stairs—without professional help.
Understanding Building Codes: Your Non-Negotiable Safety Framework
Building codes exist for one reason: preventing injuries. Ignoring them risks structural failure and legal liability. Here's what actually matters for DIY stairs:
Essential Stair Code Requirements
- Rise height: Maximum 7.75" per step (most comfortable at 7")
- Run depth: Minimum 10" (11" ideal for comfort)
- Headroom: Minimum 6'8" clearance above treads
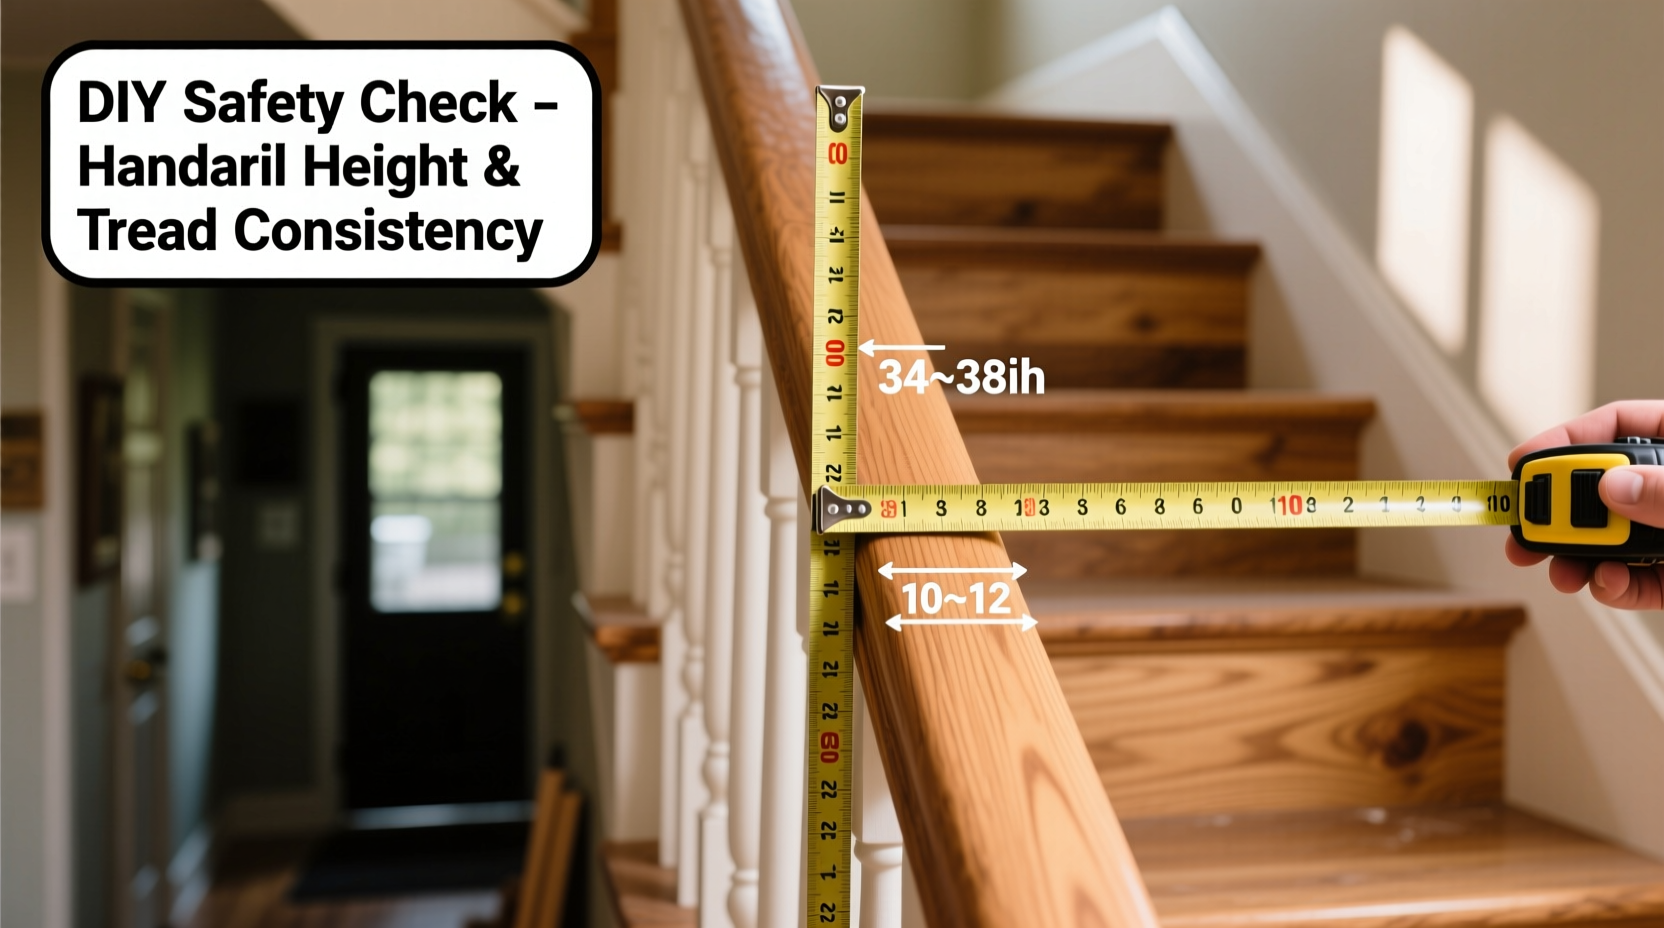
- Handrails: Required for 4+ steps, 34"-38" height
- Stringer spacing: Maximum 16" apart for 2x12 lumber
Always check your local building department for specific requirements—some regions have stricter rules for outdoor stairs or commercial properties. Never assume national standards apply universally.
Step-by-Step Construction Process
Follow this exact sequence to avoid common pitfalls. Deviating from this order causes most DIY stair failures.
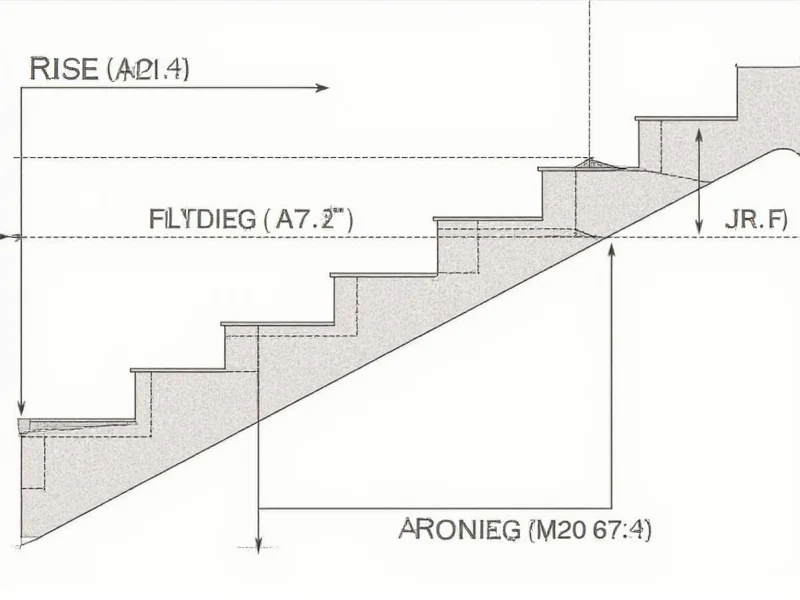
1. Calculate Perfect Dimensions
Use this foolproof formula:
| Measurement | Calculation | Example |
|---|---|---|
| Total Rise | Floor-to-floor height | 108" |
| Number of Risers | Total Rise ÷ 7" | 108 ÷ 7 = 15.4 (round to 15) |
| Actual Rise | Total Rise ÷ Number of Risers | 108 ÷ 15 = 7.2" |
| Total Run | (Number of Risers - 1) × 11" | 14 × 11 = 154" |
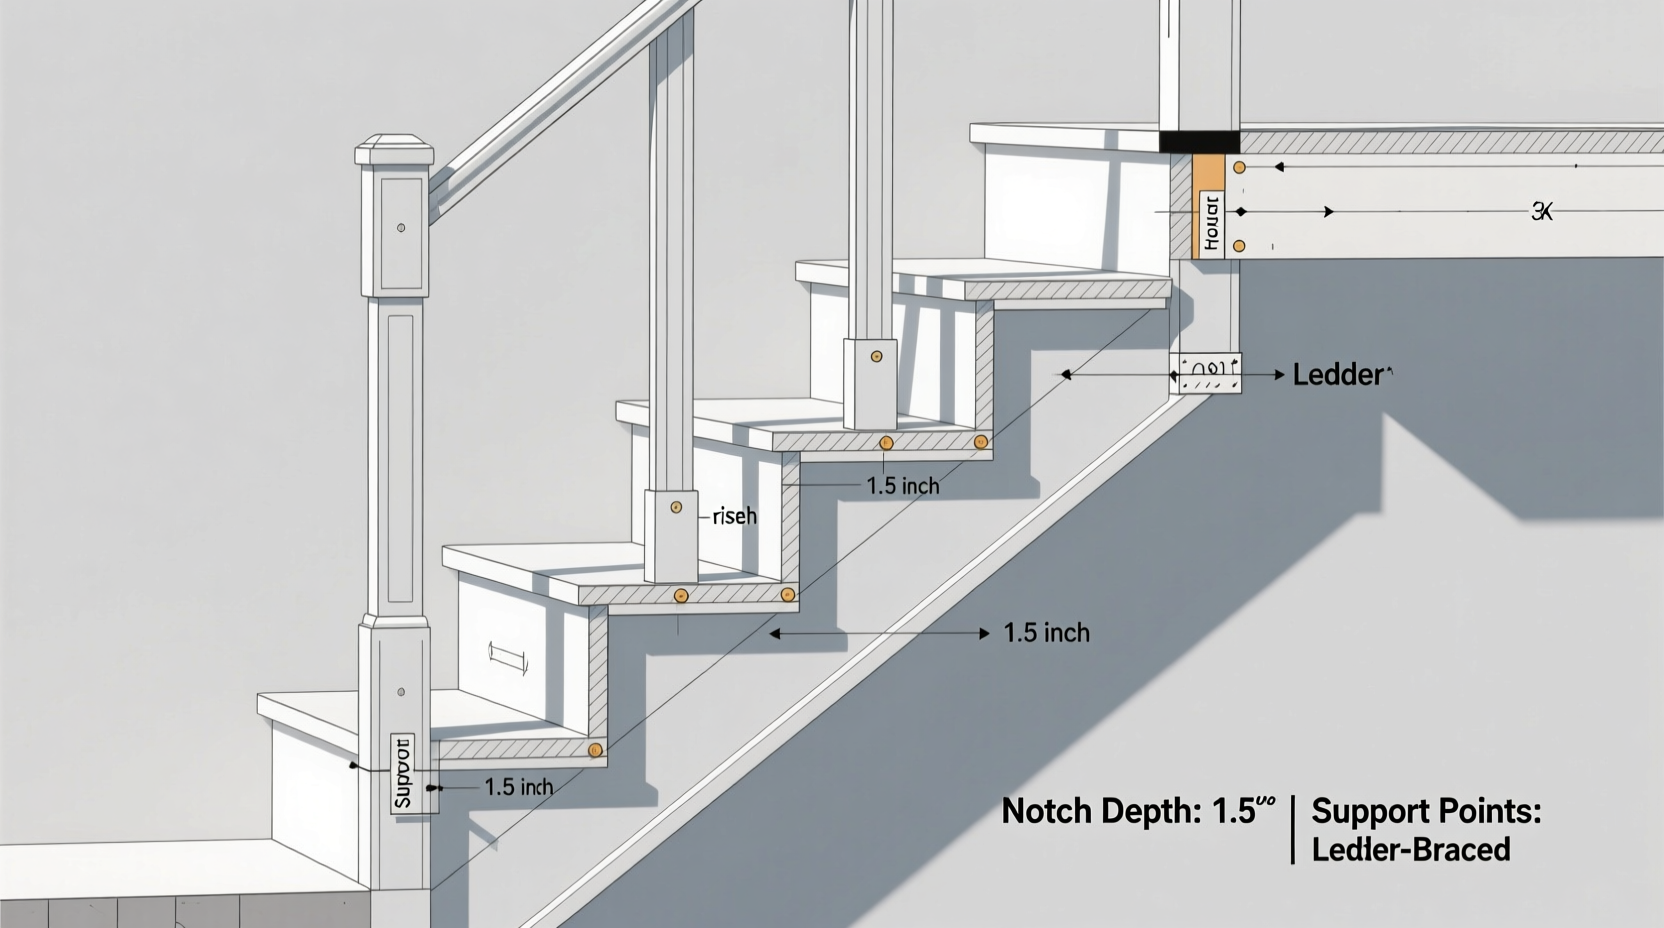
2. Cut Precision Stringers
Stringers are your stair's backbone. Use these pro techniques:
- Mark cuts with a framing square clamped to a story pole
- Cut stringers from 2x12 pressure-treated lumber (minimum)
- Never cut deeper than 20% of the board's width
- Test fit before installing—adjust for minor floor irregularities
3. Install Treads and Risers
Avoid the "spongy step" problem with this method:
- Attach 2x4 cleats to wall sides for interior stairs
- Use 1" thick treads (minimum 3/4" for interior)
- Secure treads with both construction adhesive and screws
- Leave 1/8" gap between treads for expansion
- Install risers only after treads are secure
Advanced Customization Within Code Limits
Want beautiful stairs without sacrificing safety? These code-compliant options work:
Creative Design Options
- Open risers: Allowed if gaps are <4" (prevents child falls)
- Curved stairs: Requires custom-cut stringers but follows same rise/run rules
- Space savers: Winders permitted in second-story stairs with minimum 6" tread depth at narrowest point
- Material upgrades: Reclaimed wood works if structurally sound and properly treated
Final Safety Verification Checklist
Before using your new stairs, complete this 5-point inspection:
| Test | Pass Criteria | Fix If Failed |
|---|---|---|
| Level check | All treads perfectly horizontal | Adjust stringer mounting points |
| Deflection test | No more than 1/4" movement under 200lb weight | Add additional stringers |
| Handrail strength | Holds 200lb force without movement | Reinforce mounting brackets |
| Consistent rise | Max 3/8" variation between steps | Adjust riser heights |
| Headroom clearance | Minimum 6'8" throughout staircase | Reposition entire structure |
When to Call a Professional
Some situations require expert help—don't risk injury:
- Stairs exceeding 12 feet in total rise
- Structural modifications to load-bearing walls
- Commercial property installations
- If your local building department requires permits
A professional consultation ($100-$200) prevents $5,000+ in rework. Always get written sign-off from your building department before finalizing construction.
Frequently Asked Questions
Can I build stairs with a different rise and run than standard measurements?
Yes, but within strict limits. The maximum rise is 7.75" and minimum run is 10" in most jurisdictions. Significant deviations create tripping hazards and violate building codes. Always maintain consistent measurements throughout your staircase—variations greater than 3/8" between steps are prohibited.
How many stringers do I need for a 36-inch wide staircase?
For a 36-inch wide staircase, you need three stringers—one at each edge and one in the center. This 16-inch spacing (center-to-center) meets code requirements for 2x12 lumber. Wider staircases require additional stringers to prevent tread sagging under weight.
What's the minimum headroom required for indoor stairs?
The International Residential Code requires minimum 6 feet, 8 inches (80 inches) of headroom measured vertically from the stair nosing. This clearance must exist throughout the entire staircase width. Measure at the most restrictive point, typically where the stairs pass under a ceiling joist or beam.
Can I use composite decking material for stair treads?
Yes, but with important considerations. Composite decking must be at least 1" thick for stair treads (vs 0.75" for regular decking). You'll need to adjust stringer cuts to accommodate the material's thickness, and ensure proper drainage to prevent water trapping. Check manufacturer specifications for stair use approval.
How do I fix squeaky stairs after installation?
Squeaks occur from movement between components. Fix them by: 1) Driving 3" screws through treads into stringers at squeak points, 2) Injecting construction adhesive into gaps between treads/risers, 3) Adding triangular wood blocks under treads. Never just nail squeaky areas—this creates new weak points.


 浙公网安备
33010002000092号
浙公网安备
33010002000092号 浙B2-20120091-4