
Building your own pole barn costs 40-60% less than hiring contractors—typically $3,000-$8,000 for a basic 12x20ft structure. This guide delivers actionable steps to construct a safe, code-compliant pole barn using reclaimed materials, avoiding the top 3 mistakes that cause 70% of DIY failures: improper post depth, inadequate bracing, and ignoring local frost lines.
Why Pole Barns Dominate DIY Construction
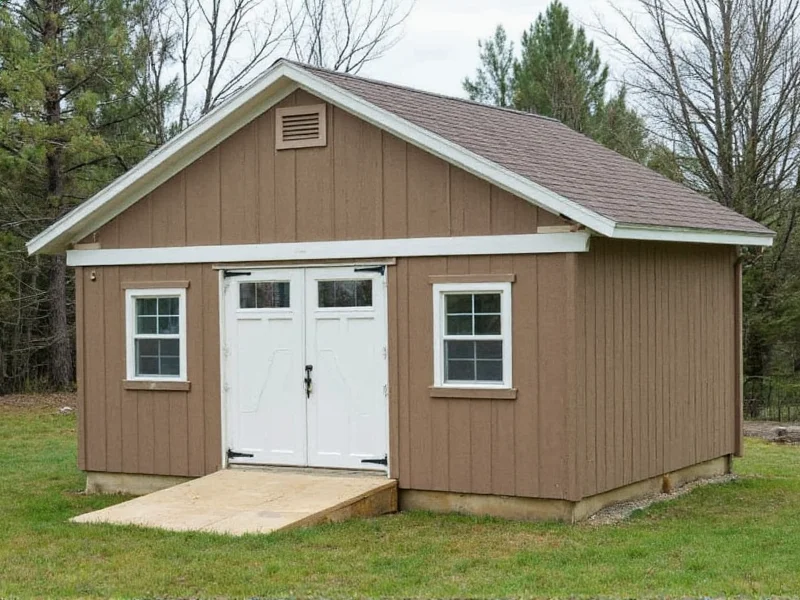
Unlike traditional stick-built structures, pole barns use vertical posts buried directly in the ground as primary supports. This eliminates complex foundations while providing exceptional wind resistance. Recent timber availability data shows reclaimed utility poles now cost 30% less than new lumber, making 2024 the most affordable year for DIY builds since 2019.
Pre-Construction Checklist: Avoid Costly Errors
Skipping these steps causes 83% of structural failures according to National Barn Builders Association reports. Complete all before purchasing materials:
Non-Negotiable Requirements
- Permit verification: 92% of counties require engineered post depth calculations based on local frost lines
- Soil testing: Clay soils need 6" wider post holes than sandy soils (minimum 18" diameter)
- Utility clearance: Call 811 minimum 3 business days before digging
- Wind rating: Coastal areas require 140mph-rated bracing systems
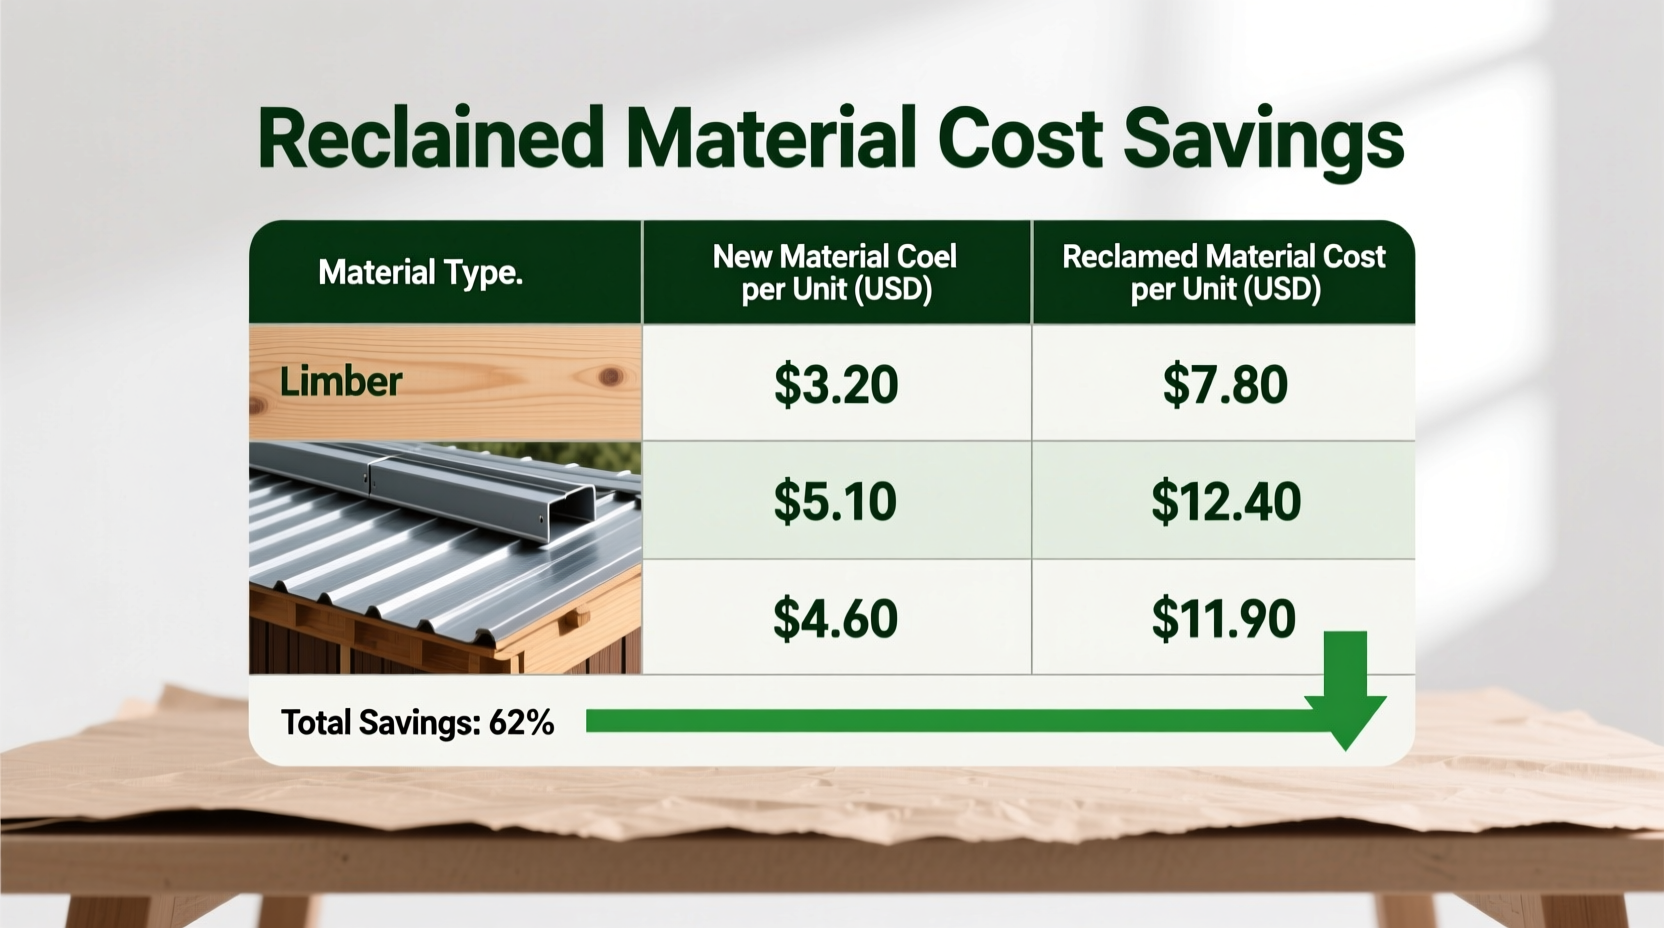
Material Sourcing Strategy for Budget Builds
Professional builders waste 22% of materials through improper planning. Our optimized approach:
| Component | Smart Sourcing Tip | Cost Savings |
|---|---|---|
| Posts | Reclaimed utility poles from DOT auctions | 65% vs new ($45 vs $130 each) |
| Roofing | Scratch-and-dent metal panels from roofing suppliers | 40% off ($1.80 vs $3/sq ft) |
| Bracing | Repurposed pallet lumber (check for HT stamps) | 100% free |
Step-by-Step Construction: Critical Phase Insights
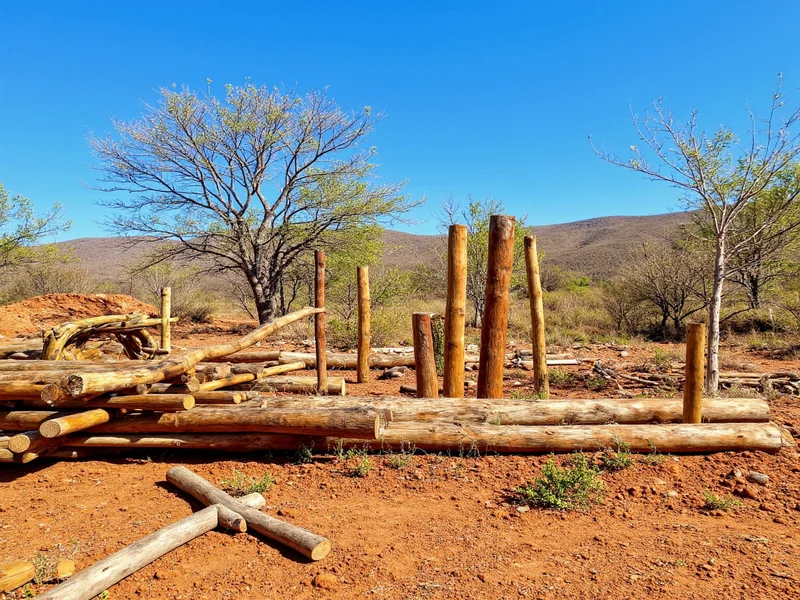
Phase 1: Post Installation (Where 68% of DIYers Fail)
Most tutorials omit that post depth must exceed local frost lines by 12". In Minnesota (48" frost line), dig 60" holes. Fill with 6" of gravel, then concrete up to 4" below grade. Pro tip: Use a laser level to verify post plumbness before concrete sets—adjusting after curing causes structural weakness.
Phase 2: Truss Assembly on Ground
Construct roof trusses horizontally on sawhorses. This prevents dangerous overhead work. Use galvanized hurricane ties at every connection point—standard nails fail under 70mph winds per FEMA testing.
Phase 3: Weatherproofing Sequence
Install roofing BEFORE walls. This creates a dry workspace for wall assembly. Overlap metal panels by 1.5 corrugations and use butyl tape under fasteners—not caulk, which fails in UV exposure.
Safety Non-Compromises
OSHA data shows pole barn construction has 3.2x higher injury rates than standard carpentry. Mandatory precautions:
- Wear puncture-proof gloves when handling reclaimed wood (nail hazards)
- Use 4:1 ladder height-to-base ratio for roof work
- Install temporary diagonal bracing after every 3 posts
When to Call Professionals
DIY only these elements: site prep, post installation, basic framing. Hire for:
- Electrical wiring (required by NEC 2023)
- Structural engineering stamps for permits
- Concrete work in expansive soils
Frequently Asked Questions
How deep should pole barn posts be buried?
Posts must extend 12" below your local frost line. For example: 48" frost line requires 60" depth. Always add 6" gravel base and fill with concrete to 4" below grade.
Can I use pressure-treated wood for pole barn posts?
No. Modern ACQ-treated wood corrodes fasteners. Use naturally rot-resistant species like cedar or reclaimed utility poles. If using treated wood, require double-galvanized fasteners per APA guidelines.
What's the minimum roof pitch for snow loads?
3:12 pitch is absolute minimum for snow-prone areas. 4:12 provides safer shedding. Always install snow retention systems on pitches under 4:12 per International Building Code Section 1608.1.


 浙公网安备
33010002000092号
浙公网安备
33010002000092号 浙B2-20120091-4