
Why Craft Your Own Lamp Shade?
Store-bought shades often lack personality and sustainability. A DIY approach lets you:
- Reduce waste by repurposing household items (newspaper, fabric scraps, or cardboard)
- Customize size, shape, and light diffusion for your specific space
- Save 60-80% compared to designer alternatives
- Achieve professional results with beginner-friendly techniques
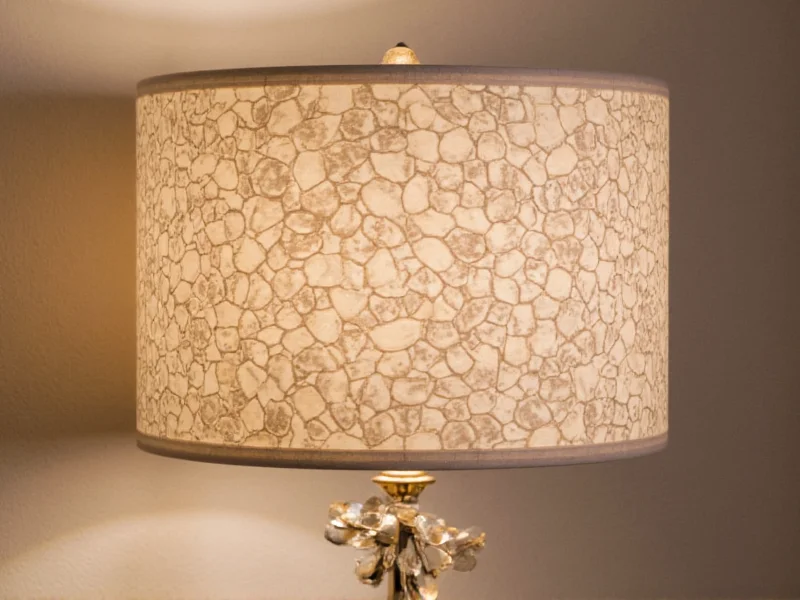
Material Selection Guide: Beyond Basic Kits
Forget expensive kits. These accessible alternatives create unique textures while minimizing environmental impact:
| Material Type | Best For | Light Diffusion | Prep Time |
|---|---|---|---|
| Recycled fabric strips | Bohemian drum shades | Warm, patterned glow | 20 minutes |
| Pressed botanicals | Wall sconces | Soft dappled effect | 48 hours (drying) |
| Upcycled book pages | Table lamps | Bright directional light | 15 minutes |
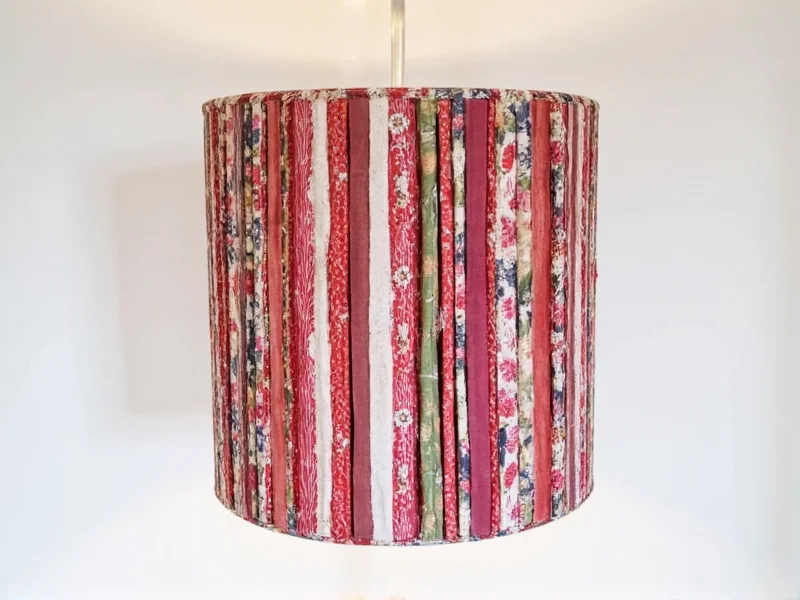
Step-by-Step: No-Sew Fabric Shade (Under $10)
This method uses tension instead of stitching—ideal for beginners. You'll need:
- Wire lamp frame (any size)
- 1.5 yards of lightweight fabric (muslin or recycled scarves)
- Double-sided fabric tape
- Scissors and ruler
Phase 1: Precision Cutting
Measure your frame's circumference and height. Add 2 inches to height for top/bottom margins. Cut fabric rectangle accordingly. Pro tip: Use pinking shears to prevent fraying on natural fibers.
Phase 2: Tension Mounting
- Apply double-sided tape along top edge of fabric
- Attach to frame's top ring, pulling taut
- Repeat at bottom ring while maintaining even tension
- Overlap edges by 1 inch at seam for clean finish
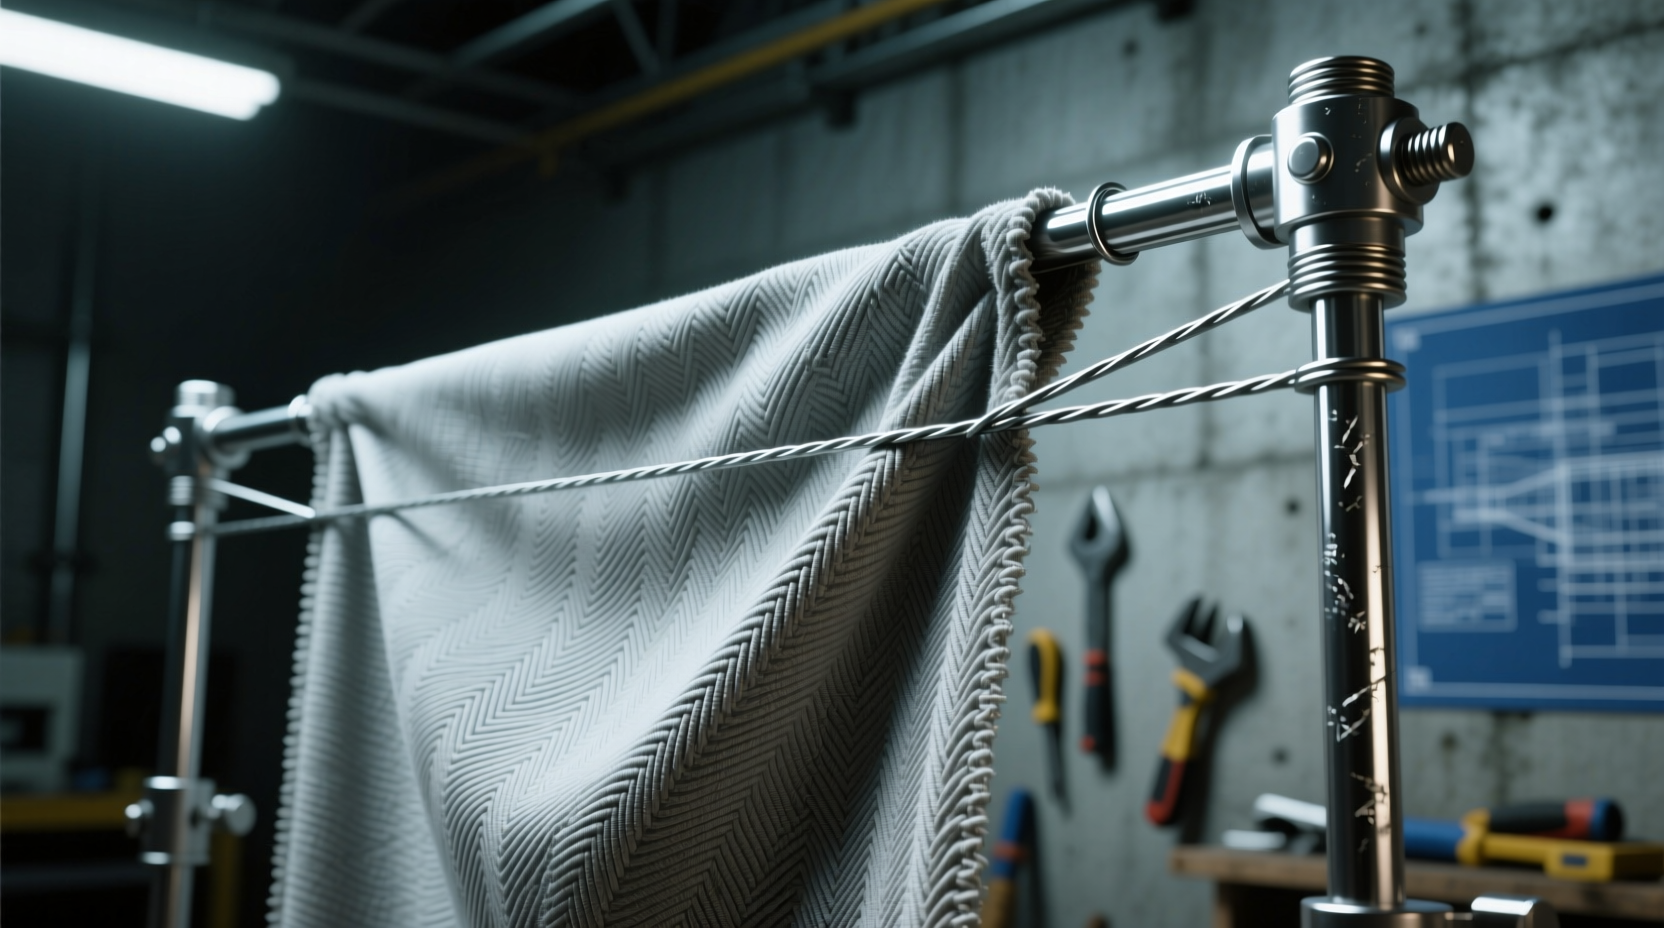
Phase 3: Professional Finishing
Eliminate wrinkles by:
- Using a handheld steamer on low setting
- Securing seam with hidden fabric clips
- Adding decorative trim with fabric glue
Avoiding Common Pitfalls
Many DIYers encounter these issues—here's how to prevent them:
- Uneven light patterns: Test fabric opacity by holding against window before cutting
- Frame visibility: Use two fabric layers with contrasting textures for depth
- Heat damage: Maintain 3-inch clearance between bulb and shade (use LED bulbs)
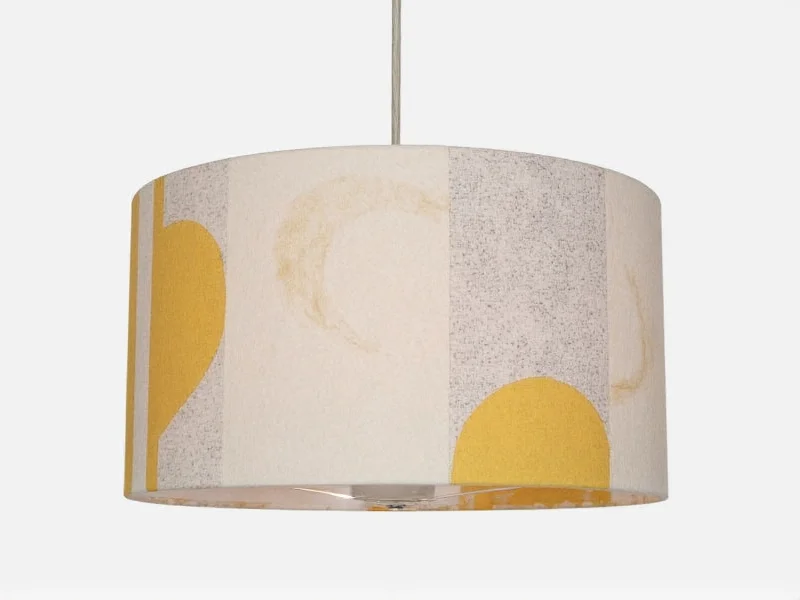
Advanced Customization Techniques
Elevate your design with these pro methods:
- Gradient dyeing: Dip fabric edges in diluted fabric dye for ombre effect
- Textured overlays: Adhere lace or doilies with mod podge for intricate shadows
- Modular design: Create removable panels for seasonal style changes
FAQ: DIY Lamp Shade Essentials
Can I use non-traditional materials like leaves or paper?
Yes, but ensure proper heat resistance. Press botanicals between parchment paper before mounting, and maintain 4-inch bulb clearance. Avoid direct contact with incandescent bulbs.
How do I determine the correct shade size for my lamp?
Measure your lamp base height. The shade should cover 2/3 of the base and extend 1-2 inches beyond the base width. For table lamps, ideal height is 14-18 inches.
What's the safest way to attach heavy embellishments?
Distribute weight evenly using fabric glue instead of hot glue. Reinforce attachment points with hidden wire stitches through the frame. Never exceed 4 ounces of added weight per square foot.


 浙公网安备
33010002000092号
浙公网安备
33010002000092号 浙B2-20120091-4