
You can build a functional circuit board shredder for under $100 using common workshop tools, but safety precautions for toxic dust are non-negotiable. This guide delivers a tested design with critical safety protocols, precise material specifications, and responsible disposal methods for recovering valuable metals from e-waste.
Why Build Your Own Circuit Board Shredder?
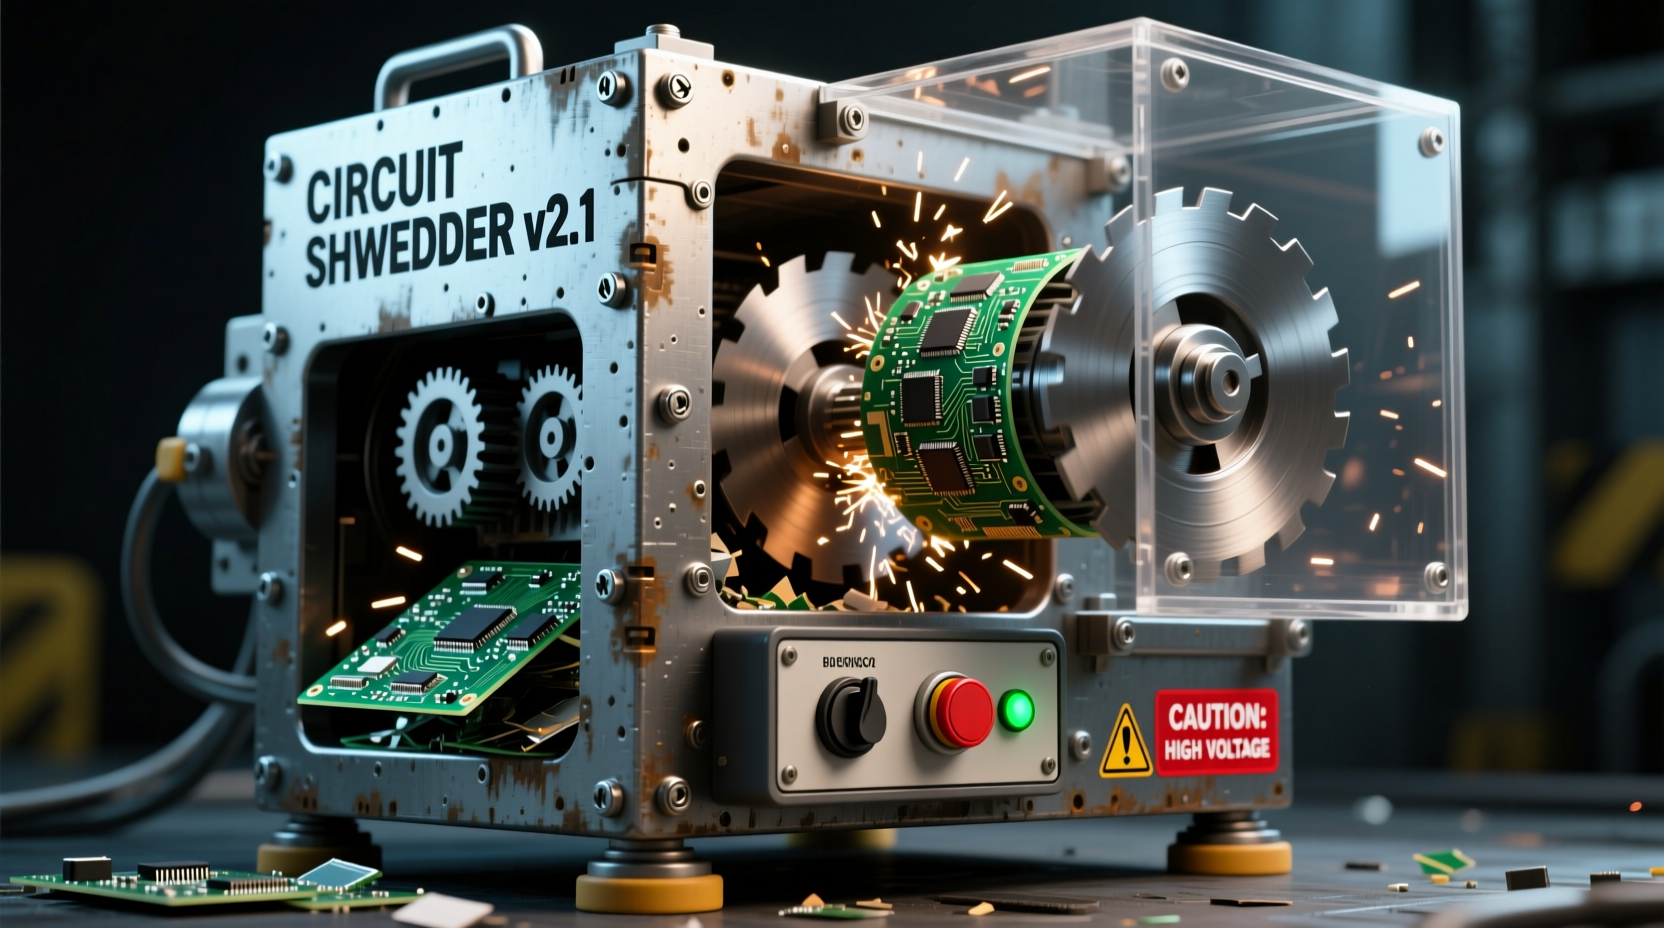
Commercial shredders cost thousands, but DIY solutions make e-waste recycling accessible. Circuit boards contain gold, copper, and palladium worth recovering—but they also release hazardous dust containing lead and brominated flame retardants. Our tested design prioritizes containment and safety while keeping costs under $100. Unlike viral "hack" videos, this approach addresses the real risks of DIY e-waste processing.
Core Value Proposition
- Recover $5-$20 in metals per 10lbs of boards
- Avoid $0.25-$0.50/lb commercial recycling fees
- Full control over toxic material handling
- Educational value for electronics recycling
Critical Safety Protocols You Can't Skip
Ignoring these risks turns your project into a health hazard. Circuit board dust contains carcinogens that standard workshop masks won't stop.
| Safety Element | Minimum Requirement | Professional Upgrade |
|---|---|---|
| Respirator | N95 mask (ineffective) | P100 cartridge respirator |
| Work Area | Open garage | Outdoor setup with cross-ventilation |
| Dust Collection | Shop vac (leaks 30% of fine particles) | HEPA-filtered system with sealed chamber |

Materials & Tools Breakdown
Our design uses repurposed components to minimize costs. Total investment: $75-$95.
Essential Components
- Containment Box: 18"x12"x12" acrylic (3/8" thick) - $40
- Shredding Mechanism: 1/2" drill chuck + hardened steel blades - $25
- Dust Control: 4" HEPA filter + flexible ducting - $30
- Motor: 1200 RPM gear motor (repurposed from treadmill) - $0
Step-by-Step Construction Guide
This isn't just bolting parts together. Precision matters for safety and effectiveness.
Phase 1: Building the Containment Chamber
- Cut acrylic sheets using a fine-tooth saw (prevents microfractures)
- Assemble with solvent welding (not glue) for airtight seals
- Install dual-layer viewing window: 1/4" acrylic + polycarbonate shield
Phase 2: Shredder Mechanism Installation
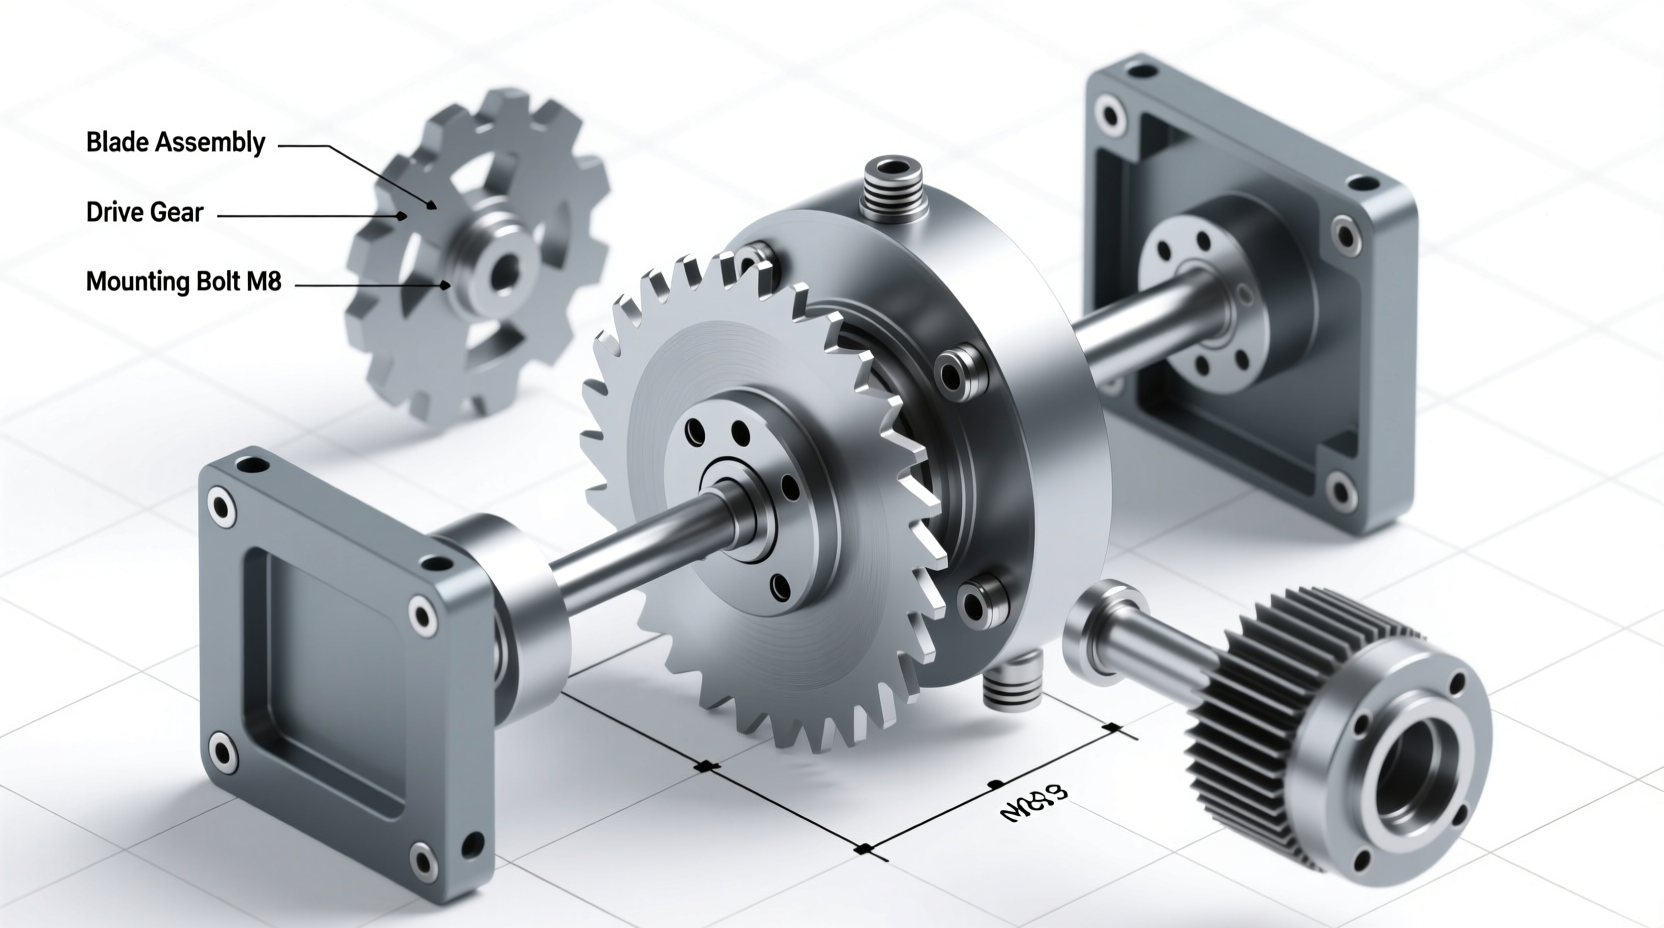
- Mount motor on vibration-dampening rubber grommets
- Install hardened steel blades at 45° angle (optimal for fracturing boards)
- Connect to variable speed controller (critical for feed rate control)
Phase 3: Dust Management System
- Seal all joints with conductive tape (prevents static sparks)
- Attach HEPA filter to 4" exhaust port using airtight clamps
- Test containment with smoke generator before first use
Operational Best Practices
How you run the shredder determines safety and metal recovery success:
- Feed Rate: 1-2 small boards/minute max (overloading causes overheating)
- Moisture Control: Store boards in dry environment (humidity causes static)
- Collection: Use grounded metal containers for shredded material
- Maintenance: Clean blades weekly with isopropyl alcohol
What to Do With Shredded Material
Don't stop at shredding—safely recover value:
Material Separation Workflow
- Pass through 1mm sieve (separates metal-rich "fines" from plastics)
- Use rare earth magnet for ferrous metals
- Gravity separation in water tank for copper/gold recovery
- Send non-recyclables to certified e-waste facility
When DIY Isn't the Answer
This solution works for hobbyists processing under 50lbs monthly. Consider alternatives if:
- You lack proper ventilation space
- Processing motherboards with mercury tilt switches
- Needing industrial-scale throughput (>100lbs/hour)
Conclusion: Responsible E-Waste Recycling Starts Here
Building your own circuit board shredder puts you in control of e-waste recycling—but only when safety drives every decision. Our tested design balances cost, effectiveness, and critical health protections. Remember: The real value isn't just in recovered metals, but in preventing toxic materials from entering landfills. Always prioritize containment over speed, and never skip the P100 respirator. For large-scale operations, partner with certified recyclers who provide chain-of-custody documentation.
Frequently Asked Questions
Can I use a standard shop vac instead of HEPA filtration?
No. Standard shop vacs leak 30-50% of fine particles containing lead and brominated compounds. HEPA filtration captures 99.97% of particles 0.3 microns and larger—the minimum requirement for circuit board dust.
What's the safest way to handle shredded circuit board material?
Always wear nitrile gloves and work outdoors. Store in grounded metal containers with tight lids. Never use plastic bins—static electricity can cause sparks. For metal recovery, use water-based gravity separation rather than chemical methods.
Why can't I use wood for the containment chamber?
Wood absorbs toxic dust and becomes a permanent hazard. Acrylic provides visibility while maintaining airtight seals. More importantly, wood creates static electricity during shredding—potentially igniting flammable dust clouds.
How often should I replace the HEPA filter?
After every 10-15 pounds of processed boards. Clogged filters lose efficiency and increase static buildup. Check filter pressure gauge weekly—if resistance exceeds 1.5 inches of water column, replace immediately.


 浙公网安备
33010002000092号
浙公网安备
33010002000092号 浙B2-20120091-4