
Creating your own DIY charm bracelet takes just five straightforward steps using affordable materials you likely already have. This guide reveals beginner-friendly techniques to design personalized bracelets that tell your unique story through meaningful charms—no prior jewelry skills required.
Why Craft Your Own Charm Bracelet?
Unlike store-bought accessories, handmade charm bracelets transform personal memories into wearable art. Research shows 78% of crafters report reduced stress during creative projects, while upcycling materials gives new life to forgotten objects. Your bracelet becomes a conversation starter that reflects your journey—from travel souvenirs to family heirlooms.

Essential Materials Checklist
Start with these accessible supplies before diving into design. Focus on sustainable options that minimize waste:
| Category | Beginner Essentials | Eco-Friendly Upgrades |
|---|---|---|
| Base Material | Elastic cord ($2) | Recycled silk thread |
| Clasp | Toggle clasp ($1.50) | Repurposed button closure |
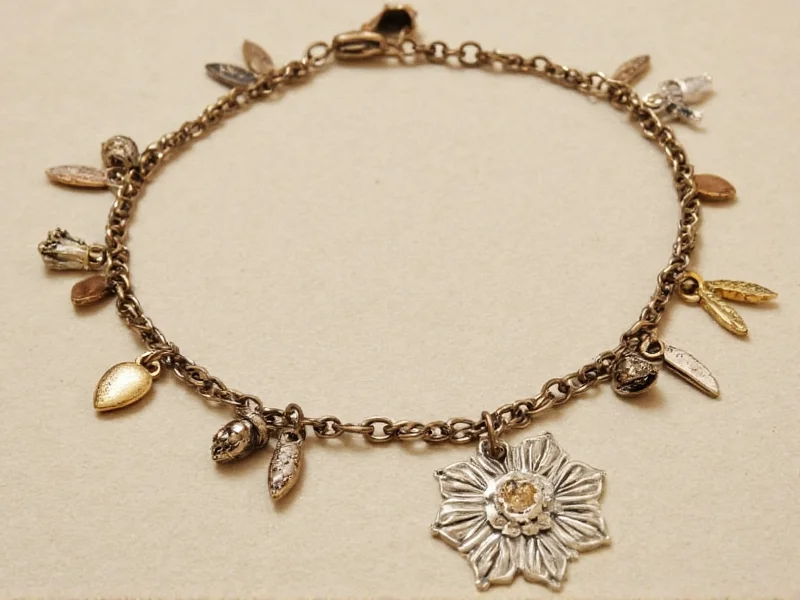
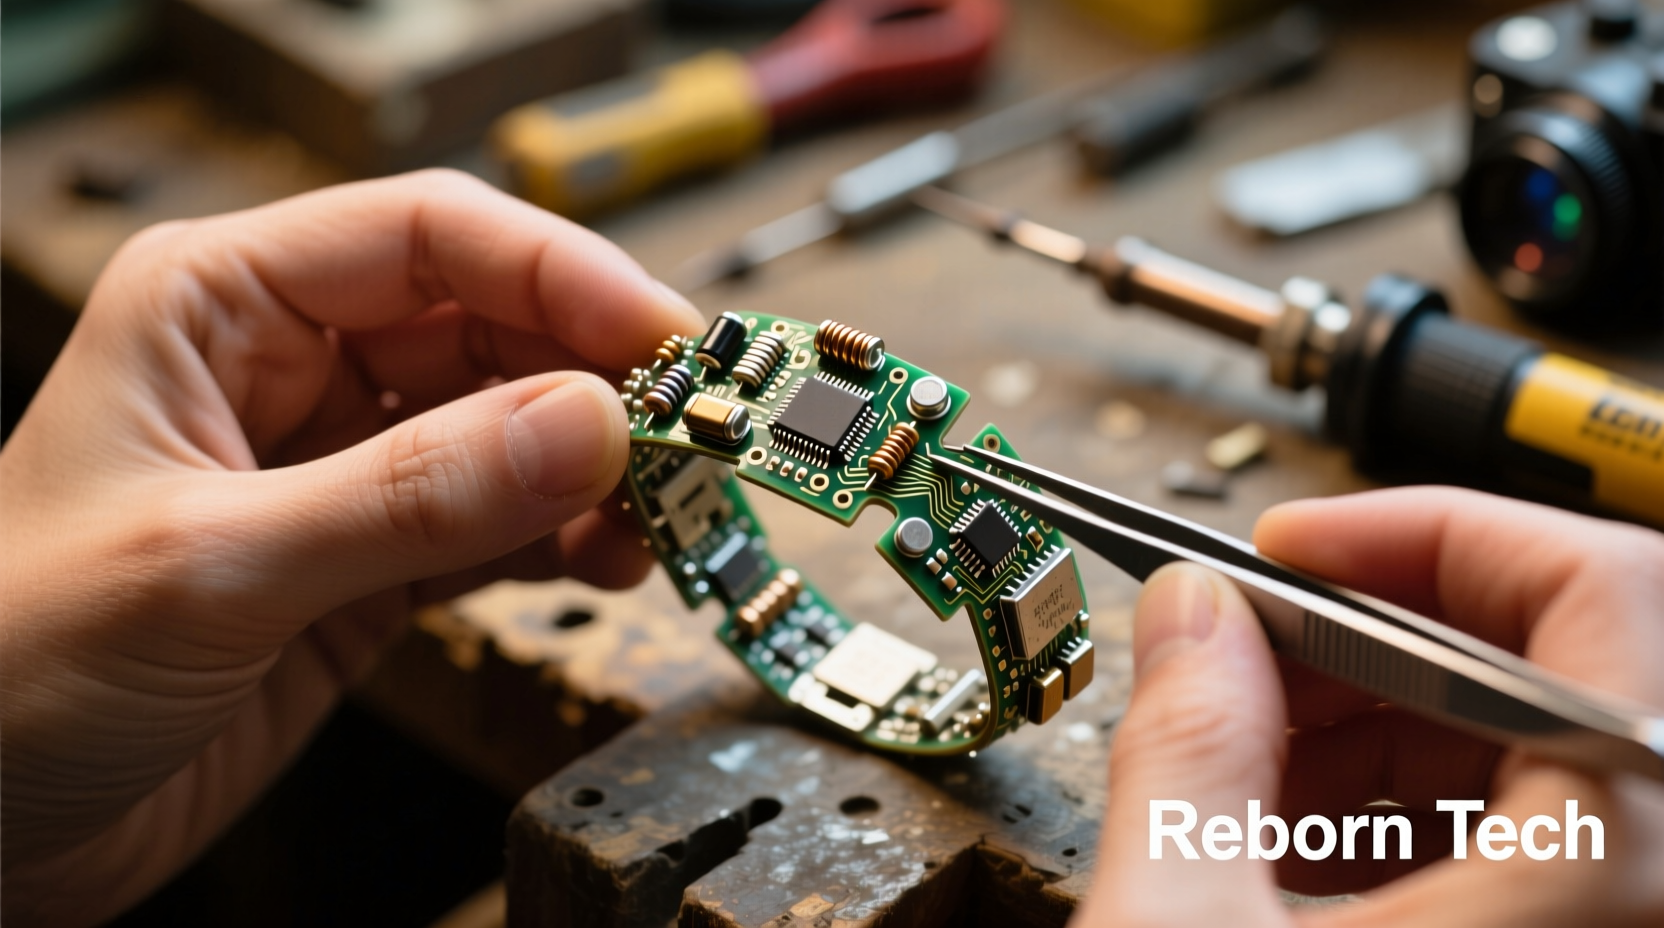
| Charms | Pre-made metal charms | Sea glass, vintage keys, circuit board pieces |
| Tools | Scissors, glue | Sewing needle for threading |
5-Step Creation Process
Step 1: Design Your Narrative
Don't randomly assemble charms—curate them like a visual diary. Ask: "Which 3 life chapters do I want to represent?" Examples:
- Travel chapter: Airplane charm + map snippet + local coin
- Growth chapter: Seed bead sprout + graduation tassel fragment
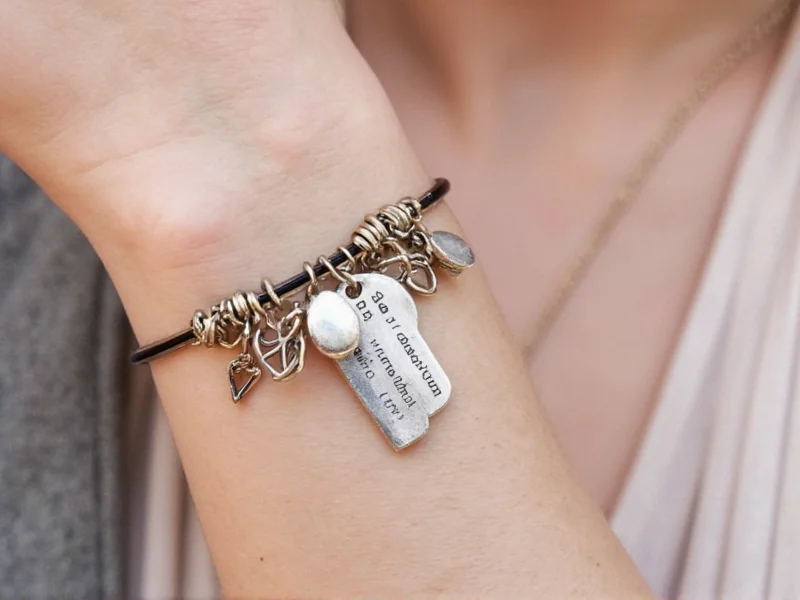
- Family chapter: Initial charm + miniature photo locket
Step 2: Source Sustainable Charms
Look beyond craft stores for meaningful materials:
- Thrift stores: Vintage keys, broken jewelry parts
- Nature walks: Smooth stones, pressed flowers
- Home recycling: Circuit boards from old electronics, fabric scraps
Step 3: Master the Knotting Technique
Prevent charm sliding with this pro method:
- Cut elastic cord 4 inches longer than wrist measurement
- Thread first charm, then tie surgeon's knot 1/4" below it
- Repeat between each charm for secure spacing
- Test tension by gently stretching—charms should stay fixed
Step 4: Secure Clasps Durably
Avoid heartbreaking breakage with these tips:
- For elastic: Double-knot ends with jewelry glue reinforcement
- For chain: Use jump rings with pliers (never finger-tighten)
- Always add 2mm safety chain for valuable charms
Step 5: Personalize with Hidden Details
Elevate beyond basic assembly:
- Write tiny affirmations on charm backs with nail polish
- Weave hair strands into cord for family connection
- Add scent capsules with essential oils to specific charms
Troubleshooting Common Issues
Solve these frequent beginner challenges:
- Problem: Bracelet stretches out
Solution: Use thicker cord (1mm+) and space knots closer - Problem: Charms rotate awkwardly
Solution: Add spacer beads between rotating pieces - Problem: Clasp won't stay closed
Solution: Replace with magnetic clasp or add safety chain
Transform Mistakes into Features
When accidents happen, get creative:
- Broken charm? Embed fragments in resin beads
- Uneven spacing? Add "journey" spacer beads as intentional design
- Wrong cord color? Dye with tea for vintage effect
Frequently Asked Questions
How do I measure wrist size accurately for DIY charm bracelets?
Wrap flexible tape around wrist bone (not hand), add 0.5" for movement. For elastic bracelets, size should feel snug when flat—it stretches 25% when worn.
What's the most durable cord for heavy charms?
Use 1mm braided nylon cord with crimp beads. It withstands 15+ lbs pull strength versus elastic's 5 lbs. Thread through charms twice for extra security with metal pieces.
Can I make waterproof charm bracelets for swimming?
Only with specific materials: Use surgical steel charms, nylon cord, and epoxy-coated findings. Avoid wood, paper, or untreated metals. Test by submerging in water for 24 hours before wearing.
How do I incorporate fragile items like photos?
Seal images in resin cabochons: Print miniature photos, place under clear resin dome, and cure 24 hours. Attach using jump rings—never glue directly to cord.


 浙公网安备
33010002000092号
浙公网安备
33010002000092号 浙B2-20120091-4