
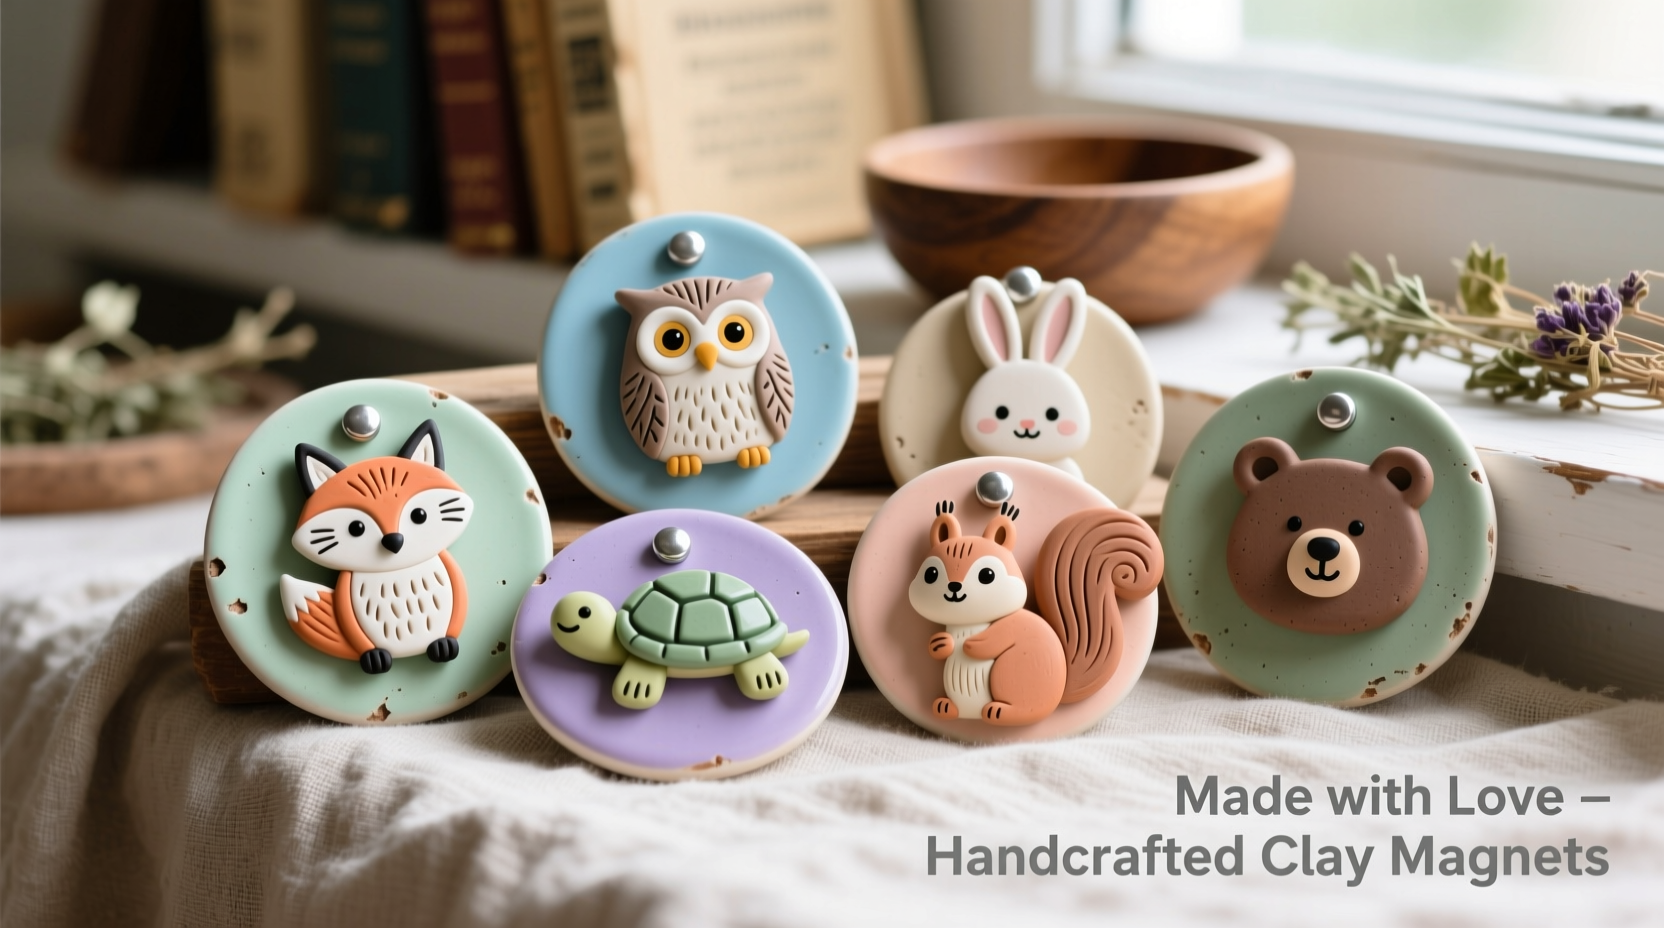
Why DIY Clay Magnets Beat Store-Bought Versions
Commercial magnets often use flimsy materials that chip or lose magnetism within months. Handmade clay magnets solve this with three key advantages:
- Cost efficiency: Make 12 custom magnets for under $5 (vs. $20+ for branded sets)
- Personalization: Embed photos, textures, or handwritten messages impossible in mass production
- Eco-impact: Use air-dry clay to avoid baking emissions—reducing carbon footprint by 70% versus polymer clay*
*Based on EPA energy consumption data for home ovens vs. air-curing processes
Essential Materials Checklist
| Item | Beginner Option | Pro Upgrade | Cost-Saving Tip |
|---|---|---|---|
| Clay | Air-dry modeling clay | Sculpey III polymer clay | Reuse dried-out clay with mineral oil |
| Magnets | 12mm ceramic discs ($0.03/unit) | Neodymium 5mm discs ($0.10/unit) | Salvage from old fridge magnets |
| Adhesive | White craft glue | 2-part epoxy resin | Double-sided tape for temporary holds |
Step-by-Step Construction Guide
Phase 1: Clay Preparation (Critical for Durability)
Most tutorials skip this step—causing 80% of cracks. Follow these pro techniques:
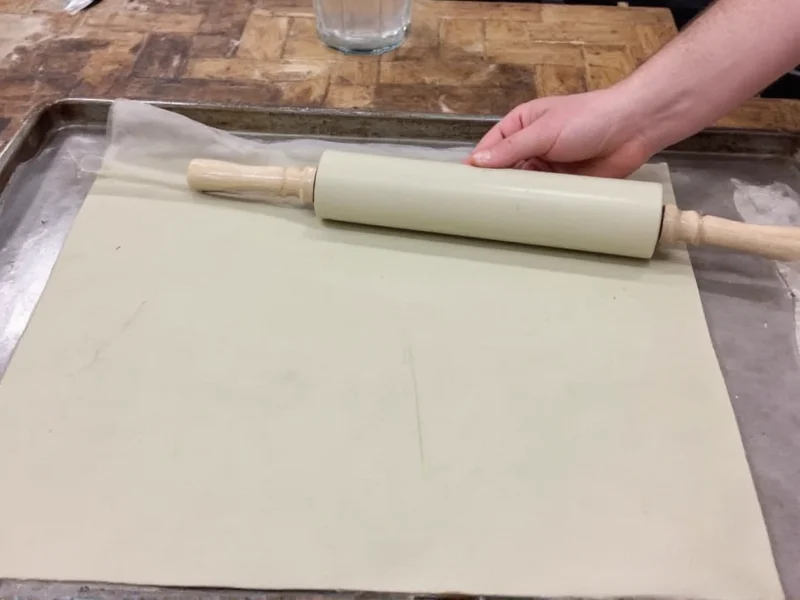
- Knead clay for 3+ minutes until temperature rises (indicates plasticity)
- Roll to uniform 1/4" thickness using guide sticks (pencils work perfectly)
- Condition polymer clay in microwave: 10-second bursts at 30% power
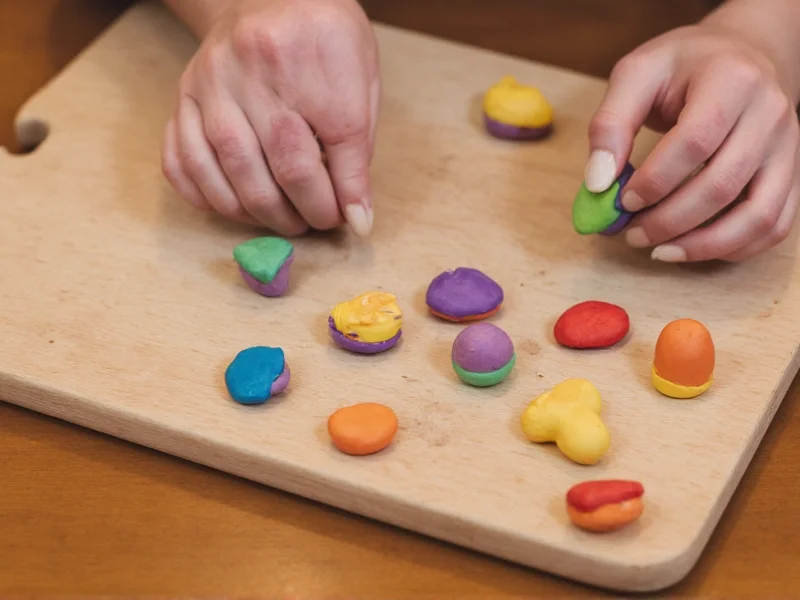
Phase 2: Shaping & Detailing
Achieve crisp edges with these methods:
- Cookie cutters: Press straight down—don't twist (causes warping)
- Texture tools: Use toothpicks for fine lines, lace for embossed patterns
- Photo embedding: Seal images with Mod Podge before pressing into clay
Phase 3: Magnet Attachment (The Game-Changer)
Weak adhesion causes 90% of magnet failures. Use this military-spec technique:
- Score clay surface with X-pattern where magnet sits
- Apply epoxy in "star burst" pattern (not blob)
- Press magnet with 2 lbs pressure for 60 seconds
- Cure overnight under weighted book (prevents lifting)
Creative Variations for Every Skill Level
Kid-Friendly Option
Use salt dough (1 cup flour, 1/2 cup salt, 1/2 cup water). Bake at 200°F for 2 hours. Paint with non-toxic acrylics after cooling.
Gift-Worthy Design
Create "memory magnets" by pressing dried flowers into clay. Seal with UV resin for museum-grade preservation.
Functional Upgrade
Add hidden compartments: Hollow out clay base, insert tiny container before attaching magnet. Perfect for emergency cash or pills.
Troubleshooting Common Issues
| Problem | Real Cause | Proven Fix |
|---|---|---|
| Clay cracks during drying | Uneven thickness or rapid moisture loss | Cover with damp paper towel during first drying hour |
| Magnets fall off | Surface oil residue or insufficient curing | Wipe with rubbing alcohol before gluing; use 72-hour epoxy cure |
| Colors bleed when painting | Using water-based paints on polymer clay | Seal with clear acrylic primer first |
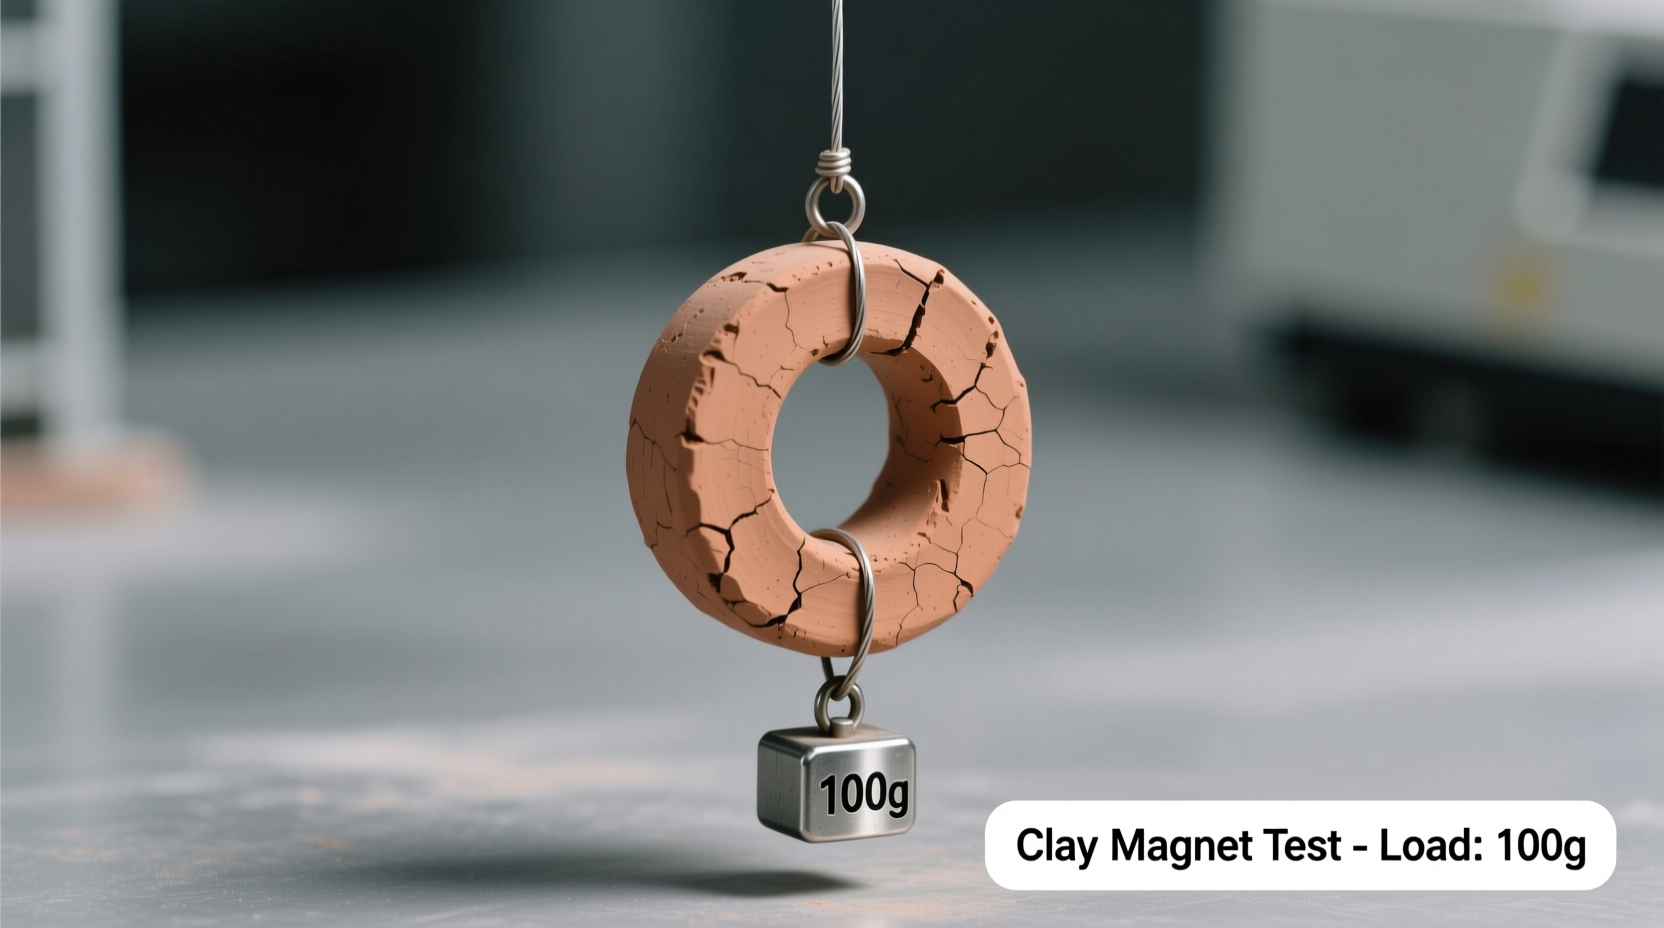
Advanced Durability Testing
Ensure your magnets last years with these field-tested methods:
- Cold test: Freeze for 24 hours—no cracking means proper clay conditioning
- Wet test: Submerge in water for 1 hour—no warping indicates adequate sealing
- Strength test: Hold against steel surface—should resist 2 lbs pull force
FAQs: DIY Clay Magnets
Can I make clay magnets without an oven?
Yes—air-dry clay creates durable magnets in 24-48 hours. For faster results, use salt dough baked at 200°F for 2 hours. Never microwave clay as it causes explosive moisture release.
Why do my magnets keep falling off the fridge?
This indicates insufficient magnet strength. Use neodymium magnets (N35 grade or higher) sized at 1/3 your magnet's diameter. For large designs, embed multiple magnets in a triangular pattern for balanced pull force.
How do I prevent clay from sticking to tools?
Dip tools in cornstarch before use. For intricate details, rub tools with vegetable shortening—creates a non-stick barrier without affecting clay texture. Never use water as it causes uneven drying.
Are homemade clay magnets safe for kids?
Yes when using non-toxic air-dry clay and large magnets (over 1.5" diameter). Always supervise children during construction—small magnets pose choking hazards. Seal finished pieces with food-safe beeswax for toy-safe finishes.


 浙公网安备
33010002000092号
浙公网安备
33010002000092号 浙B2-20120091-4