
Why Homemade Slime Beats Store-Bought
Creating slime at home gives you complete control over ingredients, eliminating concerns about harsh chemicals like borax found in many commercial products. It's an affordable sensory activity costing less than $3 per batch, and you can customize textures and colors for endless creative play. Plus, the process teaches kids basic chemistry principles through hands-on learning.
Your Essential Slime-Making Toolkit
Core Ingredients
- 4 oz (120ml) white school glue (PVA-based)
- 1/2 tsp baking soda
- 1.5 tbsp contact lens solution (must contain boric acid)
- Food coloring or glitter (optional)
Equipment Checklist
- Measuring spoons and cups
- Mixing bowl and spoon
- Airtight storage container
- Disposable gloves (for sensitive skin)
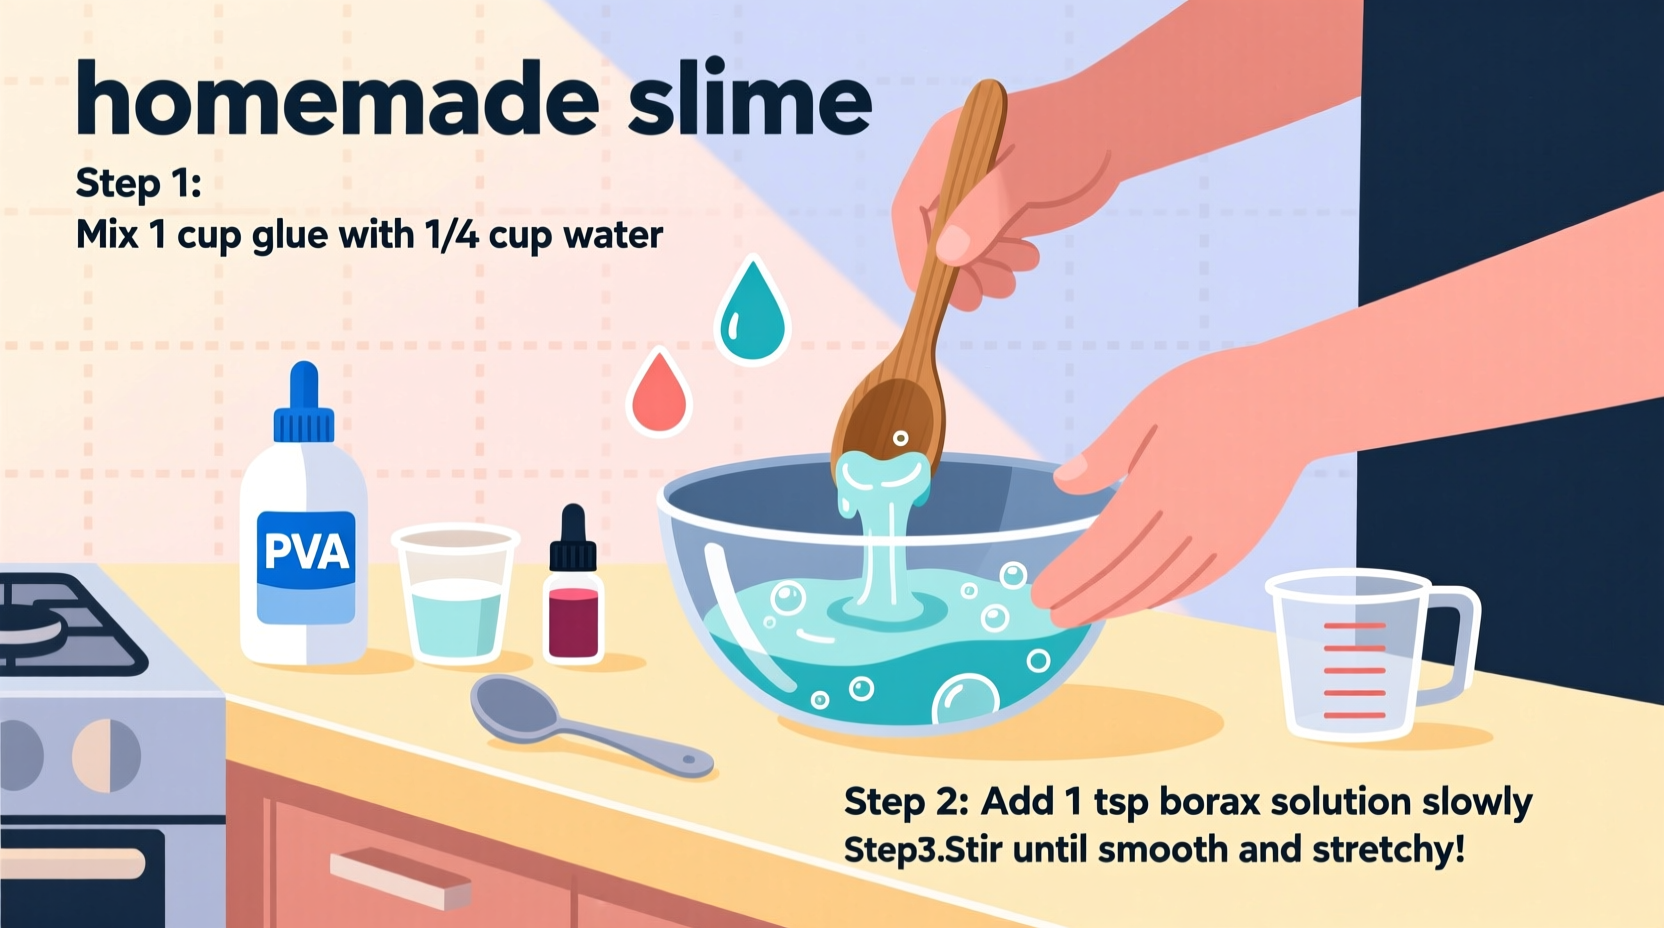
Step-by-Step Basic Slime Recipe
- Mix base ingredients: Combine glue and baking soda in bowl, stirring until smooth
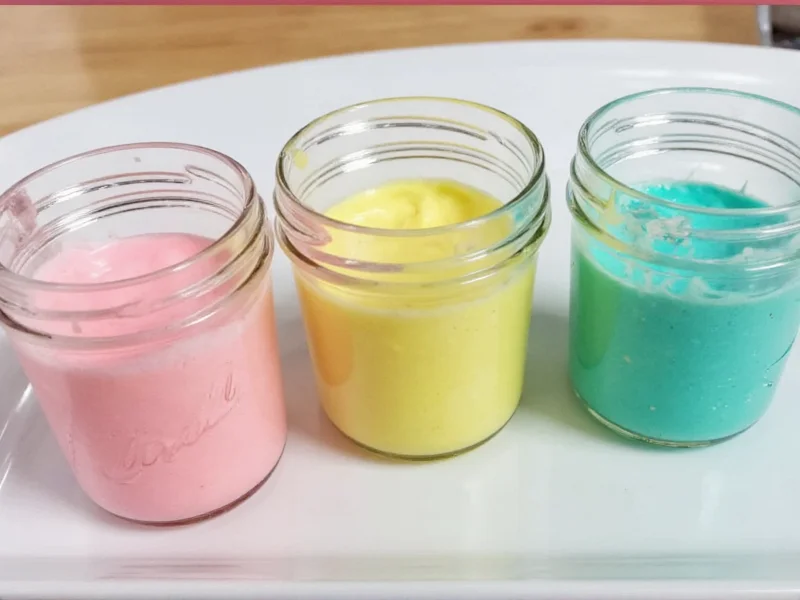
- Add color: Mix in 3-5 drops food coloring (optional)
- Activate slime: Pour in contact lens solution, stirring immediately
- Knead: Once pulls from bowl, use hands to knead for 3-5 minutes until elastic
| Batch Size | Glue | Baking Soda | Contact Solution |
|---|---|---|---|
| Single | 4 oz | 1/2 tsp | 1.5 tbsp |
| Double | 8 oz | 1 tsp | 3 tbsp |
Troubleshooting Common Slime Issues
Sticky Slime Fix
Add 1/4 tsp more contact solution while kneading. Avoid over-adding - work slowly in small increments.
Too Runny Solution
Place in refrigerator for 15 minutes. The cold temperature helps activate polymers for better elasticity.
Creative Variations to Try
Fluffy Slime Upgrade
Replace 1 oz glue with 2 tbsp shaving cream. Mix as usual for cloud-like texture that stretches dramatically. Add mica powder for pearlescent effects.
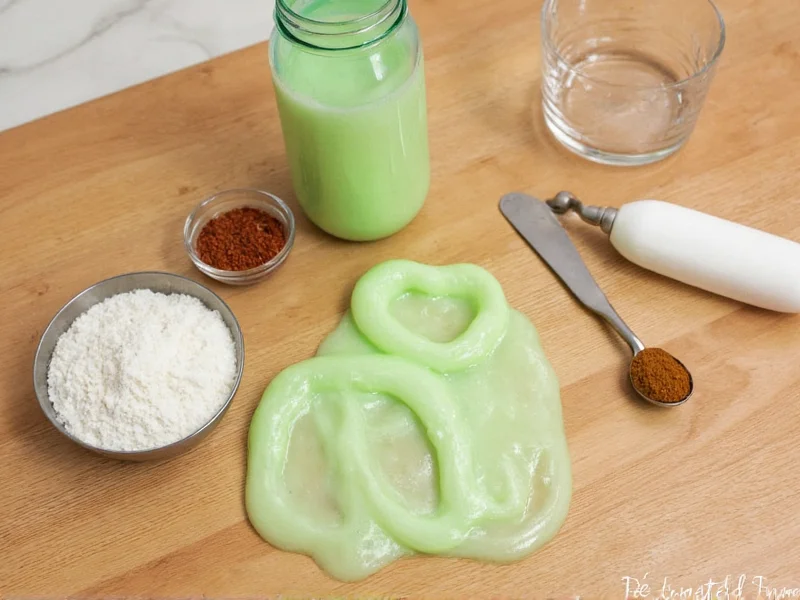
Clear Slime Technique
Use clear PVA glue instead of white. Add 1 extra tbsp contact solution and knead longer (7-10 minutes) for crystal-clear results. Avoid food coloring - use liquid watercolors instead.
Safety & Storage Best Practices
Always supervise children during slime-making. Perform a patch test with contact solution first for sensitive skin. Store slime in airtight containers for up to 2 weeks - discard if it develops odd odors or dries out. Never microwave slime to reactivate, as this can create dangerous hot spots.
Why This Method Works Every Time
The magic happens through polymer cross-linking: boric acid in contact solution connects glue molecules into stretchy chains. Baking soda raises pH to optimize this reaction. Unlike borax recipes, this method uses FDA-approved ingredients at safe concentrations, making it ideal for classroom use. The precise ratios in our tested formula prevent common failures like sticky residue or premature hardening.
Frequently Asked Questions
Can I make slime without contact lens solution?
Yes, use liquid laundry starch instead. Mix 4 oz glue with 1/2 tsp baking soda, then add 3 tbsp starch. Stir until it pulls from bowl, then knead. Note: starch creates firmer slime than contact solution.
Why did my slime turn out sticky?
Sticky slime usually means insufficient activation. Add contact solution 1/4 tsp at a time while kneading. If using generic brands, check that your solution contains boric acid - some saline solutions lack the necessary activator.
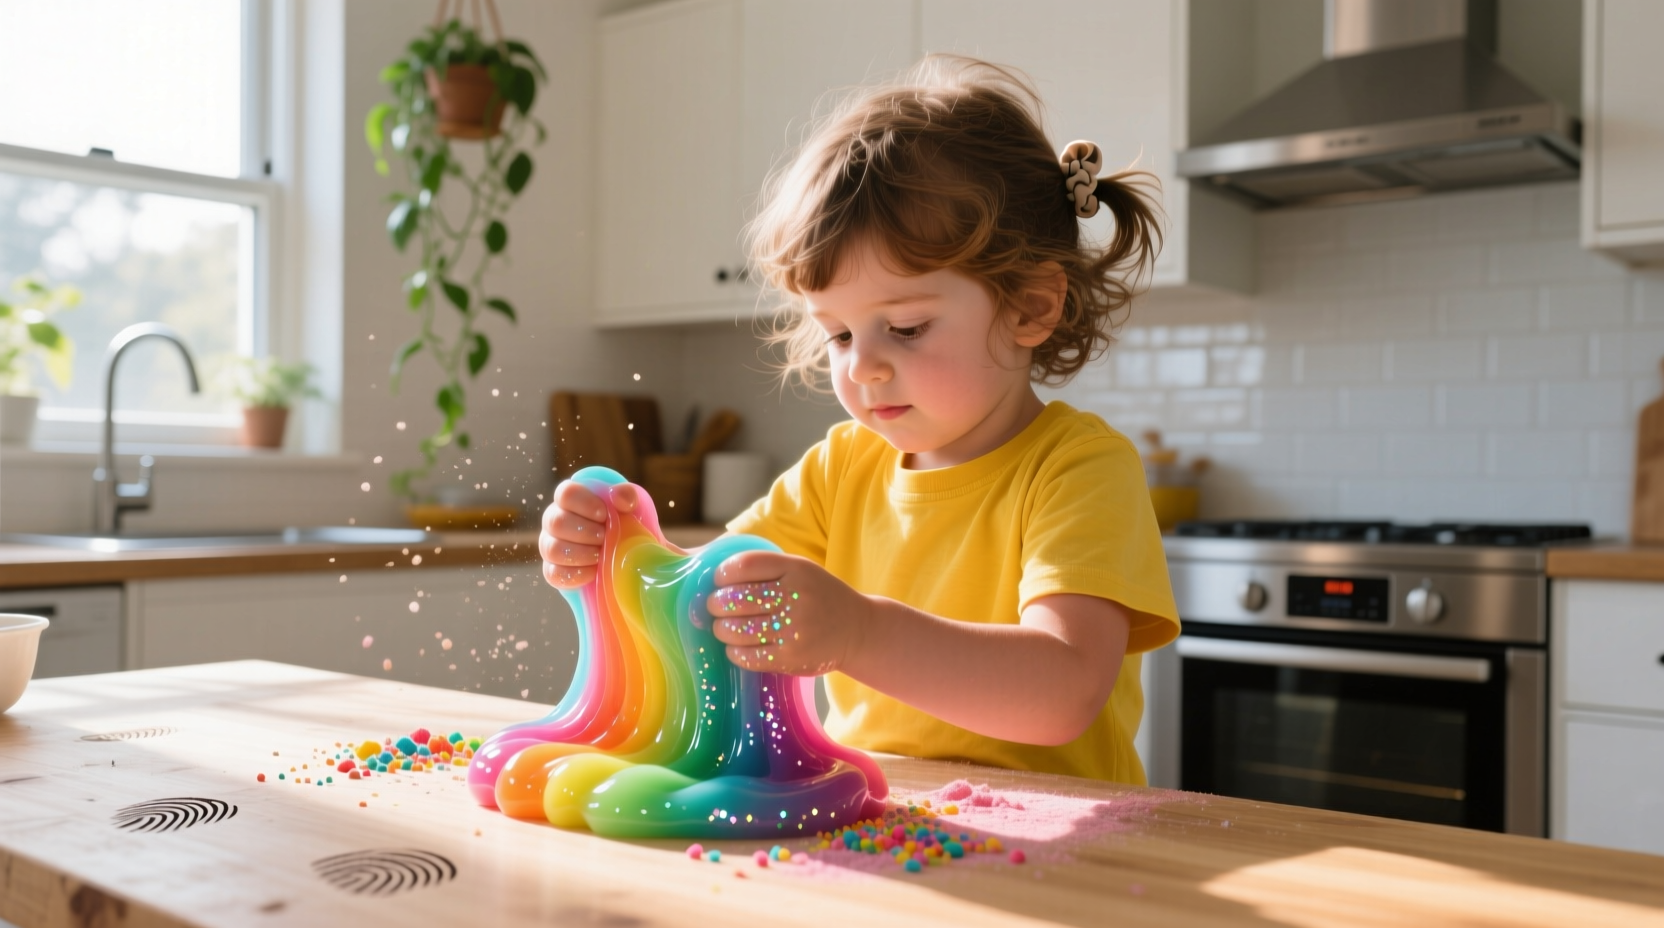
Is homemade slime safe for toddlers?
Slime is recommended for ages 3+ with supervision. For toddlers, use edible alternatives like cornstarch and water (1:1.5 ratio). Never allow young children to play with slime unsupervised due to choking hazards.
How do I remove slime from carpet?
Scrape off excess, then apply rubbing alcohol to a cloth and dab the stain. The alcohol breaks down polymers. Blot with cold water afterward. Avoid heat which sets the glue permanently.


 浙公网安备
33010002000092号
浙公网安备
33010002000092号 浙B2-20120091-4