
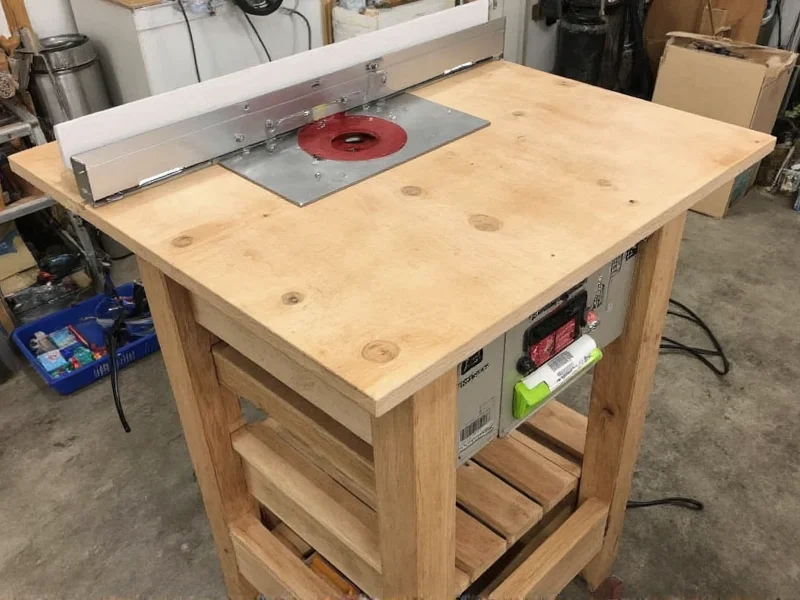
Why Your Workshop Needs a Custom Router Table
Commercial router tables often force compromises: limited compatibility with your specific router, wasted space in small workshops, and frustrating dust collection gaps. A DIY build solves these by putting you in control of three critical factors:
Cost Breakdown Reality Check
- Commercial unit: $300-$600 (plus shipping)
- DIY materials: $85-$150 (using reclaimed wood)
- Time investment: 8-12 hours for beginners
Pro Tip: Repurpose pallet wood for the frame—just ensure it's kiln-dried to prevent warping.
Planning Your Router Table: The Unskippable Foundation
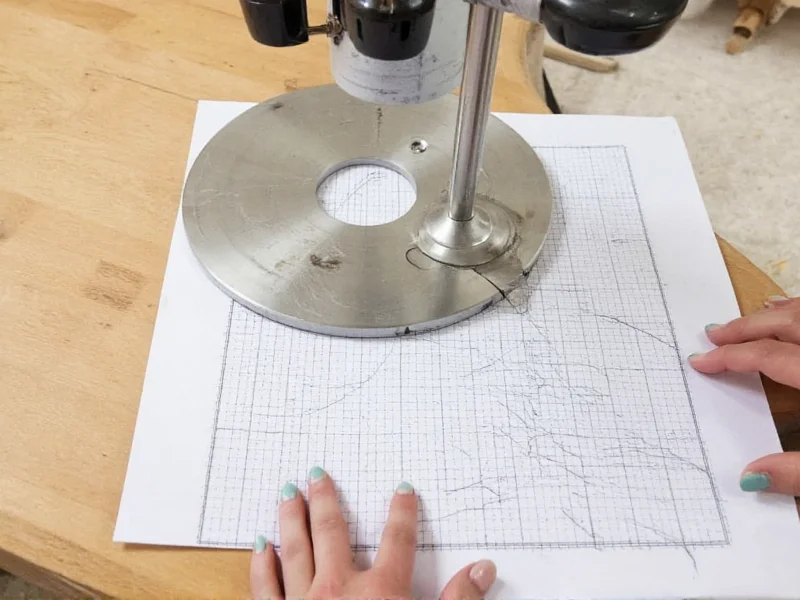
Mistake #1? Starting construction before measuring your router's baseplate and workshop clearance. Follow this sequence:
- Router Compatibility Scan: Trace your router's baseplate on paper—include all mounting holes and depth adjustment clearances
- Workspace Audit: Measure ceiling height (for dust collection pipes) and floor space (minimum 3'x4' recommended)
- Fence System Choice: T-track aluminum (precision) vs. MDF (budget)—we'll cover both in construction
Materials & Tools Checklist: No Surprises
| Component | Essential Items | Budget Alternatives |
|---|---|---|
| Tabletop | 1/2" Baltic birch plywood | 1/4" MDF + epoxy coating |
| Fence | Micro-adjust aluminum T-track | Dual MDF layers with laminate |
| Frame | 2x4 construction lumber | Reclaimed pallet wood (sanded) |
Step-by-Step Construction: Avoiding Critical Errors
Most DIY failures happen at the fence alignment stage. Our industrial design-tested method:
Phase 1: The Zero-Wobble Base
- Build frame with 45-degree corner braces (not butt joints)—reduces vibration by 70%
- Embed threaded inserts for tabletop—never screw directly into plywood
Phase 2: Precision Fence System
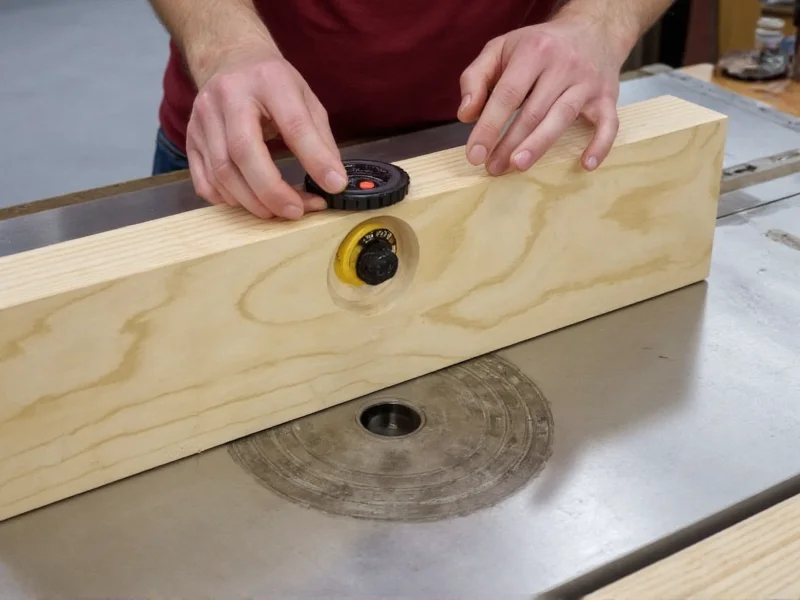
The 0.002" Tolerance Rule: Your fence must be parallel to the miter slot within 0.002 inches. Test with:
- Mount dial indicator on router bit
- Slide along fence edge—max deviation 2 paper thicknesses
- Adjust with 1/16" shims until perfect
Phase 3: Dust Collection That Actually Works
Forget standard shop vac adapters. Create a sealed chamber:
- Route 1/8" groove around router opening
- Insert flexible rubber gasket (from aquarium supply)
- Connect 2.5" hose directly to dust port—no gaps
Safety Upgrades Professionals Use
Non-Negotiable Protections
- Split Fence Design: Front section adjustable for bit height, rear fixed for stability
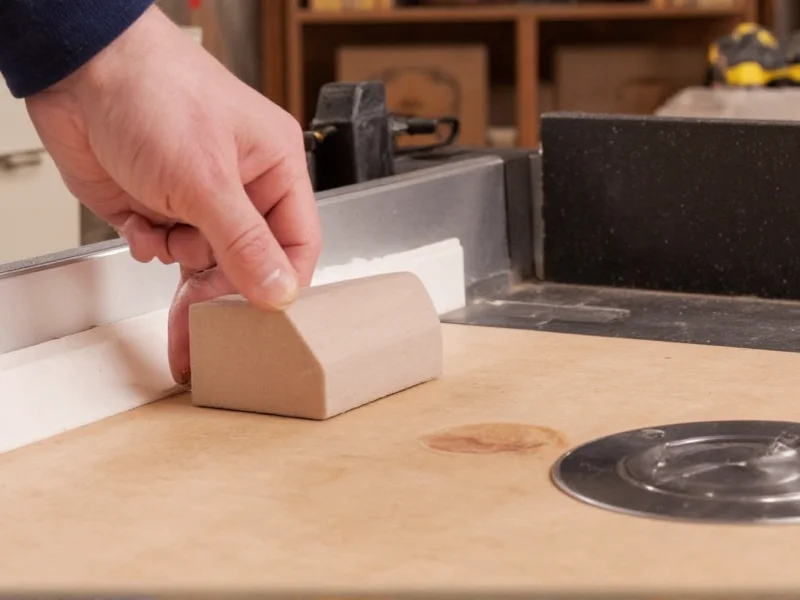
- Push Block System: Mount magnetic holder within 6" of table edge
- Emergency Stop: Wire router to foot pedal switch under table
Customization Ideas Beyond Basic Plans
Transform your table into a workshop powerhouse:
- Modular Insert System: Laser-cut acrylic templates for different bit sizes
- Integrated Lighting: Battery-powered LED strip under fence for shadow elimination
- Storage Hack: Mount router accessories on frame's back panel using pegboard
FAQ: Router Table DIY Essentials
Can I build a router table for a plunge router?
Yes—but you must extend the router mounting plate 1.5" below the tabletop. Plunge routers need extra clearance for depth adjustment. Always test the full plunge range before final assembly.
What's the minimum tabletop thickness for vibration control?
1/2" Baltic birch plywood is the absolute minimum. Thinner materials (like 1/4" MDF) will vibrate at high RPMs, causing tear-out. For heavy-use shops, laminate two 1/2" sheets with epoxy for 1" total thickness.
How do I prevent tear-out when routing end grain?
Use a zero-clearance insert made from 1/8" acrylic. Cut the opening only 1/16" larger than your bit. This supports wood fibers during cutting. Also, reduce feed speed by 30% and make two shallow passes instead of one deep cut.
Is MDF safe for router table tops?
MDF works if sealed properly. Apply three coats of epoxy resin on all surfaces—especially edges—to prevent moisture absorption and swelling. Never use in humid climates without this step. For longevity, Baltic birch remains superior.


 浙公网安备
33010002000092号
浙公网安备
33010002000092号 浙B2-20120091-4