
Create a beautiful handmade lantern in under 2 hours using basic household materials. This beginner-friendly lantern crafting recipe requires only paper or thin cardboard, scissors, glue, LED tea lights, and decorative elements. Perfect for home decor, outdoor gatherings, or thoughtful handmade gifts, this sustainable project transforms ordinary materials into extraordinary lighting with clear step-by-step instructions anyone can follow.
Essential Materials for Your Lantern Crafting Project
Basic Material Kit
- Thin cardboard or heavy-weight paper (recycled works perfectly)
- Sharp scissors or craft knife
- Ruler and pencil for precise measurements
- Non-toxic glue or double-sided tape
- LED tea light (battery-operated for safety)
- Decorative elements: tissue paper, markers, or natural materials
Eco-Friendly Material Alternatives
- Repurposed glass jars instead of paper construction
- Old magazines or newspapers for decorative layers
- Natural elements like pressed leaves or dried flowers
- Leftover fabric scraps for textured designs
- Discarded window screens for metal framework
Step-by-Step Lantern Crafting Instructions
Preparation Phase (15 minutes)
- Clean your workspace and gather all materials within reach
- Measure and cut your main lantern structure to 8" x 12" dimensions
- Create a template for any decorative cutouts using scrap paper first
- Prepare your LED light source by testing batteries
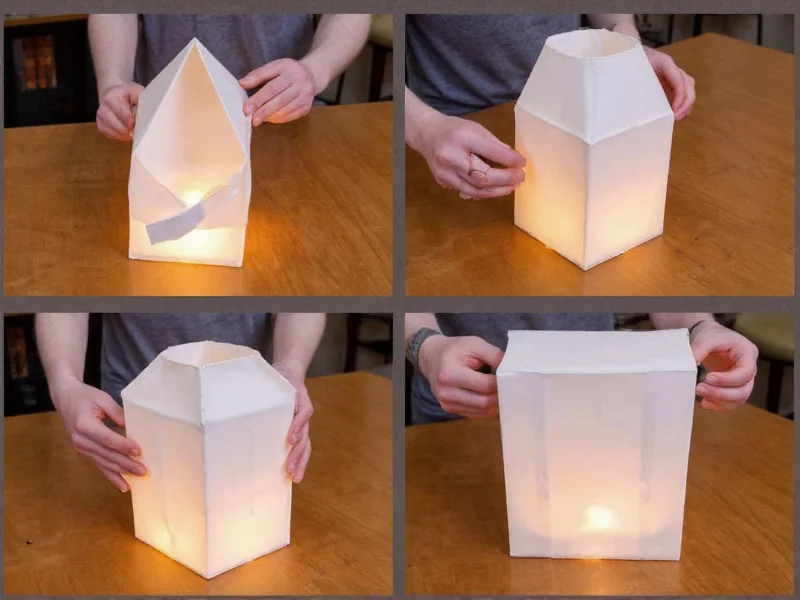
Construction Phase (45 minutes)
- Fold your main structure into a rectangular prism shape
- Secure corners with glue, allowing 5 minutes drying time per seam
- Carefully cut decorative patterns following your template
- Apply decorative layers using tissue paper or other translucent materials
Finishing Touches (20 minutes)
- Add handles using sturdy twine or repurposed wire
- Reinforce structural weak points with additional glue
- Test your lantern with the light source to check illumination
- Make final adjustments to improve light diffusion
Creative Lantern Design Variations
| Design Style | Skill Level | Special Materials | Best For |
|---|---|---|---|
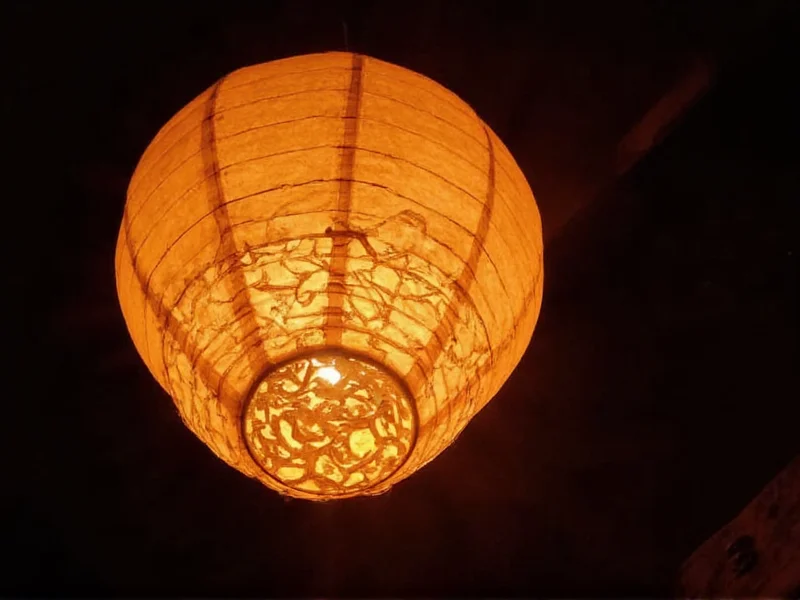
| Traditional Paper Lantern | Beginner | Colored tissue paper | Indoor decoration |
| Nature-Inspired Lantern | Intermediate | Pressed leaves, twigs | Garden settings |
| Upcycled Glass Jar Lantern | Beginner | Empty food jars | Outdoor use |
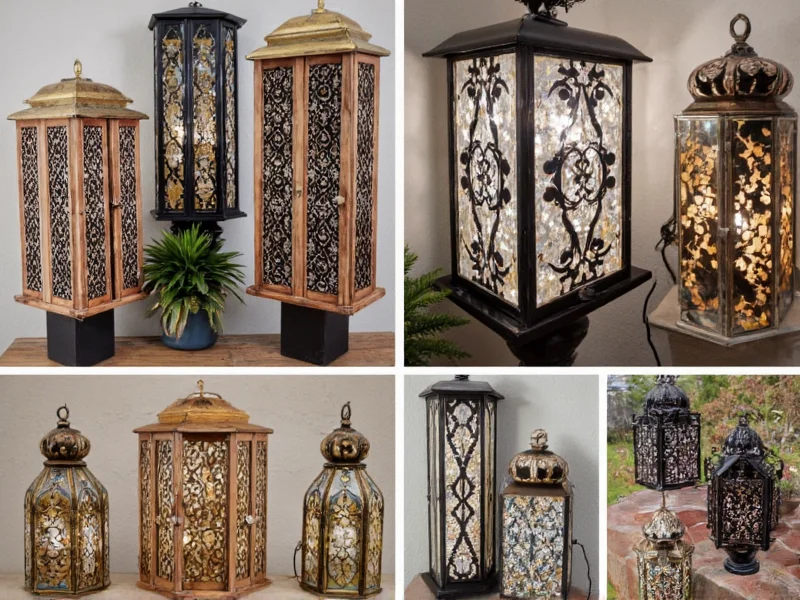
| Geometric Pattern Lantern | Advanced | Precision cutting tools | Modern decor |
Troubleshooting Common Lantern Crafting Issues
Structural Problems
- Problem: Lantern collapses when handling Solution: Reinforce corners with additional glue layers or cardboard strips
- Problem: Uneven light distribution Solution: Add translucent backing to dark areas or adjust cutout patterns
Safety Considerations
- Always use battery-operated LED lights instead of real candles
- Ensure proper ventilation if using any adhesives
- Supervise children during cutting phases with sharp tools
- Test your lantern away from flammable materials before regular use
Display and Usage Tips
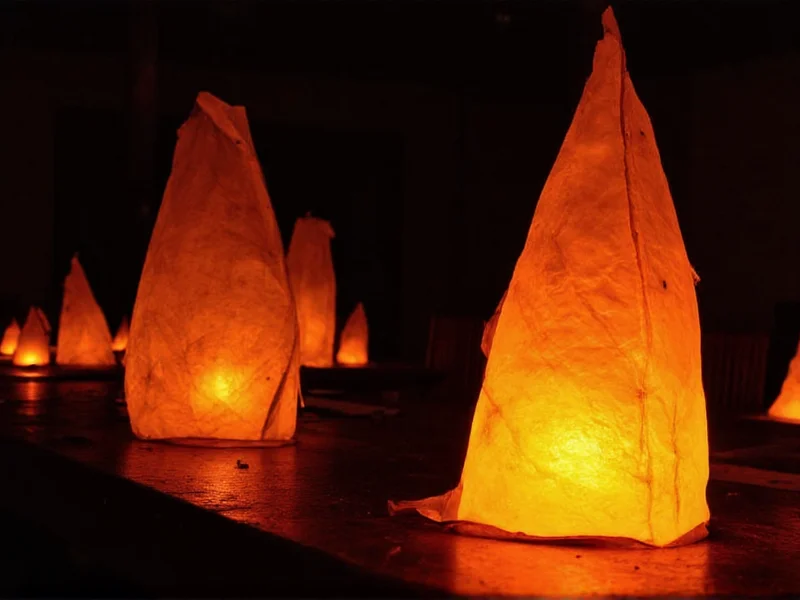
Position your handmade lanterns in sheltered outdoor areas to protect from moisture. Group multiple lanterns at varying heights for dramatic visual impact during evening gatherings. For indoor use, place on stable surfaces away from curtains or other fabrics. Clean gently with a dry cloth—avoid water exposure for paper-based designs. Store in a flat position when not in use to maintain shape integrity.
Frequently Asked Questions
How long does it take to complete a basic lantern crafting project?
Most beginners complete a standard paper lantern in 1.5-2 hours. More complex designs with intricate cutouts or multiple materials may require 3-4 hours. Allow additional drying time for glue between construction phases.
Can I make weather-resistant lanterns for outdoor use?
Yes, create weather-resistant lanterns by using glass jars as your base structure, applying waterproof sealants to paper designs, or incorporating plastic elements. Always use battery-operated LED lights and avoid leaving lanterns exposed to heavy rain or strong winds.
What's the safest light source for homemade lanterns?
Battery-operated LED tea lights are the safest option for homemade lanterns. They produce minimal heat, eliminate fire hazards, and come in various sizes and color temperatures. Never use real candles inside handmade lanterns, especially those made with paper or other flammable materials.
How can I make my lantern crafting more sustainable?
Maximize sustainability by using 100% recycled materials, repurposing household items, and avoiding single-use plastics. Collect discarded paper, fabric scraps, or glass containers. Choose non-toxic, water-based adhesives and natural decorative elements like dried flowers or leaves from your garden.


 浙公网安备
33010002000092号
浙公网安备
33010002000092号 浙B2-20120091-4