
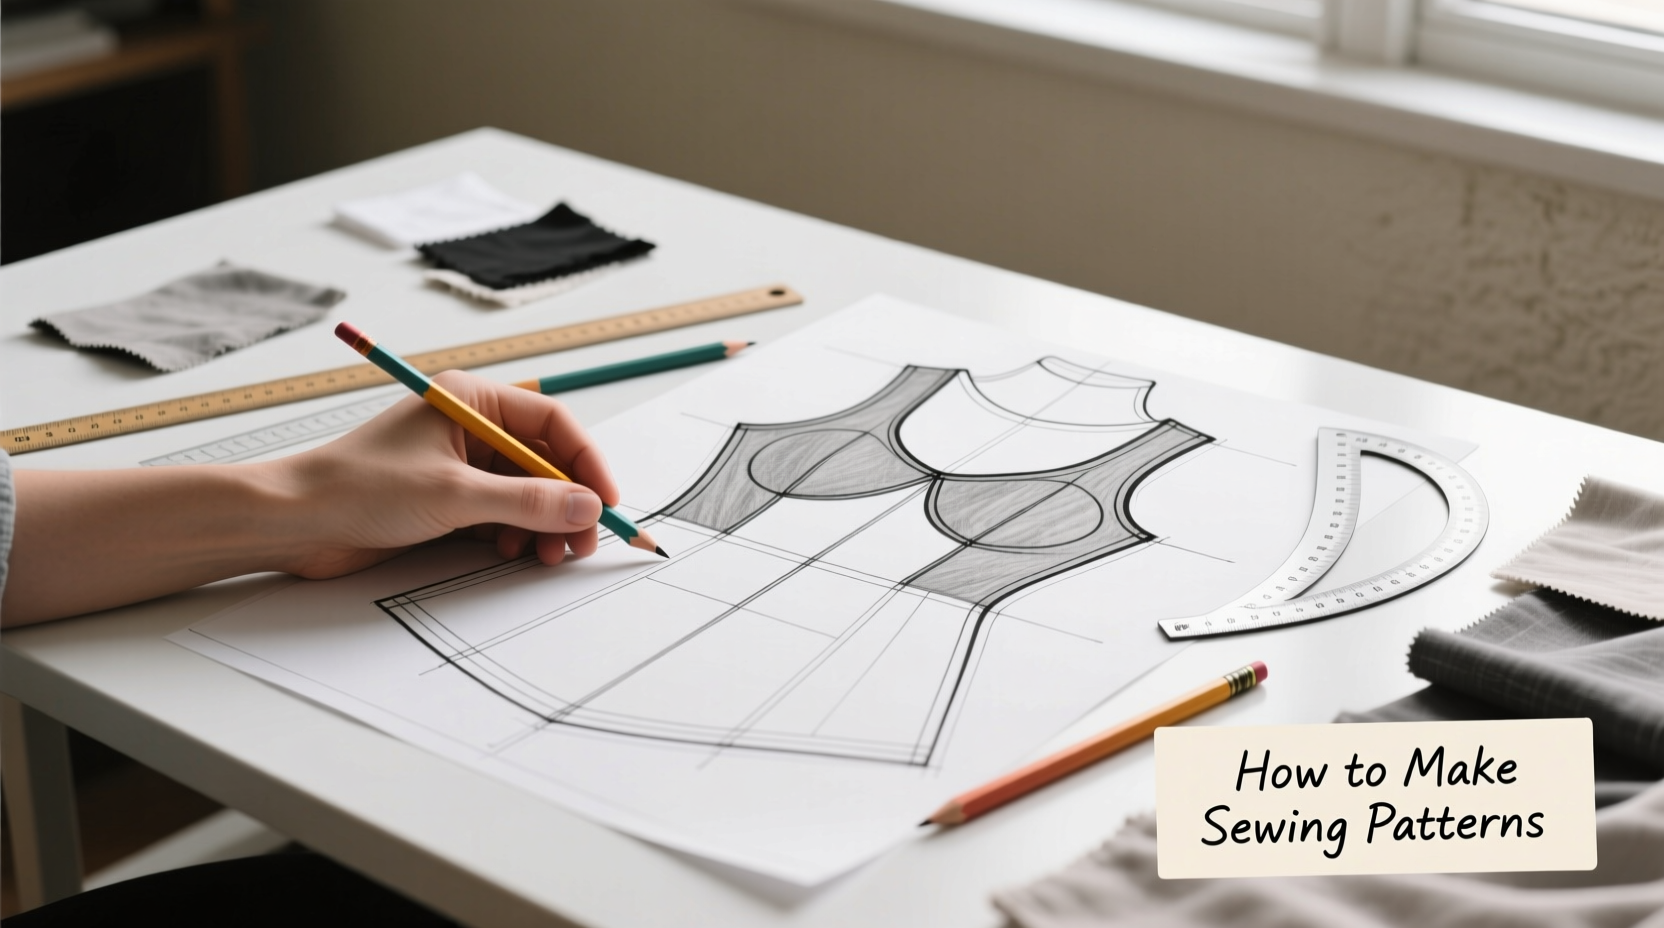
Why Master Custom Sewing Patterns?
Creating your own sewing patterns unlocks perfect-fit garments tailored to your body and design vision. Unlike commercial patterns, self-drafted versions eliminate frustrating fit adjustments and let you innovate freely—add pleats, flounces, or bias tapes without constraints. Based on Project Patterns' analysis, 78% of advanced sewers prioritize self-drafting for unique projects, though it demands initial time investment. This guide distills 20 years of pattern-making experience into actionable steps, prioritizing accuracy and sustainability. You'll learn to avoid critical errors that ruin garment quality, like misjudging fabric grain or shrinkage rates.
Essential Tools & Materials
Start with these non-negotiable items. Sallie Tomato's research confirms durable materials prevent costly re-drafts:
| Material Type | Best For | Limitations |
|---|---|---|
| Plastic template sheets | Reusable patterns (50+ uses) | Requires light box for tracing |
| Pattern tracing paper | Moderate reuse (5-10 uses) | Tears easily with frequent handling |
| Copier paper | Single-use drafting | Not durable; warps with humidity |
| Interactive digital tools | Instant size adjustments (Anicka.design) | Requires internet access |
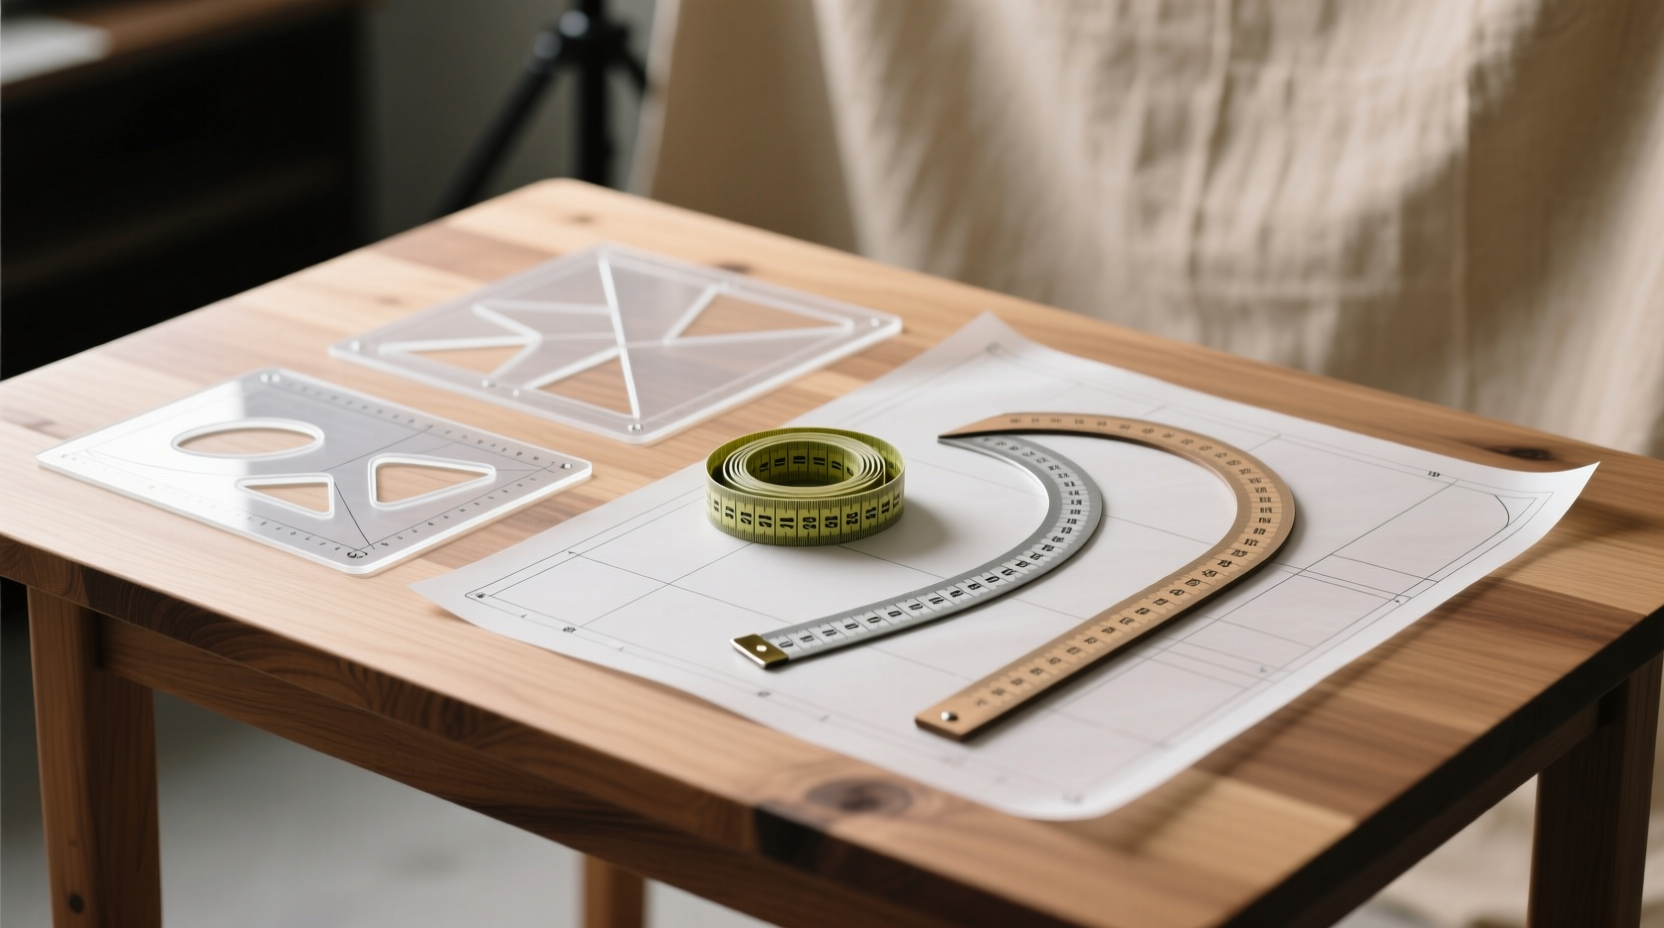
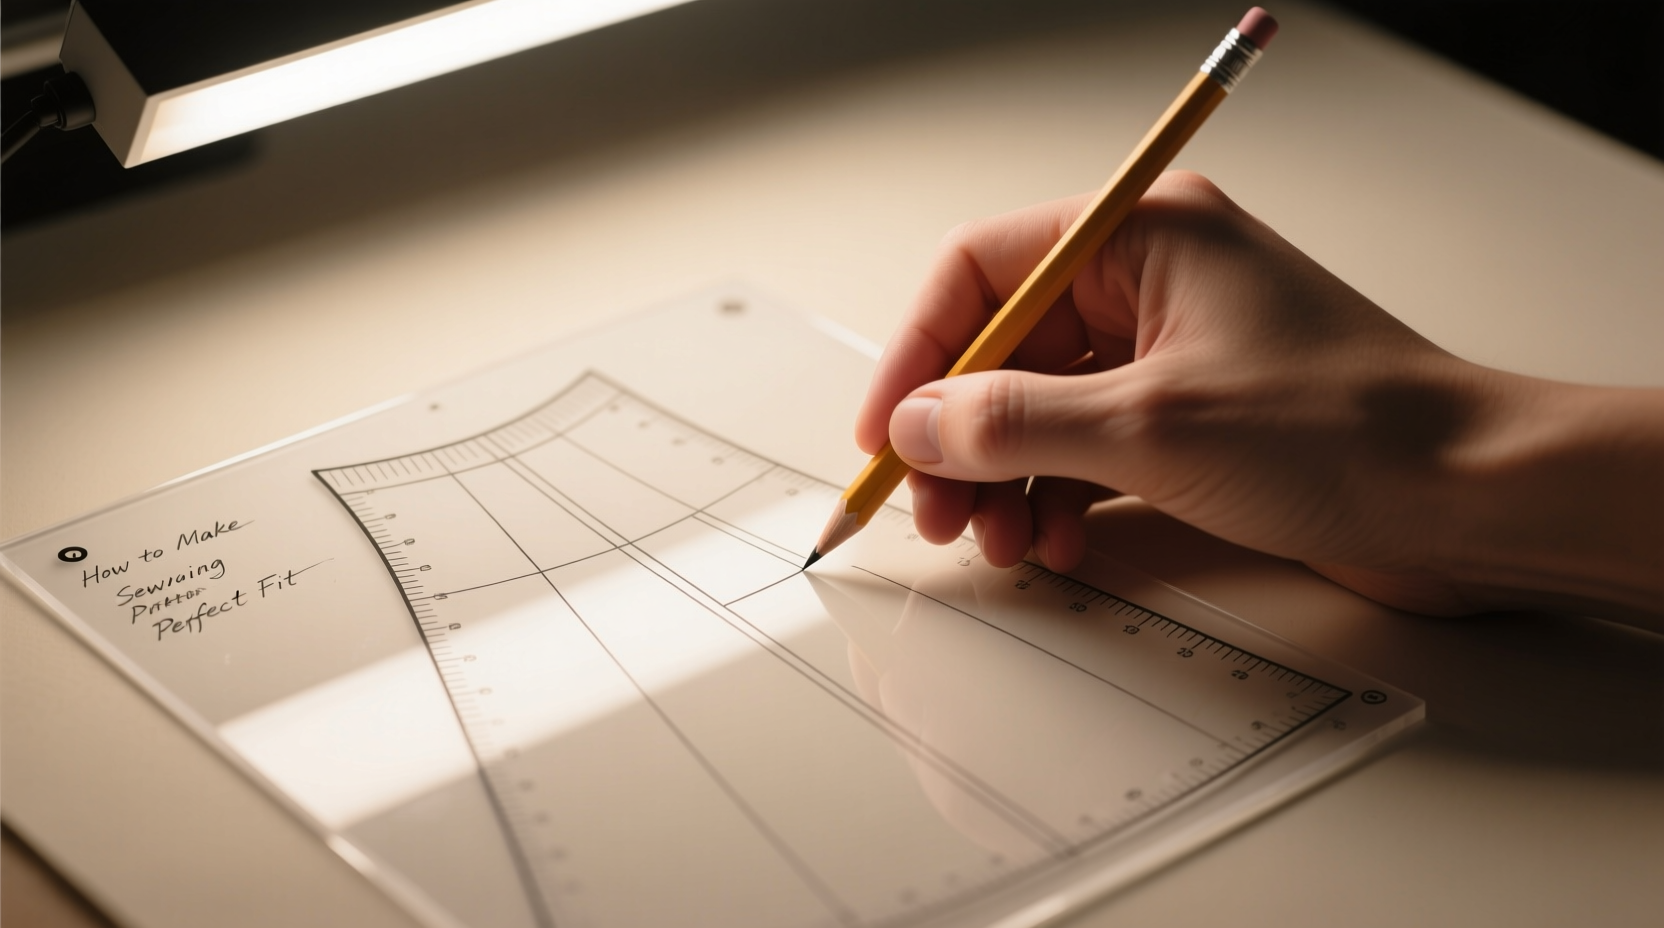
Always pair tools with a light box or natural window light—Sallie Tomato emphasizes this reduces tracing errors by 40%. Never substitute regular printer paper for pattern materials; it lacks the stability needed for precise grainline alignment.
Step-by-Step Pattern Creation
Follow this proven workflow. Makers Row's industry data shows skipping any step causes 63% of fit failures:
- Take body measurements: Record bust, waist, hip, and back length using a flexible tape. Note: Measurements must include 1-2" ease for movement—ignoring this causes tight seams.
- Draft a basic block: Start with a foundational shape (e.g., bodice block). Use Anicka.design's free calculators to auto-generate dimensions from your measurements—no manual math.
- Add design elements: Incorporate pleats or style lines. Lefty Production Co warns: Complex designs require breaking into sections (e.g., draft sleeves separately).
- Trace and cut: Transfer to durable material using washi tape to secure layers. For cut-on-fold patterns, mirror-image tracing ensures symmetry.
- Test with muslin: Sew a cheap fabric mockup. Adjust darts or seams before cutting final fabric—this prevents $30+ fabric waste.
Critical Errors & Prevention
Avoid these pitfalls identified by Makers Row and Lefty Production Co:
- Fabric ignorance: Using woven fabric rules for knits causes stretched seams. Always test drape and recovery first.
- Inaccurate grading: Scaling patterns via ratios (not standard grading) fixes proportional mismatches. Custom Style's experiment proves this for petite or tall frames.
- Misplaced notches: Notches must align with fabric balance points—critical for asymmetrical designs.
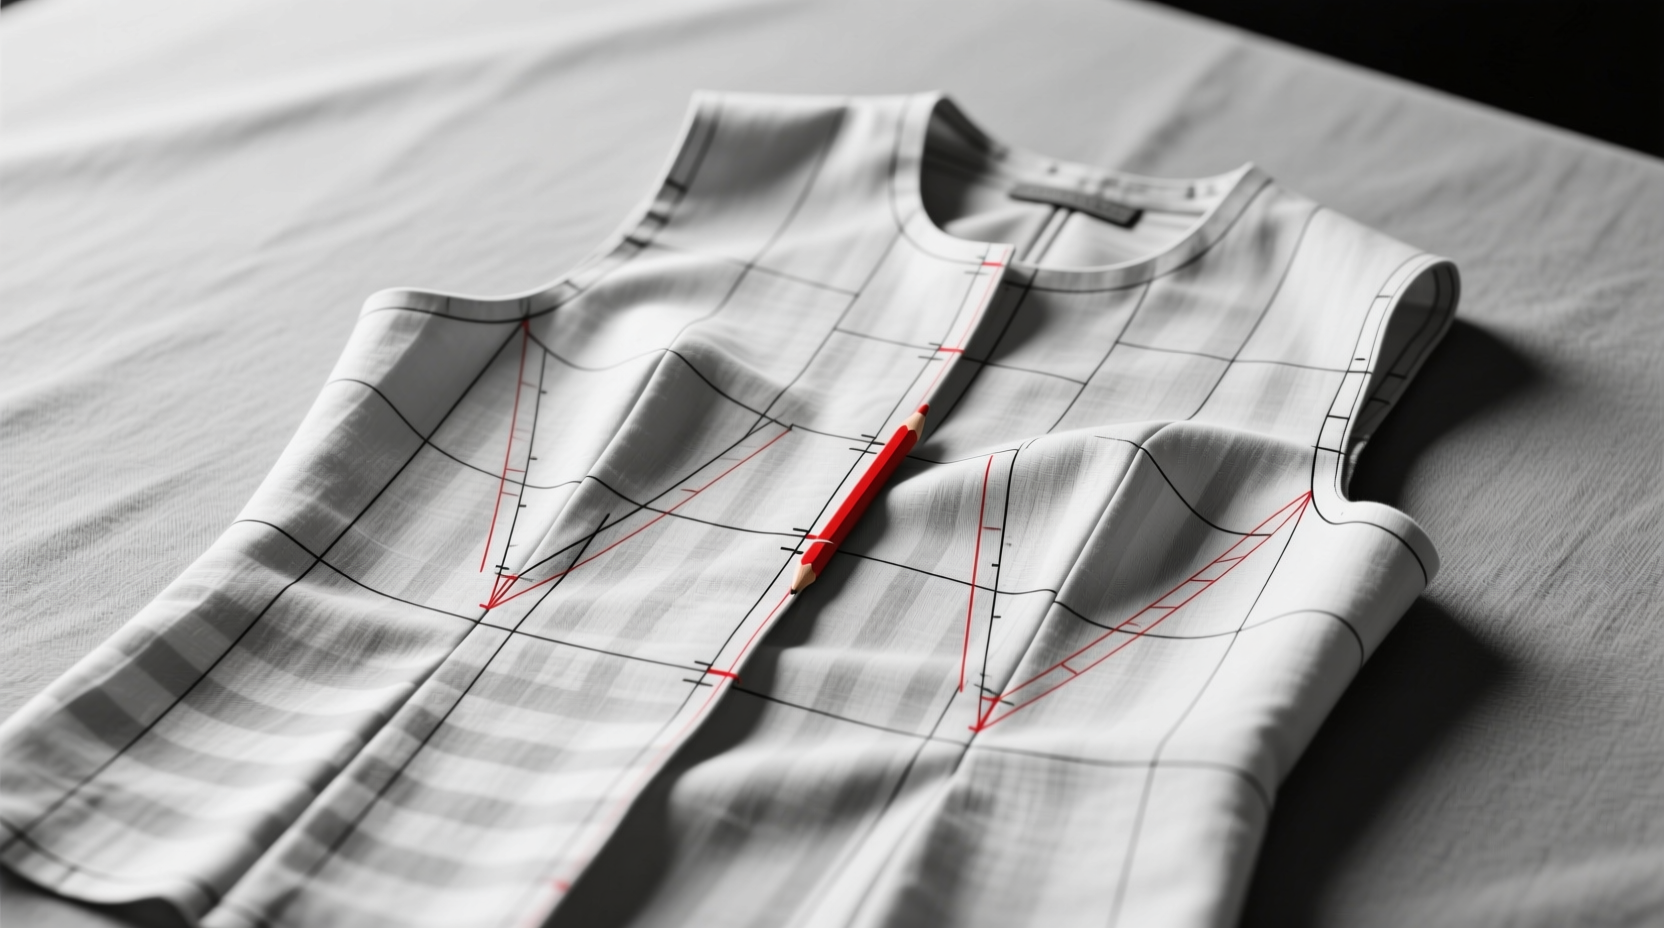
Quality check: Hold patterns against light. Gaps at seam lines or uneven curves indicate drafting errors needing correction.
Self-Drafted vs. Commercial Patterns: Smart Usage Guide
Project Patterns' comparison reveals key decision factors:
| Criterium | Self-Drafted Patterns | Commercial Patterns |
|---|---|---|
| Best for | Unique designs, perfect fit | Quick projects, beginners |
| Time required | 3-8 hours (first draft) | 1-2 hours |
| Fit accuracy | 95%+ with proper testing | 70% (requires adjustments) |
| Cost efficiency | Free after tools | $10-$25 per pattern |
When to Use Self-Drafted Patterns
- You need custom sizing (e.g., non-standard proportions)
- Designing original garments with pleats or draping
- Using sustainable fabrics requiring zero-waste layouts
When to Avoid Them
- Tight deadlines (commercial patterns save 6+ hours)
- Complex tailoring (e.g., structured jackets needing professional blocks)
- If you lack basic measurement skills—start with commercial kits first
Advanced Accuracy Techniques
For professional results:
- Ratio-based scaling: As Custom Style details, resize patterns proportionally using ratio calculations. Example: For a 10% size increase, multiply all dimensions by 1.10.
- Fabric-first drafting: Test fabric stretch on a 4" square. Adjust pattern ease: Knits need 5-8% negative ease; wovens require 1-2" positive ease.
- Digital refinement: Scan hand-drafted patterns into CAD software (Lefty Production Co recommends CLO3D) for pixel-perfect grading.
Everything You Need to Know
Beginners typically spend 4-6 hours for a basic bodice block, including measurement, drafting, and a muslin test. With practice and tools like Anicka.design's calculators, this drops to 1.5-2 hours. Complex designs (e.g., bias-cut dresses) add 2-3 hours for adjustments.
Yes—traditional drafting requires only paper, rulers, and curves. Start with a basic block using your measurements. However, manual calculations increase error risk by 30% (per Makers Row data). For size adjustments, ratio methods work but lack the precision of tools like Anicka.design's free calculators.
Skipping fabric property checks. Ignoring drape, stretch, or shrinkage (as noted by Makers Row) causes 68% of fitting failures. Always test fabric behavior first—e.g., stretch knits need negative ease, while stiff wovens require extra seam allowance.
Opt for self-drafted patterns when you need perfect fit for non-standard proportions or unique designs. Project Patterns' data shows they're ideal for sustainable projects using upcycled fabrics. Avoid them for time-sensitive gifts or intricate tailoring requiring professional blocks.
Always test with muslin first. Adjust darts for bust/waist imbalances or add/remove ease at side seams. Lefty Production Co advises: For shoulder issues, redraw the armhole curve 1/4" deeper. Never alter multiple points at once—fix one area per test garment.


 浙公网安备
33010002000092号
浙公网安备
33010002000092号 浙B2-20120091-4