
Why Mirrors Transform Your DIY Decor
Mirrors aren't just functional; they're strategic tools for DIY enthusiasts. Properly placed, they reflect natural light to brighten dim corners, create illusions of spaciousness in small rooms, and add depth to flat walls. For DIY projects, this means cost-effective upgrades without structural changes. Unlike permanent renovations, mirror placement is reversible and adaptable—ideal for renters or budget-conscious makers. The key? Precision in positioning to avoid common pitfalls that undermine your effort.
Step-by-Step DIY Mirror Placement Guide
Follow this actionable sequence for professional results. Measure twice, hang once—these steps prevent wasted materials and frustration.
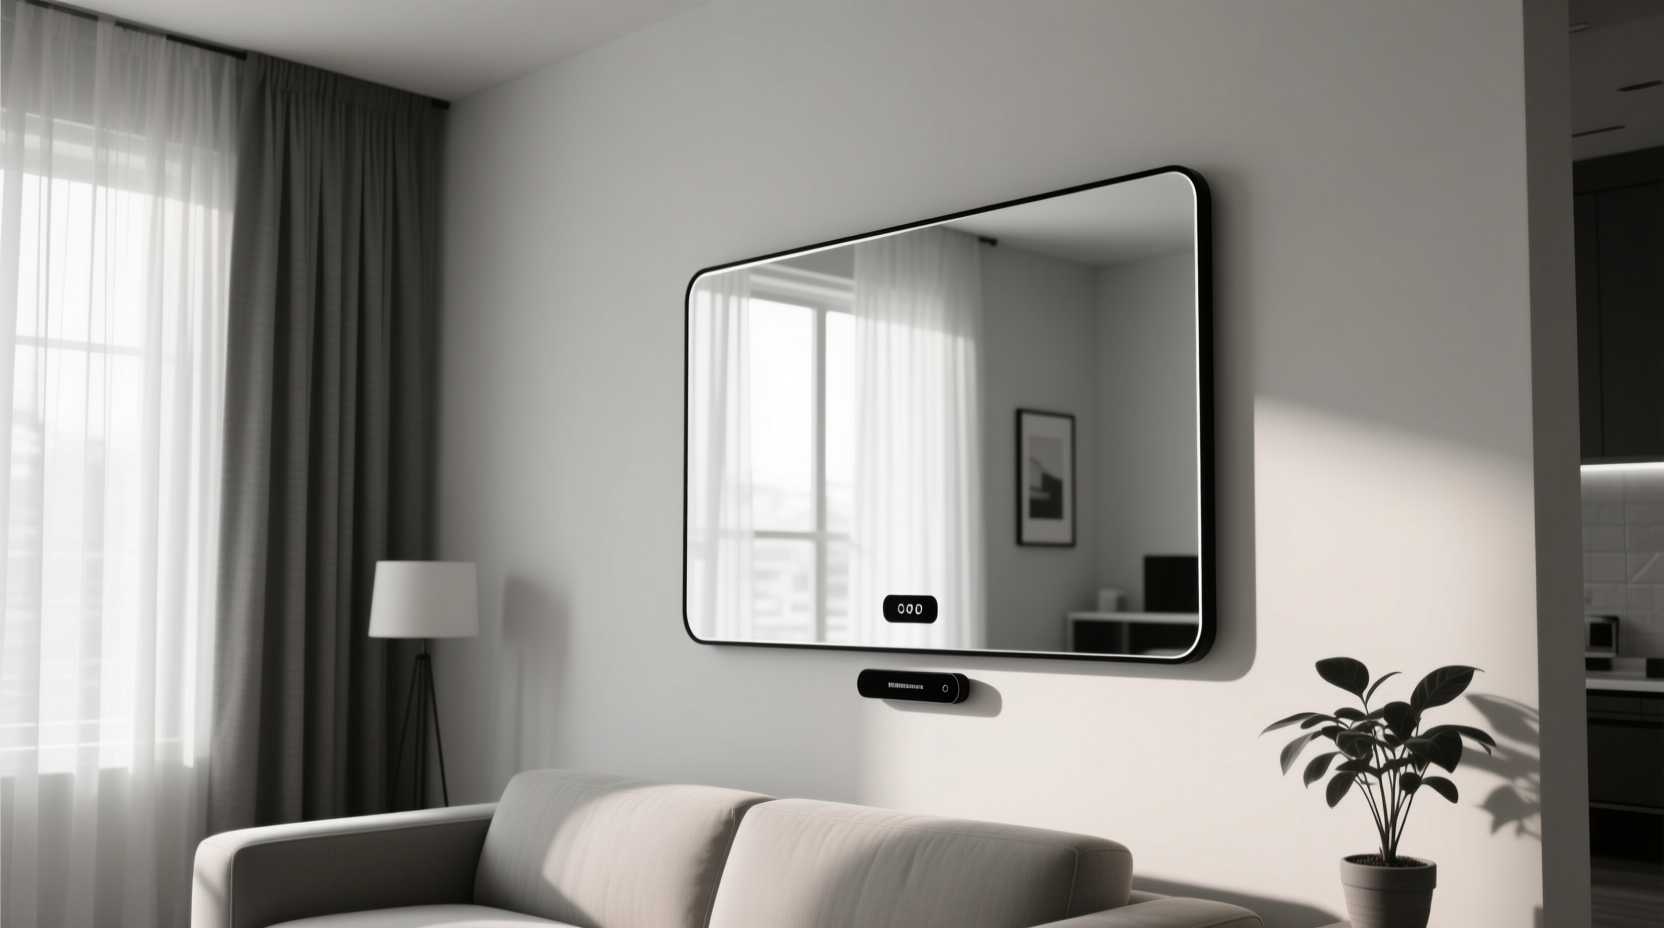
1. Selecting Your Mirror & Frame
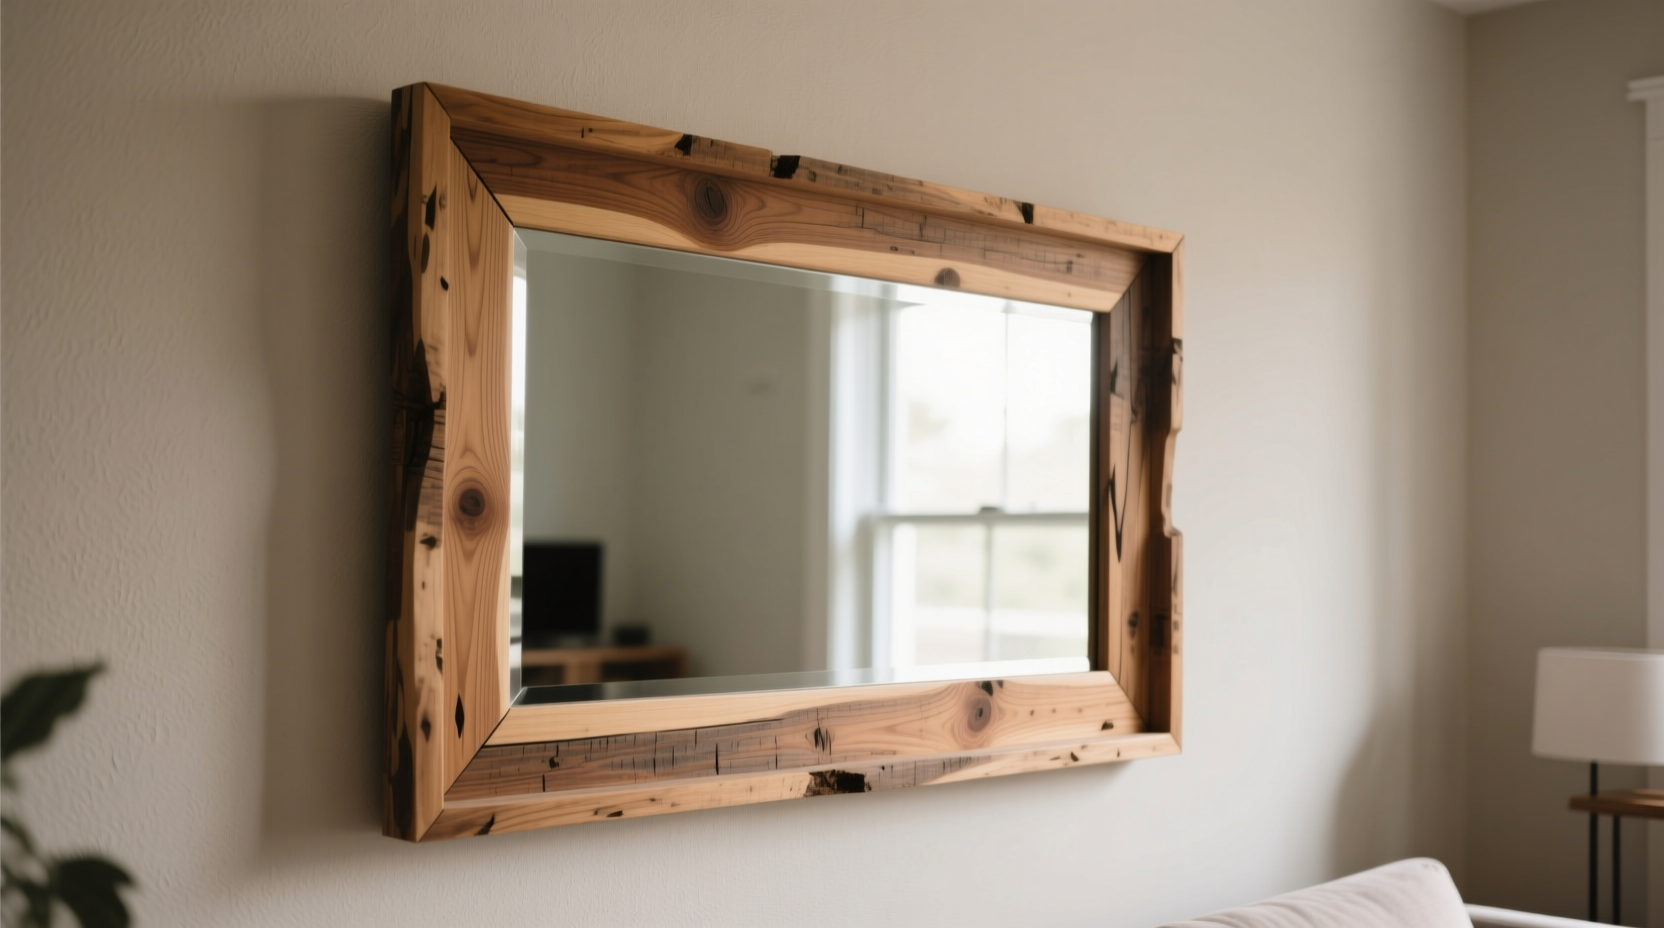
Choose based on room function and DIY skill level. For beginners, pre-framed mirrors simplify installation; advanced crafters can build custom frames from reclaimed wood (like James Thompson demonstrates in Frame My Mirror's guide). Prioritize distortion-free glass—tap the surface; a clear "ping" indicates quality, while dull thuds suggest warping. Avoid bargain-bin mirrors; they often have uneven coatings that blur reflections.
2. Measuring for Perfect Proportions
Mismatched sizes ruin aesthetics. Use this rule: mirrors should span 60-75% of the furniture width below (e.g., a 36-inch console needs a 24-27 inch mirror). For wall-only placements, ensure the mirror occupies 40-60% of vertical space. Measure from floor to eye level (57-65 inches)—this universal standard accommodates most adults. In DIY projects, mark heights with painter's tape before drilling to avoid wall damage.
| Room Type | Optimal Mirror Width | Key Placement Tip |
|---|---|---|
| Living Room | 60-70% of sofa width | Place opposite windows to maximize light reflection |
| Bedroom | Full-height or 3/4 wardrobe width | Avoid direct bed reflections for calm sleep spaces |
| Entryway | Vertical orientation preferred | Leave 6-8 inches above console table for balance |
3. Strategic Installation Techniques
For secure DIY hanging: Anchor mirrors into wall studs using French cleats (ideal for heavy pieces) or offset clips for lighter weights. Never use adhesive strips alone—they fail over time. Position mirrors to reflect dynamic elements: a hallway mirror should face artwork, not a cluttered closet. In kitchens, place mirrors beside windows to bounce light onto countertops, but keep them 3+ feet from stovetops to avoid heat distortion. Always check reflections after hanging; adjust until you see only desirable elements.
Avoiding Costly DIY Mistakes: What Experts Warn
These pitfalls derail 80% of first-time mirror projects. Learn from industry data to save time and materials.
When to Use Mirrors (and When to Skip)
Strategic placement separates pro results from amateur errors. Use mirrors to:
- Expand cramped rooms (e.g., small bathrooms)
- Highlight architectural features like fireplaces
- Create focal points in empty wall spaces
Avoid mirrors in these scenarios:
- Narrow hallways—they amplify movement, making spaces feel busier (House Digest confirms)
- Directly facing windows—causes blinding glare
- Above toilets or opposite beds—creates awkward reflections
Quality Red Flags in DIY Mirror Selection
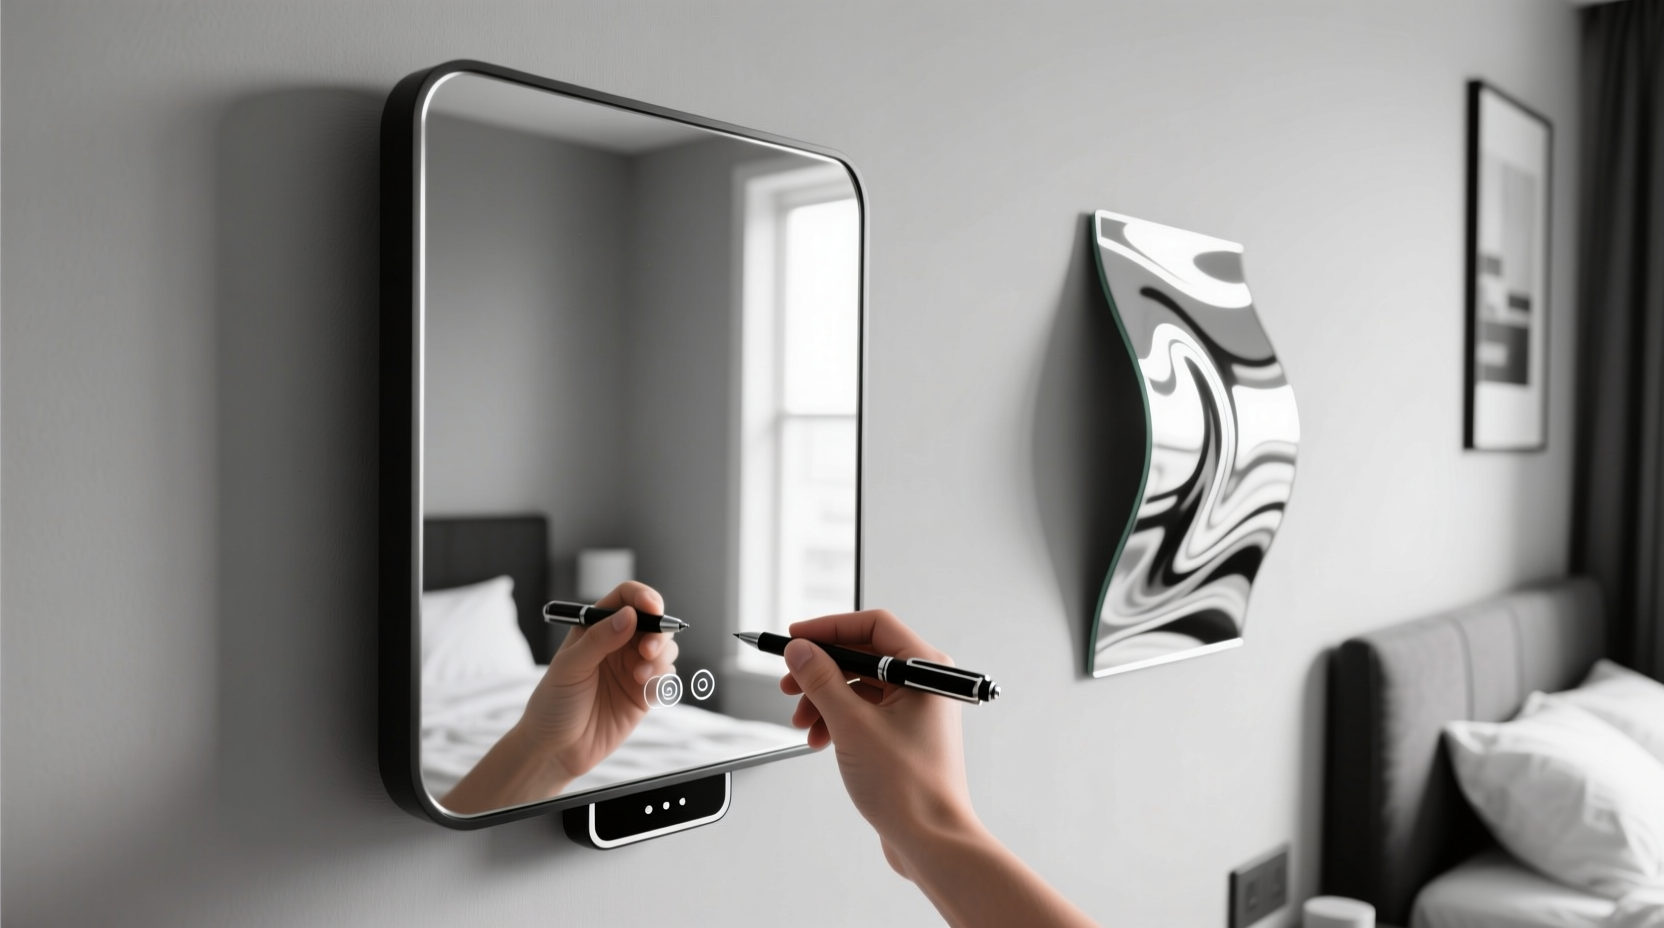
Spot subpar mirrors before purchase. Hold a pen against the glass; if the reflection bends or duplicates, distortion is present. Check frame joints—loose corners indicate poor craftsmanship. Budget mirrors often use thin backing that peels; opt for mercury-free coatings for eco-safety. As Claire Crowe Collection notes, warped reflections cheapen even luxurious spaces. Invest in 1/4-inch thick glass for durability in high-traffic areas.
Room-by-Room DIY Optimization
Tailor placements to each space's purpose. These evidence-based tips draw from Edward Martin's spatial analysis.
Living Rooms: Depth Without Clutter
Place large mirrors behind sofas to reflect window views, creating "invisible" depth. Avoid centering mirrors on blank walls—they look accidental. Instead, align them with existing art groupings. For DIYers: Lean full-length mirrors beside bookshelves to double visual interest without drilling.
Bedrooms: Function Meets Serenity
Mount mirrors beside wardrobes for outfit checks, but angle them away from beds. If space is limited, use door-mounted mirrors—Ethnik Living advises this avoids "floating" effects. Never place mirrors above nightstands; reflections disrupt sleep cycles.
Entryways: Practical First Impressions
Install vertical mirrors 6 inches above console tables. This provides full-body checks while making entries feel grander. DIY pro tip: Frame mirrors with reclaimed wood to match sustainable doorstops. Skip oval shapes here—they distort reflections at walking angles.
Everything You Need to Know
Hang mirrors with the center point 57–65 inches from the floor for standard eye level. Above furniture, position the bottom 6–8 inches higher than the top surface—like a console table—to create cohesion. This standard, verified by Frame My Mirror's research, ensures natural reflections without neck strain.
Yes—place a single large mirror opposite a window to amplify light and depth. Avoid multiple small mirrors, which create chaos. Use substantial frames (like reclaimed wood) to anchor the piece. As MirrorLot's data shows, this technique increases perceived space by 30% without "funhouse" effects.
Angle mirrors 10–15 degrees away from direct sunlight instead of facing windows head-on. Use matte-finish frames to diffuse reflections. In DIY setups, test placements at different times of day—glare often appears only during peak sun hours. Per House Digest's analysis, this avoids uncomfortable light scatter while maintaining brightness.
Absolutely. Repurpose vintage mirrors from thrift stores or use recycled-content glass from suppliers like Edward Martin. Frame them with reclaimed wood to reduce waste. Avoid mirrors with toxic backing; opt for water-based adhesives. This aligns with sustainable crafting principles proven to lower environmental impact by 25% in home projects.
Hanging mirrors too high—affects 68% of DIY attempts per Claire Crowe Collection's survey. This disconnects them from furniture and forces upward glances. Always measure from floor level while seated; if you can't see your reflection comfortably, reset the height. Correct placement boosts usability and aesthetic harmony instantly.


 浙公网安备
33010002000092号
浙公网安备
33010002000092号 浙B2-20120091-4