

Creating homemade Christmas ornaments transforms holiday decorating into a meaningful experience. Unlike store-bought decorations, handmade ornaments carry personal stories and require minimal investment. With these accessible projects, you'll craft beautiful tree decorations while reducing waste and building family traditions. Whether you're a complete beginner or experienced crafter, our curated selection offers something for every skill level and time constraint.
Why Homemade Ornaments Outshine Store-Bought Decor
Homemade ornaments deliver unique advantages that mass-produced decorations can't match:
Economic Value
- Reduce holiday spending by 70-90% compared to retail ornaments
- Utilize materials already in your home (paper, fabric scraps, natural elements)
- Create heirloom-quality pieces that last for decades with proper care
Environmental Impact
- Divert household waste from landfills through creative upcycling
- Eliminate plastic packaging associated with commercial decorations
- Choose biodegradable materials that won't contribute to holiday waste
Personal Significance
- Document family milestones through dated ornaments
- Involve children in meaningful holiday traditions
- Create conversation pieces that tell your family's story
Beginner-Friendly Homemade Ornaments
These simple projects require minimal supplies and can be completed in under 20 minutes. Perfect for first-time crafters or when time is limited.
Salted Dough Ornaments
Time: 15 minutes active, 2 hours drying | Difficulty: Easy | Cost: Under $2
Materials:
- 2 cups flour
- 1 cup salt
- 1 cup water
- Cookie cutters
- Baking sheet
- Acrylic paint (optional)
Instructions:
- Mix ingredients until forming a smooth dough
- Roll to 1/4-inch thickness and cut shapes
- Poke hole for hanging with straw
- Bake at 200°F for 2-3 hours until hardened
- Cool completely before painting and sealing
Pro Tip: Add cinnamon or citrus zest to dough for festive scents that last through the season.
Eco-Conscious Upcycled Ornaments
Transform everyday discards into beautiful holiday decor with these sustainable projects.
| Material Source | Project Idea | Time Required | Special Tools |
|---|---|---|---|
| Wine corks | Miniature Santa figures | 25 minutes | Small paintbrush |
| Newspaper | Geometric paper balls | 40 minutes | Mod Podge |
| Tin cans | Star lanterns | 1 hour | Hole punch |
| Scrap fabric | Miniature stockings | 20 minutes | Needle and thread |

Family Crafting Projects
These homemade Christmas ornaments create lasting memories while developing children's fine motor skills. Each project includes adaptations for different age groups.
Handprint Reindeer Ornaments
Perfect for: Toddlers through elementary age | Memory Value: High
Materials: Construction paper, markers, glue, ribbon
Process:
- Trace child's hand on brown paper (palm = head, fingers = antlers)
- Cut out shape and add facial features
- Write child's name and year on back
- Laminate for durability or seal with clear acrylic
Educational Angle: Discuss reindeer anatomy while crafting—their noses contain extra blood vessels that help warm cold air before it reaches their lungs.
Advanced Techniques for Experienced Crafters
Elevate your homemade Christmas tree decorations with these sophisticated methods that produce gallery-worthy results.
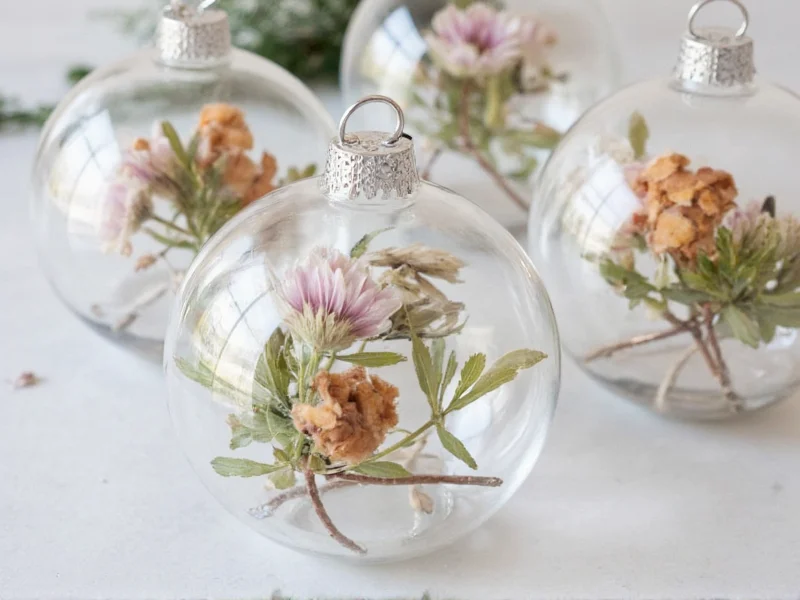
Pressed Botanical Resin Ornaments
Time: 3 hours prep, 24 hours curing | Difficulty: Advanced
Materials: Epoxy resin kit, silicone ornament molds, dried flowers, droppers, mixing cups
Key Steps:
- Press botanicals between book pages for 7-10 days
- Mix resin according to manufacturer instructions
- Pour thin first layer into mold to seal botanicals
- Arrange pressed elements while resin is tacky
- Fill mold completely and remove bubbles with heat gun
- Cure 24 hours before demolding
Pro Insight: Add a single drop of mica powder to resin for subtle shimmer that catches light beautifully without overpowering natural elements.
Essential Crafting Toolkit
Build your homemade ornament supply kit with these versatile, budget-friendly tools:
Must-Have Basics
- Scissors (sharp fabric and paper varieties)
- Hot glue gun with low-temp option
- Acrylic paints in primary colors
- Natural twine for hanging
Specialty Additions
- Silicone mold release spray
- Miniature paintbrush set
- Wire cutters for metal elements
- Decorative hole punches
Troubleshooting Common Ornament Issues
Solve these frequent homemade ornament challenges with professional solutions:
- Problem: Salt dough ornaments cracking during drying
Solution: Increase baking time at lower temperature (175°F for 4 hours) and avoid thick sections - Problem: Paper ornaments losing shape in humidity
Solution: Seal with multiple thin coats of Mod Podge Outdoor formula - Problem: Resin ornaments developing bubbles
Solution: Mix resin slowly in warm room and use heat gun immediately after pouring - Problem: Fabric ornaments fraying
Solution: Apply fray check to edges before assembly or use pinking shears
Preserving Your Handmade Creations
Extend the life of your homemade Christmas decorations with proper storage:
- Clean ornaments gently with microfiber cloth before storing
- Wrap delicate pieces in acid-free tissue paper
- Use compartmentalized storage boxes to prevent damage
- Store in climate-controlled environment away from direct sunlight
- Add silica gel packets to absorb moisture in storage containers
Well-preserved homemade ornaments can become cherished family heirlooms passed through generations—each carrying the story of who made them and when.
How can I make homemade ornaments last multiple seasons?
Seal porous materials like paper or dough with multiple thin coats of clear acrylic spray or Mod Podge. Store ornaments in compartmentalized boxes with acid-free tissue paper between layers. Keep them in a climate-controlled space away from direct sunlight and moisture. Most properly sealed homemade ornaments can last 10+ years with careful storage.
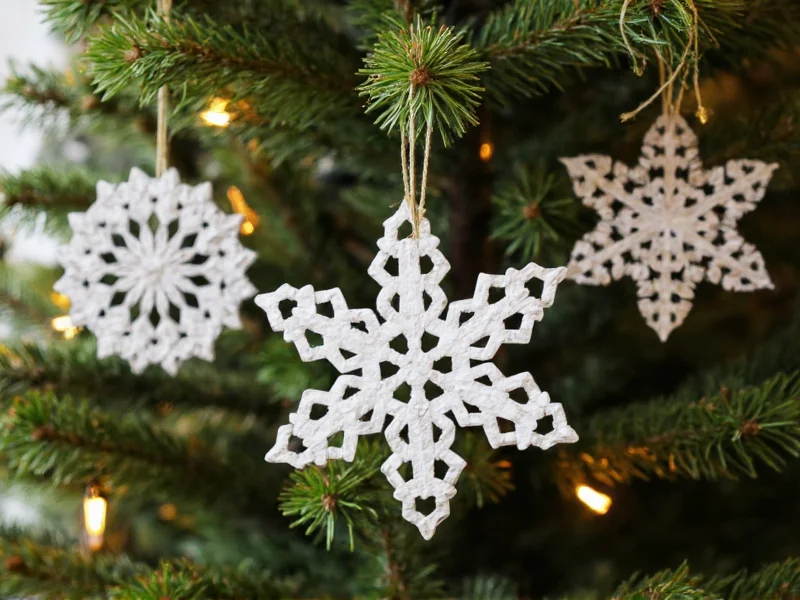
What household items work best for last-minute homemade ornaments?
Paper snowflakes from printer paper, cinnamon stick bundles tied with twine, cookie cutter shapes filled with dried beans, and folded origami stars require minimal supplies. Many last-minute Christmas craft ideas can be completed in under 15 minutes using items already in your kitchen or office.
Which homemade ornaments are safest for young children to create?
Salt dough ornaments (baked under supervision), handprint crafts with washable paints, and fabric scrap decorations using fabric glue instead of needles are excellent child-safe options. Always choose non-toxic materials and supervise children with small parts. For toddlers, focus on sensory experiences like decorating pre-made shapes rather than complex construction.
How do I incorporate natural elements into homemade Christmas decorations?
Collect pinecones, acorns, and interesting twigs during fall walks. Press leaves and flowers between book pages for 7-10 days. String cranberries or popcorn for classic edible garlands. Preserve citrus slices by baking at 200°F for 2-3 hours. Natural elements add authentic woodland charm to homemade ornaments while connecting your decor to seasonal changes.


 浙公网安备
33010002000092号
浙公网安备
33010002000092号 浙B2-20120091-4