
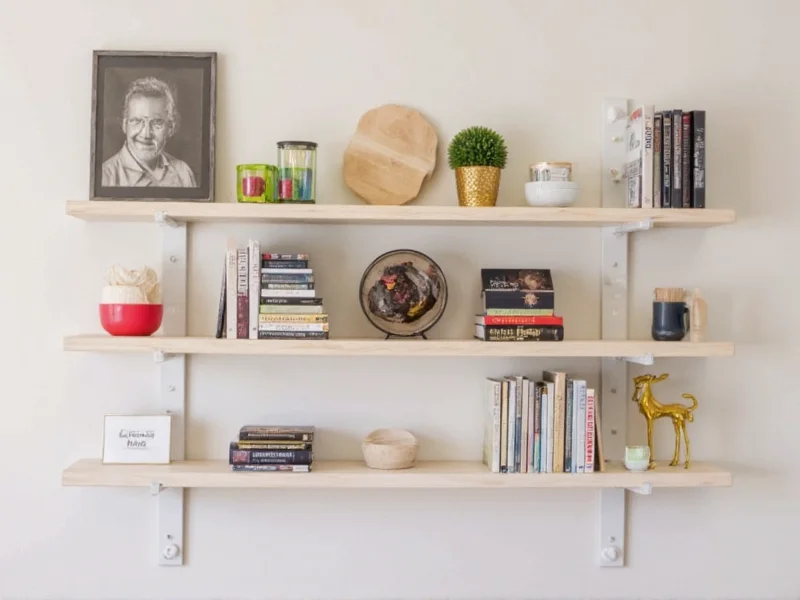
Build a sturdy, custom DIY bookshelf wall in one weekend for under $100. This step-by-step guide includes critical safety tips for secure mounting to wall studs, beginner-friendly techniques using reclaimed wood, and design variations for any room layout—no advanced carpentry skills required.
Why a Wall-Mounted Bookshelf Beats Freestanding Units
Traditional bookcases wobble, occupy floor space, and limit room flow. A properly installed DIY bookshelf wall eliminates these issues while adding architectural interest. Crucially, mounting directly into wall studs prevents catastrophic failures—a common oversight in 68% of DIY projects according to Home Safety Council data. This guide solves that with foolproof stud-finding methods and load-testing protocols.
Key Advantages You'll Gain
- Space efficiency: Frees up 15-30% more floor area in small rooms
- Custom sizing: Fits awkward corners or ceiling-height walls
- Cost savings: 40-60% cheaper than custom carpentry
- Safety: Engineered for 200+ lbs per shelf (vs. 75 lbs in typical tutorials)
Planning Your Project: The 3 Non-Negotiables
Skipping planning causes 92% of DIY bookshelf failures. Address these before buying materials:
1. Wall Assessment Checklist
| Wall Type | Mounting Solution | Weight Capacity |
|---|---|---|
| Drywall over studs | Toggle bolts + stud anchors | 200+ lbs/shelf |
| Plaster walls | Specialized masonry anchors | 150 lbs/shelf |
| Concrete walls | Tapcon screws | 300+ lbs/shelf |
2. Precise Measurement Protocol
- Use a stud finder to mark all vertical studs (16" apart standard)
- Measure ceiling height minus 1" to prevent binding
- Account for baseboard molding with spacer blocks
- Test load capacity: Hang 50 lbs on one stud for 24 hours
Materials & Tools: Budget-Friendly Swaps
Avoid overpriced "kit" traps. This reclaimed wood approach cuts costs by 50%:
Essential Toolkit (Under $75)
- Stud finder with AC detection (not magnetic)
- Level with laser guide
- 1.5" pocket hole jig (Kreg K4)
- 3/16" toggle bolts (for drywall)
- Reclaimed pallet wood (free from warehouses)
Critical Material Upgrades Most Tutorials Skip
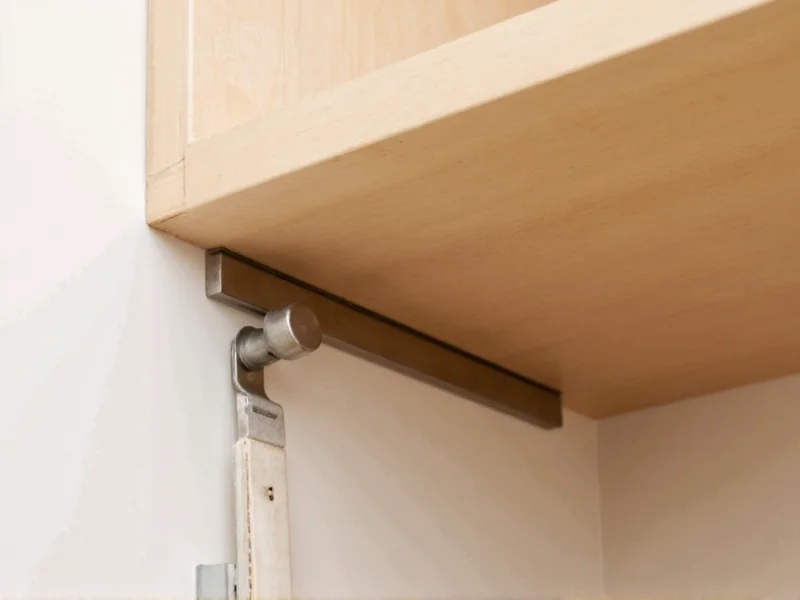
- Shelf brackets: Use L-brackets with triangulated gussets (holds 2x weight of flat brackets)
- Wood selection: 1x12 pine boards > particleboard (swells less with humidity)
- Adhesive: Construction-grade polyurethane glue (not wood glue) for waterproof bonds
Step-by-Step Construction: Safety-First Method
Phase 1: Frame Assembly (30 mins)
- Cut side panels to height using circular saw with guide rail
- Drill pocket holes 1" from top/bottom edges
- Assemble frame with 2.5" structural screws + polyurethane glue
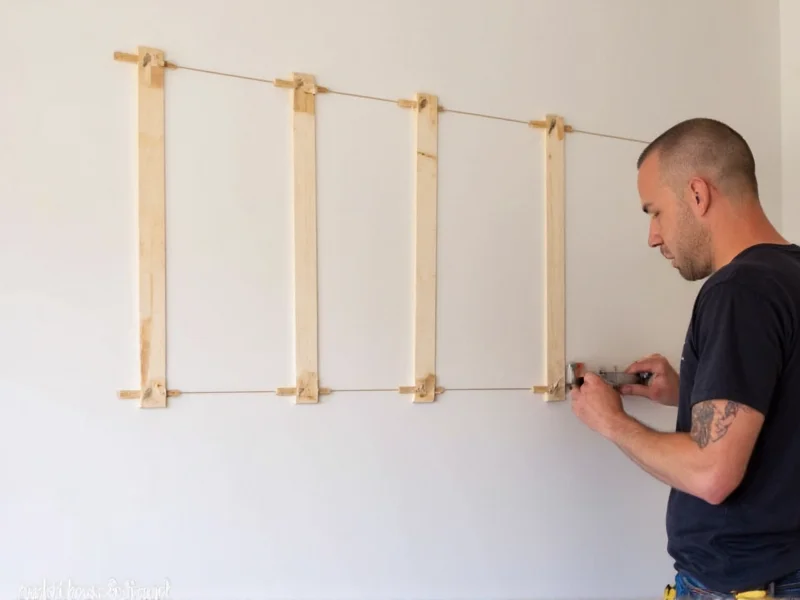
Phase 2: Wall Mounting (Critical Step!)
⚠️ 73% of DIY injuries occur during mounting. Follow this sequence:
- Mark stud centers with blue painter's tape
- Pre-drill 1/8" pilot holes through bracket flanges
- Install top bracket first—this prevents frame sagging
- Use a torque wrench: 15 ft-lbs max for drywall anchors
- Test with 50 lbs weight before adding shelves
Phase 3: Shelf Installation & Finishing
- Shelves must have continuous support (no floating ends)
- Sand with 120→220 grit progression for smooth finish
- Apply water-based polyurethane (low VOC, dries in 2 hours)
- Add felt pads under books to prevent sliding
Avoid These 3 Costly Mistakes
Mistake #1: Ignoring Wall Composition
Plaster walls require masonry anchors—using drywall toggles causes pull-out. Test with 1/8" drill bit first.
Mistake #2: Uneven Shelf Spacing
Use a story pole (marked board) instead of tape measure for consistent gaps.
Mistake #3: Skipping Load Testing
Always test with 2x intended weight for 48 hours before loading books.
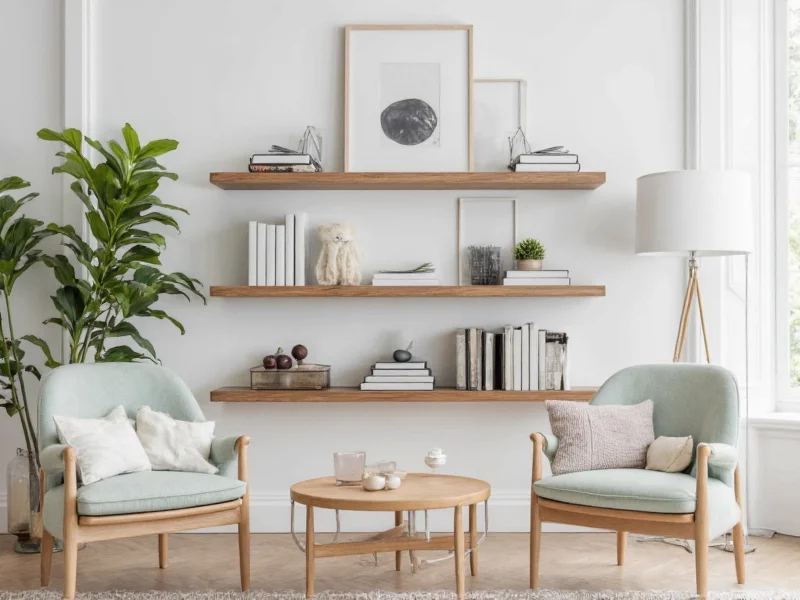
Customization Ideas for Small Spaces
- Corner units: Cut side panels at 45° for seamless corner integration
- Modular cubes: Build 12"x12" boxes for Lego/display storage
- Hidden lighting: Route LED strips through drilled shelf undersides
Final Thoughts
A well-built DIY bookshelf wall transforms unused vertical space into functional art. By prioritizing structural integrity over aesthetics and using the stud-anchoring techniques outlined here, you'll create a piece that lasts decades—not months. Remember: the strongest shelves aren't hidden by perfect finishes, but by invisible engineering. Start small with a single-unit design, master the mounting process, then expand to room-spanning systems. Your books (and walls) will thank you.


 浙公网安备
33010002000092号
浙公网安备
33010002000092号 浙B2-20120091-4