
The Art of Crafting Authentic Homemade Mochi
Imagine biting into a cloud-like confection that melts gently on your tongue—soft yet resilient, sweet but never cloying. That's the magic of perfectly made homemade mochi. Forget store-bought versions with preservatives; this guide reveals how to create authentic, pillowy mochi using accessible ingredients and modern kitchen tools. You'll master both traditional pounding techniques and simplified no-hammer methods, complete with flavor variations that transform this Japanese staple into your signature treat.
Why Homemade Mochi Outshines Store-Bought
Commercial mochi often contains stabilizers that compromise texture. When you make easy homemade mochi from scratch, you control:
- Freshness: Peak chewiness lasts only 24-48 hours
- Ingredient purity: No artificial colors or preservatives
- Customization: Endless filling and flavor possibilities
| Ingredient | Traditional Role | Modern Substitution |
|---|---|---|
| Glutinous rice flour | Provides chewy texture | Mochiko brand (essential—don't substitute all-purpose flour!) |
| Water | Hydration for gelatinization | Coconut milk for tropical flavor variation |
| Granulated sugar | Sweetness and texture modifier | Honey (reduce water by 2 tbsp) |
| Cornstarch | Prevents sticking | Toast sesame seeds for nutty coating |
Your Essential Homemade Mochi Toolkit
Forget expensive mochi machines. These budget-friendly homemade mochi tools work perfectly:
Traditional Method
- Wooden mallet (kine) and mortar (usu)
- Cloth-lined tray for cooling
- Specialty: Authentic texture development
Modern Simplified Method
- Microwave-safe bowl
- Stand mixer with dough hook
- Specialty: Beginner-friendly with consistent results
Step-by-Step Homemade Mochi Process
Mixing & Steaming (Critical First Phase)
- Whisk 200g mochiko, 150g sugar, and 250ml water until smooth
- Cover bowl with parchment paper (prevents water droplets)
- Steam 18 minutes—timing is non-negotiable for ideal texture
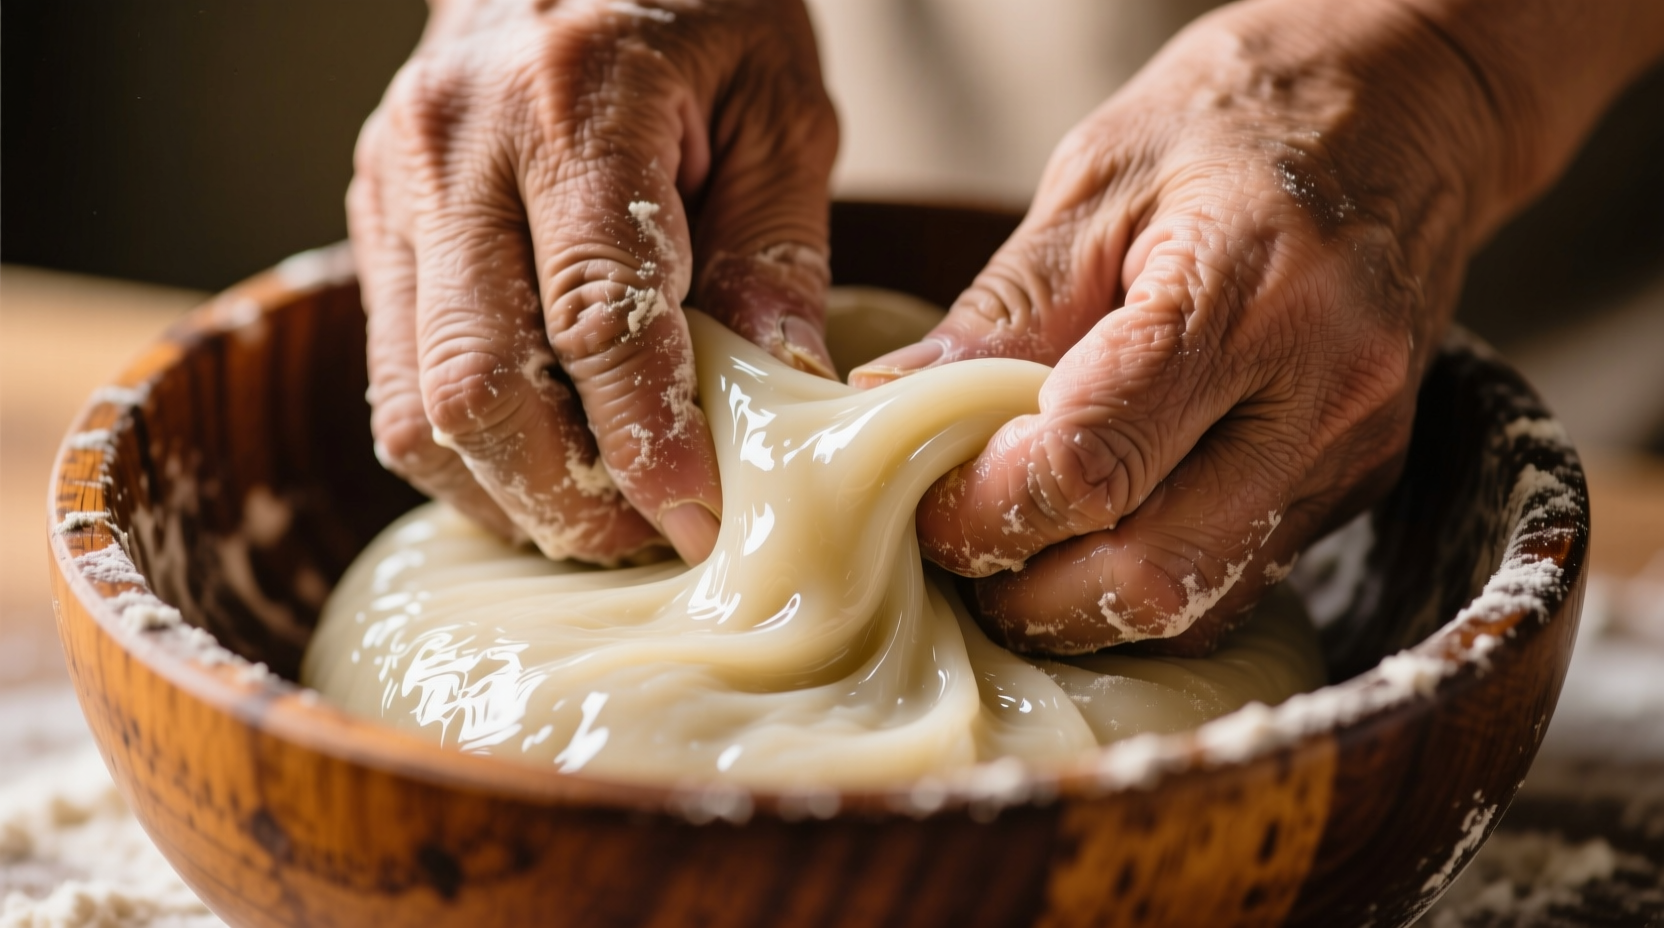
Pounding/Kneading (Texture Transformation)
This stage determines chewiness. Work immediately while hot:
- Traditional: Pounding rhythm—3 strikes, fold, rotate (repeat 100x)
- Modern: Stand mixer on medium for 8 minutes with 2 tbsp cornstarch
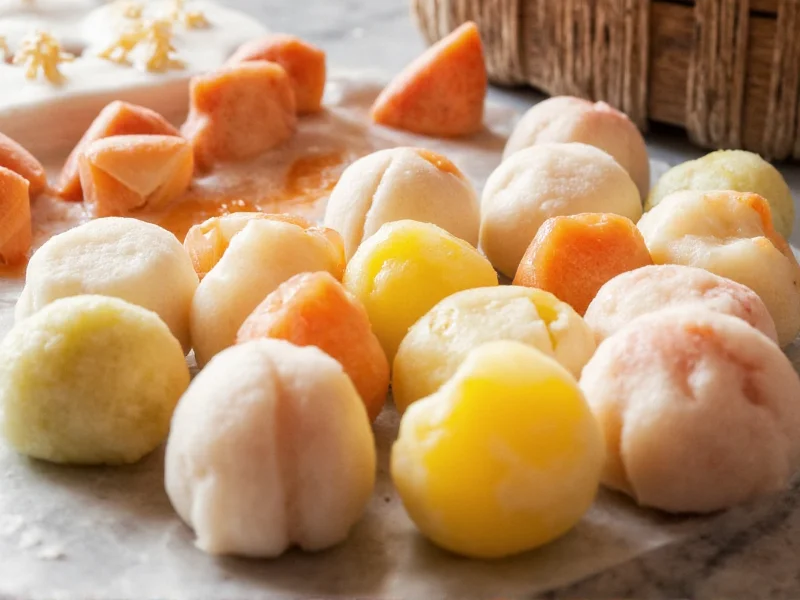
Shaping & Filling (Creative Freedom)
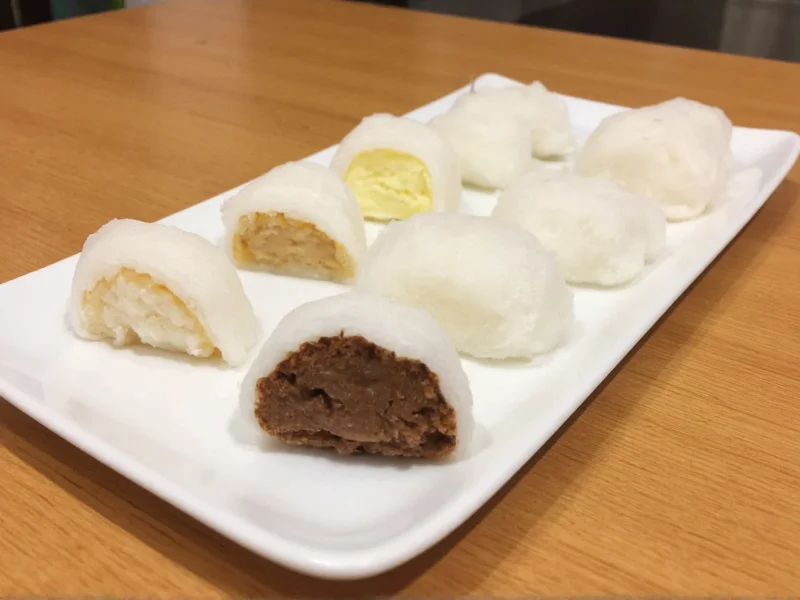
Divide dough into 30g portions. Try these popular homemade mochi variations:
- Daifuku: Wrap around sweet red bean paste
- Fruit Mochi: Encase whole strawberries (dust with potato starch)
- Savory Option: Mix in matcha, fill with miso-cured salmon
Troubleshooting Your Homemade Mochi
Fix these common issues before they ruin your batch:
| Problem | Immediate Fix | Prevention Tip |
|---|---|---|
| Dough cracks when shaping | Sprinkle water, knead 1 minute | Use exact water ratio (±2g matters)|
| Hard texture after cooling | Re-steam 3 minutes | Don't skip cornstarch coating|
| Filling leaks through dough | Chill filling 10 minutes | Use 1:3 dough-to-filling ratio
Safety & Storage Essentials
Choking hazard warning: Mochi causes 100+ annual ER visits in Japan. Always:
- Cut into small cubes for children/seniors
- Store in airtight container with cornstarch layer
- Consume within 48 hours (freezes well for 1 month)
Advanced Homemade Mochi Techniques
Elevate your authentic homemade mochi with these pro insights:
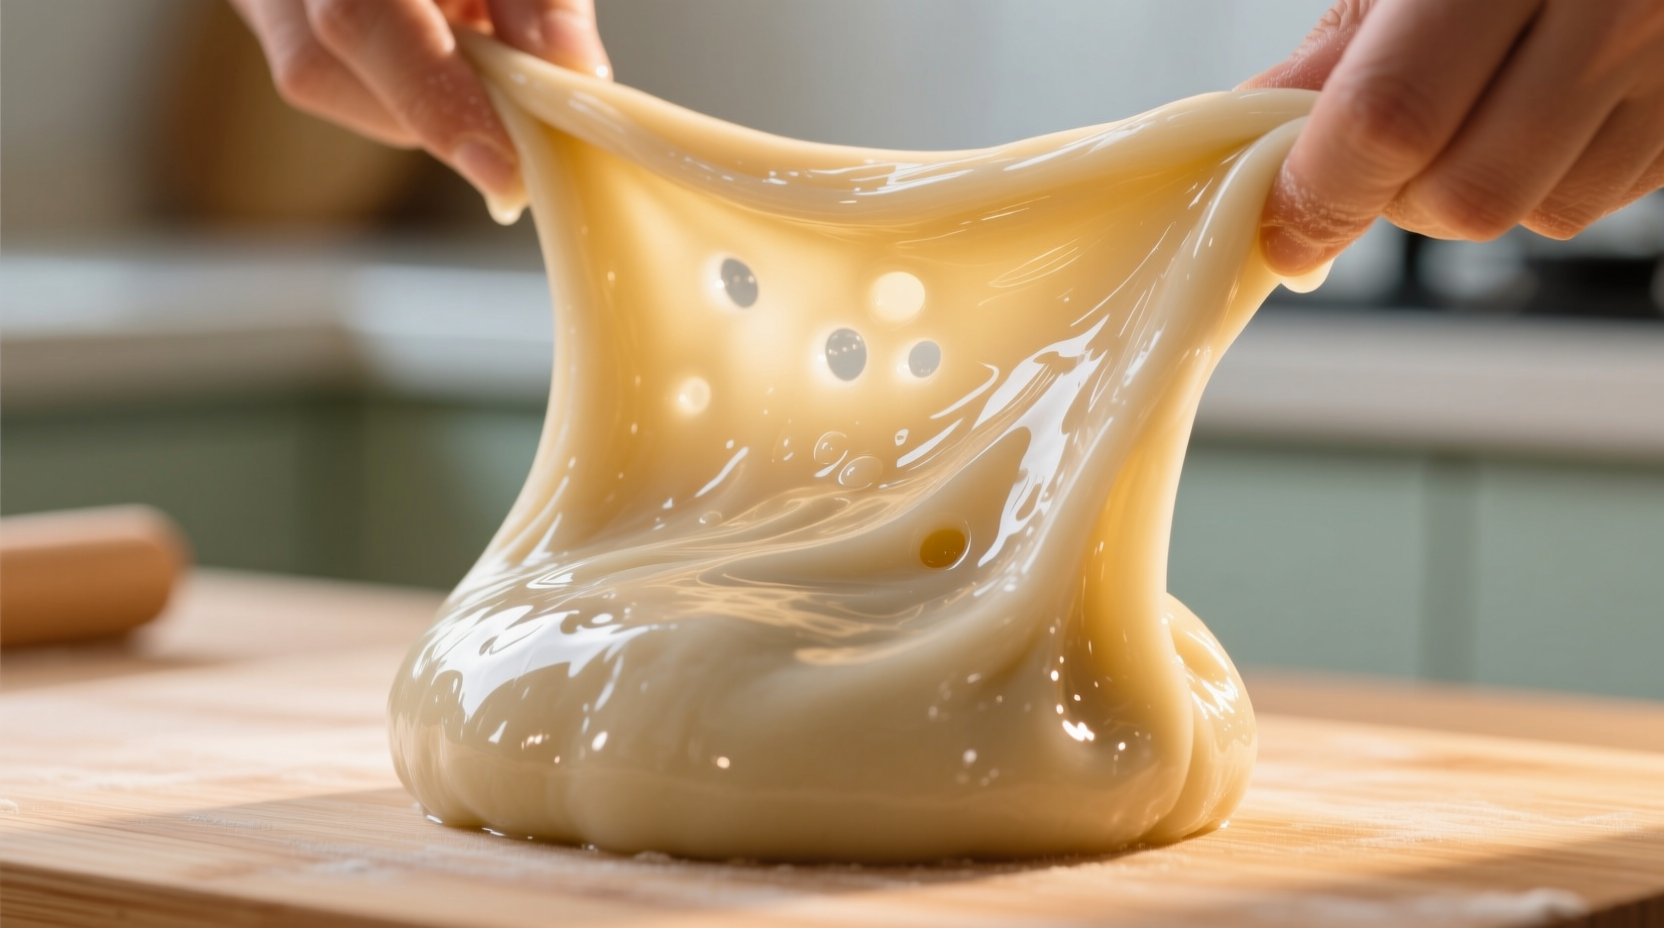
- Hydration science: 125% water-to-flour ratio creates optimal gel network
- Temperature control: Knead above 60°C (140°F) for maximum elasticity
- Flavor infusion: Steep ingredients in water (e.g., sakura leaves) before mixing
Frequently Asked Questions
Can I make homemade mochi without glutinous rice flour?
No—substitutes like tapioca or all-purpose flour create fundamentally different textures. True mochi requires glutinous rice flour (mochiko) for its unique chew. Arrowroot powder works in emergencies but yields softer results.
Why does my homemade mochi get hard overnight?
Starch retrogradation occurs as moisture migrates. Prevent this by storing between cornstarch layers in an airtight container. Re-steam for 2 minutes to restore softness—never microwave as it creates uneven texture.
How do I prevent mochi from sticking during shaping?
Use toasted cornstarch or potato starch (not flour) as coating. Keep hands damp with cold water, but wipe excess before handling dough. Work quickly—dough becomes stickier as it cools below 40°C (104°F).
Is traditional mochi pounding dangerous for beginners?
Yes—wooden mallet accidents cause serious injuries. Start with the stand mixer method. If attempting traditional pounding, maintain strict rhythm: one person folds while the other strikes, with 18-inch minimum distance between mallet swing and folding hand.


 浙公网安备
33010002000092号
浙公网安备
33010002000092号 浙B2-20120091-4