
Learn to create a cozy, custom fleece blanket in under 60 minutes with no sewing machine required. This beginner-friendly DIY uses just two fleece panels and scissors to produce a durable, frayed-edge blanket perfect for gifts or personal use.
Why Craft Your Own Fleece Blanket?
Store-bought fleece blankets often lack personality and sustainable credentials. By making your own, you gain:
- Complete customization - Choose colors/patterns matching your decor
- Zero-waste potential - Repurpose old fleece garments (see Step 1)
- Therapeutic value - The rhythmic knotting process reduces stress
- Cost efficiency - Save 40-60% versus retail blankets of similar size

Essential Materials Checklist
Gather these before starting. All items are reusable for future projects:
| Item | Why It Matters | Pro Tip |
|---|---|---|
| 2 fleece panels (72x60") | Double layer prevents thinning | Use recycled fleece jackets for eco-version |
| Rotary cutter + mat | Prevents jagged edges | Replace blades mid-project for clean cuts |
| 12" ruler | Ensures uniform fringe width | Mark every 1" with fabric chalk |
Step-by-Step Construction Guide
Phase 1: Fabric Preparation (10 mins)
- Lay panels face-to-face, aligning selvedge edges
- Pins every 6" to prevent shifting (critical for patterned fleece)
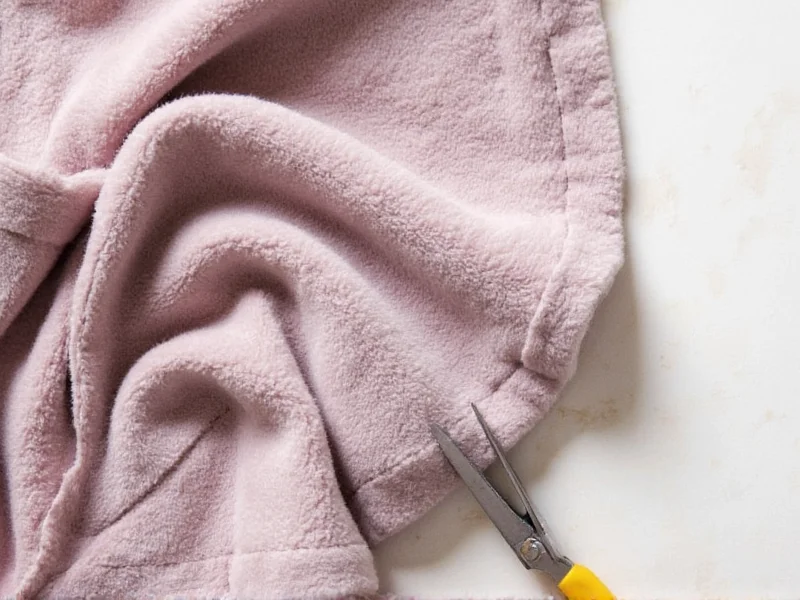
- Cut 4" squares from all corners - this prevents bulkiness
Phase 2: Fringe Creation (25 mins)
Accuracy here determines your blanket's durability:
- Measure 4" up from bottom edge all around
- Cut vertical strips every 1" through both layers
- Key insight: Wider strips (1.5") create chunkier knots that resist unraveling better for high-use blankets

Phase 3: Knotting Technique (20 mins)
Most tutorials miss this professional detail:
Use square knots (not simple overhands) for maximum security. Cross left strip over right, pull through loop, then repeat mirror-image on next pair. This creates interlocking knots that won't slip.
Pro tip: Knot every 3rd strip first to maintain tension, then fill gaps. Work in 12" sections to avoid misalignment.
Advanced Customization Options
Elevate beyond basic rectangles with these designer techniques:
Textured Edge Variations
- Braided border: Twist three strips together before knotting
- Scalloped edge: Cut curved corners instead of squares
- Gradient effect: Use three fleece colors in horizontal layers
Sensory Enhancements
For therapeutic blankets:
- Weave in 1/4" satin ribbon strips for visual texture
- Add pocket corners for weighted inserts (use poly pellets)
- Infuse with lavender sachets during construction
Maintenance & Longevity Tips
Extend your blanket's life with these often-overlooked practices:
- Washing: Cold water only, inside-out in mesh bag
- Drying: Air-dry flat - never use dryer heat
- Repair: Fix loose knots by re-tying with fabric glue dab
- Storage: Roll (don't fold) to prevent permanent creases
Troubleshooting Common Issues
Problem: Fringe unraveling after washes
Solution: Apply 1 drop of fabric glue inside each knot before trimming excess
Problem: Uneven tension causing ripples
Solution: Knot opposite sides simultaneously (top/bottom then left/right)
Why This Method Beats Sewing
While sewing creates stronger seams, the no-sew technique offers unique advantages:
- Speed: Complete in 1 sitting versus multiple sewing sessions
- Portability: Craft anywhere without electrical setup
- Adaptability: Easily resize blankets by adding panels mid-project
- Safety: Ideal for kids' crafting with minimal sharp tool use
Frequently Asked Questions
Can I use old fleece jackets instead of new fabric?
Yes! Deconstruct two matching-weight jackets (polar fleece to polar fleece). Remove seams first, then layer inside-out. This creates eco-friendly blankets with unique character - just ensure both fabrics have identical stretch properties.
How do I prevent knots from slipping over time?
Use the square knot method described in Phase 3, and apply a tiny dot of clear fabric glue inside each knot before trimming ends. For high-use blankets, make fringe strips 1.5" wide instead of 1" - the thicker knots hold tension better.
What's the ideal fleece weight for year-round use?
Choose 200-300gsm (grams per square meter) fleece. Lighter weights (100-150gsm) work for summer throws, while 400gsm+ creates heavy winter blankets. Mid-weight fleece provides the best drape and versatility for most climates.
Can I make this with kids safely?
Absolutely. Use fabric scissors with rounded tips and pre-cut the fringe strips. Kids can handle the knotting - it's great for fine motor skills. For toddlers, create "helper blankets" with larger 2" strips that are easier to manipulate.


 浙公网安备
33010002000092号
浙公网安备
33010002000092号 浙B2-20120091-4