

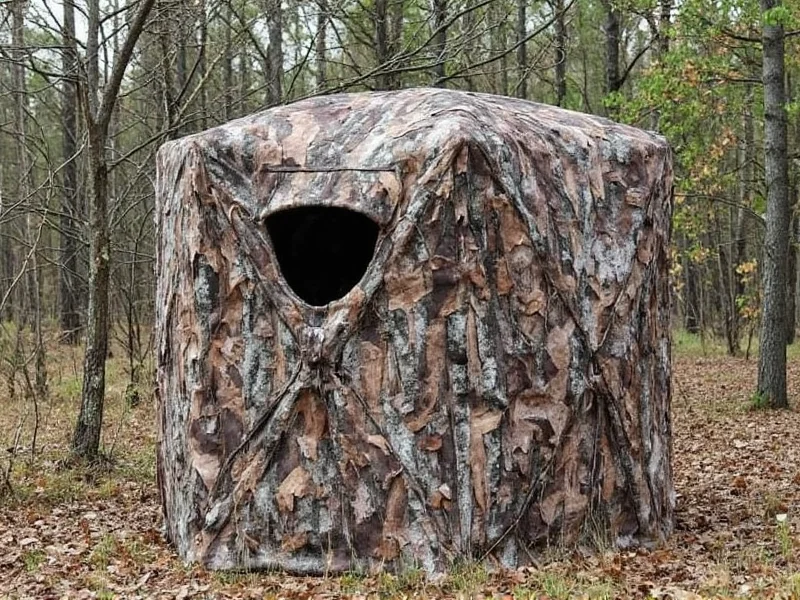
Building your own DIY hunting blind saves 50-70% compared to commercial options while allowing complete customization for your specific terrain and game. This guide provides step-by-step instructions, material recommendations, and field-tested techniques to construct an effective, weather-resistant hunting blind using affordable, accessible materials.
Why Build Your Own Hunting Blind?
Commercial hunting blinds cost $200-$800, but a well-constructed DIY version delivers equal effectiveness at a fraction of the price. More importantly, you can tailor dimensions, camouflage patterns, and access points to match your specific hunting environment and target species. Whether you're pursuing deer in hardwood forests or waterfowl in marshlands, a custom-built blind eliminates movement restrictions and improves shot opportunities.
Planning Your Hunting Blind Project
Successful DIY hunting blinds start with proper planning. Consider these critical factors before gathering materials:
Environmental Assessment Checklist
- Wind direction patterns in your hunting area
- Natural cover availability (brush, reeds, trees)
- Soil composition for stable foundation
- Local wildlife movement corridors
- Seasonal weather conditions
Material Selection Guide
Choose materials based on your environment and budget. These combinations have proven effective in field testing:
| Hunting Environment | Frame Material | Camouflage Material | Estimated Cost |
|---|---|---|---|
| Wooded Areas | Reclaimed pallet wood | Natural burlap + local foliage | $35-$60 |
| Marshlands | Aluminum conduit | Camouflage netting + reeds | $50-$85 |
| Open Fields | PVC pipe frame | Canvas with 3D grass texture | $40-$70 |

Step-by-Step Construction Process
Follow this proven sequence for optimal results. Each step includes professional tips often overlooked in basic tutorials:
- Foundation Preparation - Create a stable base using natural terrain features. For ground blinds, dig a 4-6 inch depression to reduce silhouette.
- Frame Assembly - Build your frame with 15-degree inward angles for improved stability and reduced wind resistance.
- Camouflage Layering - Apply materials in irregular patterns with varying depths to break up your outline effectively.
- Weatherproofing - Seal all wood surfaces with non-reflective matte sealant before adding camouflage.
- Interior Layout - Position shooting ports at varying heights to accommodate different game species and positions.
Advanced Camouflage Techniques
Standard camouflage patterns fail when animals detect unnatural shapes. Implement these field-tested techniques:
Effective Visual Disruption Methods
- Break up straight lines with irregular natural materials
- Create "false edges" using hanging vegetation
- Apply scent control to all materials before installation
- Rotate camouflage patterns seasonally to match environmental changes
- Use thermal disruption materials in cold weather hunting
Common Mistakes to Avoid
Even experienced hunters make these critical errors when building DIY hunting blinds:
- Using materials with unnatural reflective properties
- Creating symmetrical shapes that stand out to wildlife
- Ignoring wind direction when positioning shooting ports
- Overlooking interior space requirements for comfortable movement
- Failing to test the blind before hunting season begins
Field Testing and Refinement
Before hunting season, conduct these tests to ensure effectiveness:
- View your blind from 100 yards using binoculars
- Walk around the blind to identify any reflective spots
- Test shooting port accessibility with your specific firearm
- Check for noise when moving inside the structure
- Assess scent dispersion patterns from your position

Maintenance and Seasonal Adaptation
Extend your blind's lifespan with these maintenance practices:
- After each use: Remove all foreign materials and debris
- Monthly during off-season: Check for structural integrity and pest damage
- Before each season: Refresh camouflage materials to match current environment
- After heavy rain: Reapply non-reflective sealant to wood components
- Annually: Replace deteriorating structural elements
Frequently Asked Questions
How small can a DIY hunting blind be while still providing effective concealment?
The minimum effective size is 3'x3' with 5' height for a single hunter. However, adding just 6 inches to each dimension significantly improves comfort and reduces movement noise. For bow hunters, consider 4'x4' to accommodate drawing space.
What's the most cost-effective camouflage material for woodland hunting?
Burlap treated with non-toxic dye matching local foliage provides the best value. Purchase in bulk ($15 for 10 yards), then attach using zip ties through pre-punched holes. This creates irregular movement in wind that mimics natural vegetation better than static camouflage.
How do I prevent my DIY hunting blind from creating unnatural sounds when I move?
Line interior surfaces with rubber shelf liner ($8 at hardware stores) to dampen sound. Position shooting ports so your firearm rests against padded brackets rather than frame materials. Test all movements before hunting season and add felt padding to any components that create noise during dry runs.
Can I build an effective hunting blind without power tools?
Yes, a simple ground blind can be constructed with hand tools. Use saplings for framing (secured with paracord), natural vegetation for camouflage, and a tarp for weather protection. The key is creating irregular shapes and ensuring all materials match your specific hunting environment rather than following rigid construction patterns.


 浙公网安备
33010002000092号
浙公网安备
33010002000092号 浙B2-20120091-4