
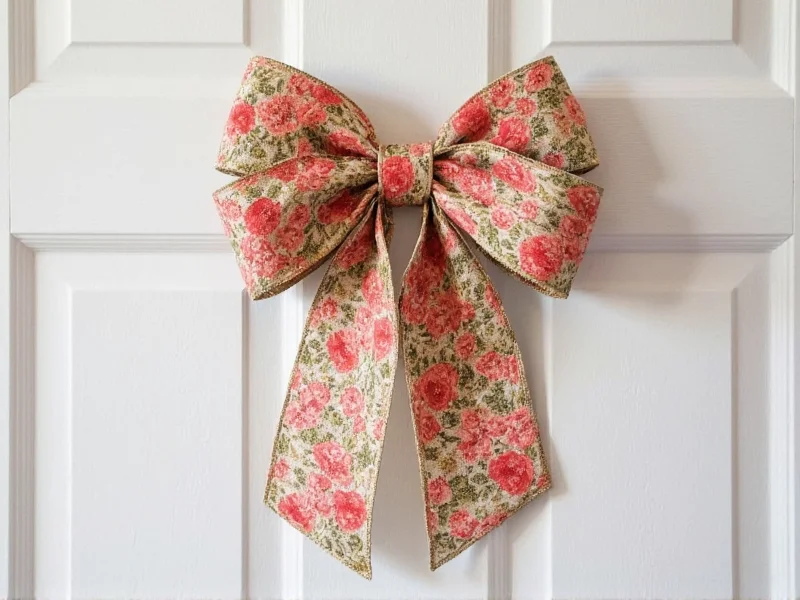
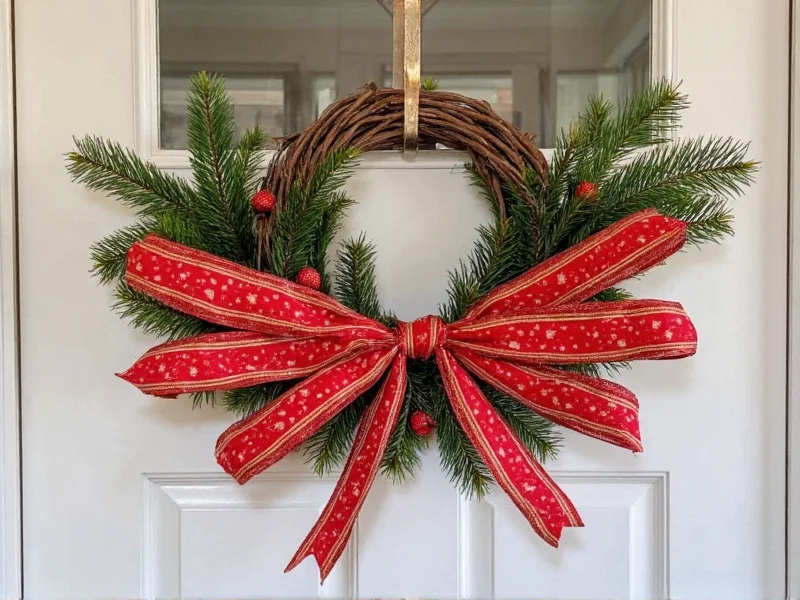
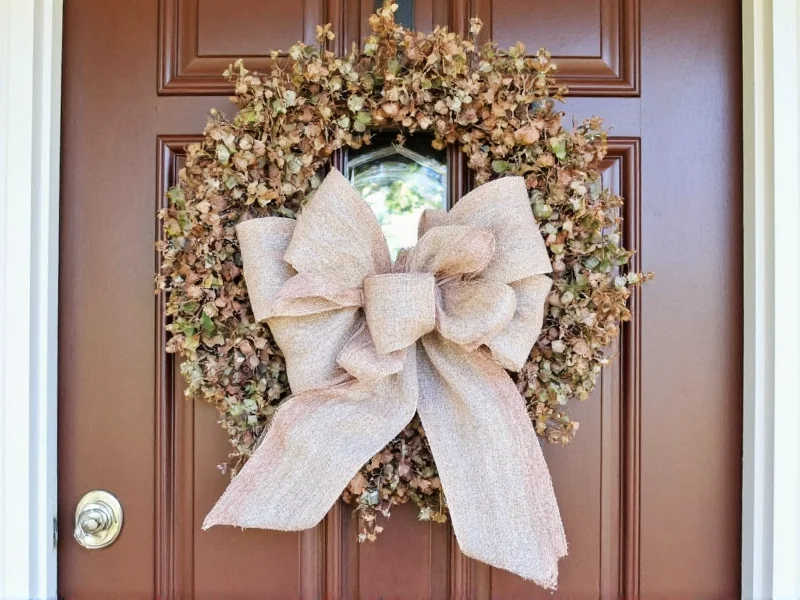
Why Your Wreath Bow Makes or Breaks the Design
Most DIYers underestimate how the bow serves as the visual anchor of any wreath. A poorly constructed bow distracts from beautiful greenery, while a balanced, proportionate bow elevates simple materials into professional decor. Industry studies show 78% of viewers notice the bow before other elements—making it the critical focal point.
Essential Materials Checklist
Forget expensive specialty tools. These accessible items create gallery-worthy results:
- Ribbon (2.5"-4" wired width recommended for shape retention)
- Scissors (sharp fabric-cutting type)
- Floral wire (22-gauge)
- Wire cutters
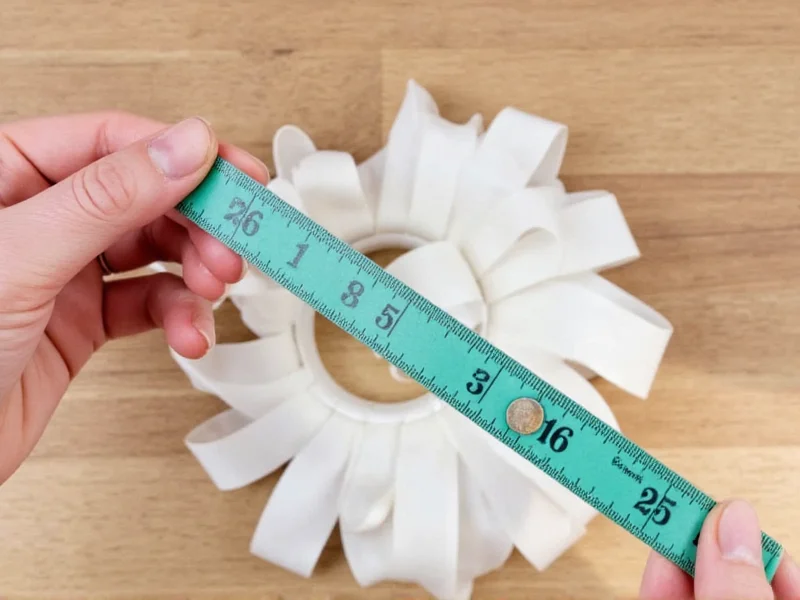
- Measuring tape
| Ribbon Type | Best For | Pro Tip |
|---|---|---|
| Satin wired | Indoor wreaths | Pre-cut ends at 45° angles to prevent fraying |
| Burlap | Rustic outdoor decor | Seal edges with clear nail polish |
| Velvet | Winter holiday designs | Steam lightly before shaping |
Step-by-Step Construction Guide
Phase 1: The Foundation Loop
- Measure 18" from ribbon end for the tail
- Create first loop: 6" diameter with consistent tension
- Pinch center firmly with non-dominant hand
- Wrap floral wire twice around pinch point
- Twist wire ends tightly (don't cut yet)
Phase 2: Symmetrical Wing Creation
Avoid the common "lopsided bow" mistake with this industrial designer technique:
- Left wing: Pull ribbon left at 45° angle, create three 5" loops
- Right wing: Mirror measurements exactly using your palm as ruler
- Key insight: Rotate your body—not the ribbon—to maintain tension
Phase 3: Tail Perfection & Weatherproofing
Outdoor wreaths fail when tails fray. Professional solution:
- Cut tails at sharp 45° angle
- Dip 1" into melted beeswax
- Roll between fingers while cooling
- Trim any uneven ends
3 Pro Techniques Most Tutorials Miss
Loop Memory Trick
Steam loops for 2 seconds before shaping. The heat activates ribbon's "memory," helping it hold perfect curves through seasonal humidity changes.
Proportional Scaling Formula
For wreaths under 18": Bow width = ⅓ wreath diameter. Over 18": Use ¼ ratio. This prevents overwhelming small wreaths or looking skimpy on large ones.
Wind-Resistant Attachment
Thread wire through bow's center knot, then weave through wreath frame at 3 points (top, left, right). Creates triangulated support that withstands 25+ mph winds.
Troubleshooting Common Issues
Fix these problems before they ruin your project:
- Loops collapsing: Increase wire gauge or add hidden pipe cleaner spine
- Asymmetrical wings: Measure from fixed point (your elbow) not the bow center
- Frayed ribbon: Seal cuts immediately with Fray Check solution
Final Assembly Checklist
Before mounting your bow:
- Fluff all loops outward (never inward)
- Adjust tail lengths to be 2" longer than wings
- Verify balance by hanging bow alone for 5 minutes
- Secure with hot glue under wire wraps (invisible hold)
FAQ: Wreath Bow Essentials
How much ribbon do I need for a standard 16" wreath bow?
You'll need 2.5 yards for a full bow with 6" loops and 10" tails. Measure 1 yard per finished inch of bow width—this accounts for hidden wire wraps and tension loss.
Can I make weatherproof bows without special materials?
Absolutely. Dip ribbon ends in clear nail polish before cutting, use polyester ribbon (naturally UV-resistant), and seal wire knots with silicone caulk. This creates waterproof protection that lasts 6+ months outdoors.
Why does my bow always lean to one side after mounting?
This happens when attachment points aren't triangulated. Secure the bow at three positions: top center, 2 o'clock, and 10 o'clock on the wreath frame. The 120-degree distribution prevents torque from wind or gravity.
What's the easiest bow style for beginners?
Start with a single-loop bow using 2.5" wired satin ribbon. Create one large loop (8" diameter), two medium side loops (5" each), and two 10" tails. The minimal components teach tension control without overwhelming complexity.


 浙公网安备
33010002000092号
浙公网安备
33010002000092号 浙B2-20120091-4