
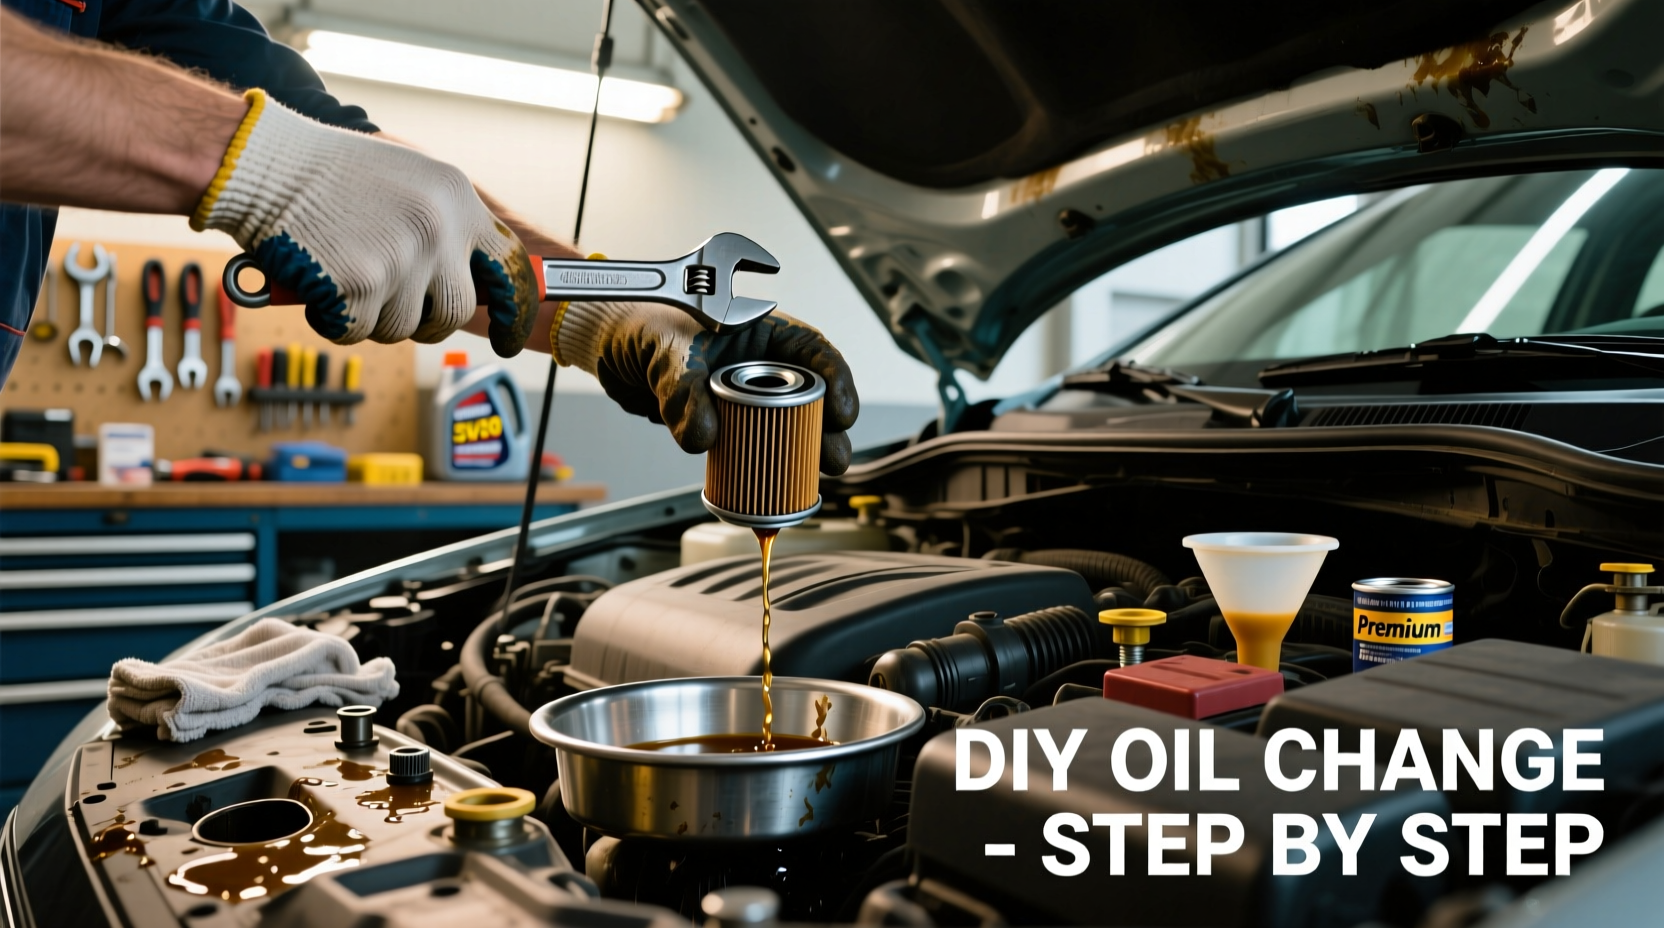
Why DIY Oil Changes Make Sense for Your Wallet and Car
Performing your own oil change isn't just for gearheads—it's a practical skill that puts you in control of your vehicle's maintenance. Modern cars make the process simpler than ever, requiring only basic tools and about the same time as waiting at a quick-lube shop. Beyond the immediate savings of $30-$60 per change, you gain valuable knowledge about your vehicle's condition and avoid upselling tactics common at service centers.
Your Complete DIY Oil Change Toolkit
Before starting, gather these essential items. Having everything ready prevents mid-process scrambling and ensures safety.
| Essential Items | Optional but Helpful | Environmental Considerations |
|---|---|---|
| New oil (check owner's manual) | Ramps or jack stands | Oil drain pan with spout |
| New oil filter | Funnel with long spout | Cardboard under work area |
| Wrench set (correct size) | Gloves and safety glasses | Oil absorbent pads |
| Drip tray | Shop towels | Recycling container |
Step-by-Step: The 30-Minute Oil Change Process
Preparation Phase (5 minutes)
- Run your engine for 1-2 minutes to warm the oil (improves drainage)
- Park on level ground and engage parking brake
- Use wheel chocks for safety if using jack stands
- Place drip tray beneath oil pan
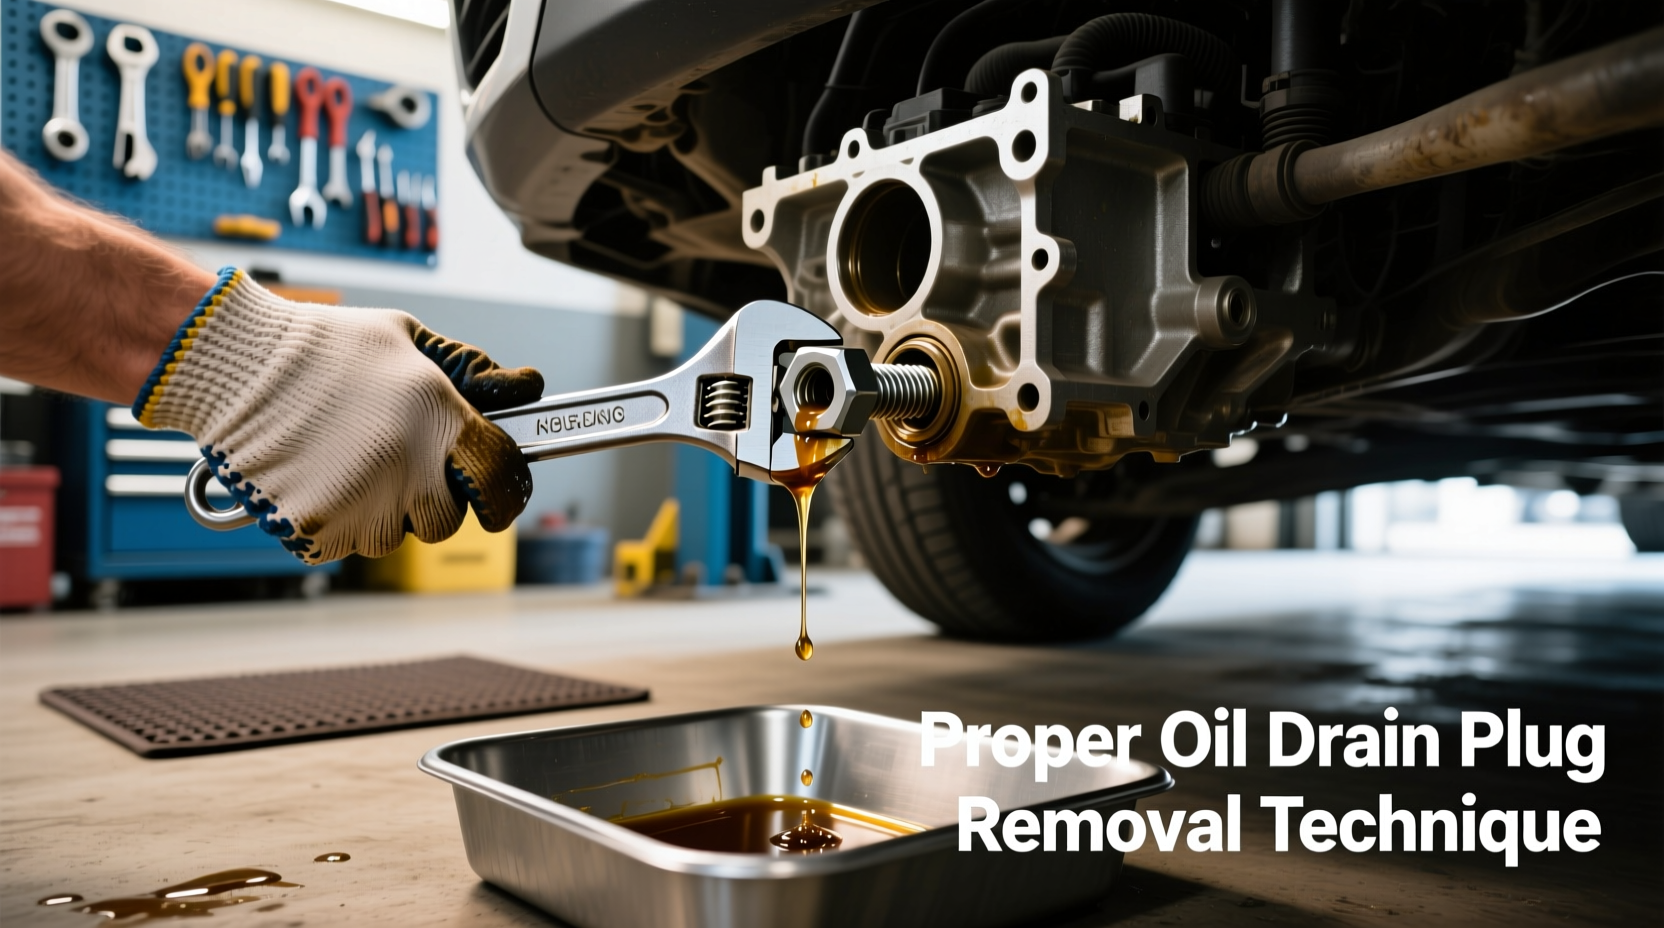
Draining Old Oil (8 minutes)
- Locate drain plug (typically center-rear of oil pan)
- Position drain pan directly underneath
- Carefully loosen plug with wrench (turn counterclockwise)
- Remove plug completely and let oil drain for 10-15 minutes
- Clean plug threads before reinstalling (don't overtighten)
Changing the Filter (7 minutes)
Filter Selection Tip
Match the filter to your vehicle's specifications, not just size. Using the wrong filter can restrict oil flow and damage your engine. Check your owner's manual or consult an auto parts professional.
- Place drain pan under filter location
- Use oil filter wrench to remove old filter
- Wipe filter seat clean with rag
- Apply thin coat of new oil to new filter's gasket
- Screw on new filter by hand until snug (don't overtighten)
Adding New Oil (5 minutes)
- Replace oil fill cap under hood
- Use funnel to pour recommended amount of new oil
- Check level with dipstick (add more if needed)
- Replace fill cap securely
Final Checks (5 minutes)
- Start engine and check for leaks at drain plug and filter
- Run for 1 minute, then recheck oil level
- Dispose of old oil and filter properly
- Reset oil change reminder (if equipped)
Three Costly Mistakes DIYers Make (And How to Avoid Them)
Over-Tightening Components
Excessive force on drain plugs or filters damages threads, causing leaks or making future changes difficult. Hand-tight plus a quarter-turn is sufficient for most filters. Drain plugs typically require 15-25 ft-lbs torque—check your manual.
Using Incorrect Oil Specifications
Modern engines require specific viscosity grades and certifications. Using the wrong oil (like conventional instead of synthetic) can void warranties and cause premature wear. Always follow your owner's manual specifications, not generic advice.
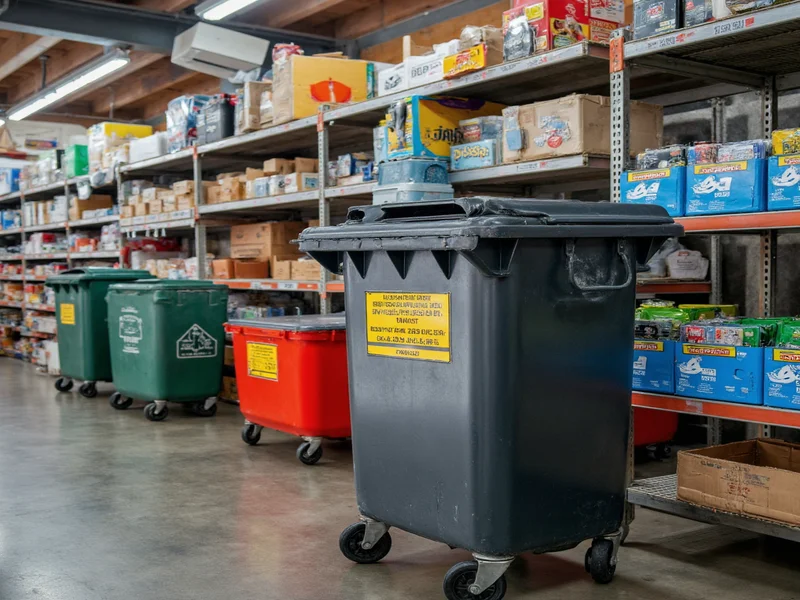
Improper Oil Disposal
Pouring oil down drains or in trash contaminates water supplies. One quart of oil can pollute 250,000 gallons of water. Most auto parts stores accept used oil for free recycling—call ahead to confirm.
Troubleshooting Common Post-Change Issues
Oil Light Remains On After Change
This usually indicates low oil level. Double-check your dipstick—many engines require topping off after initial startup. If the light persists, check for leaks or consult your manual about reset procedures.
Oil Leaking After Installation
Small drips are normal during the first few miles as gaskets settle. Continuous dripping indicates:
- Loose drain plug (common)
- Improperly seated filter
- Crushed filter gasket
Address leaks immediately to prevent engine damage.
Unusual Engine Noises After Change
If you hear knocking or ticking after an oil change:
- Check oil level immediately
- Verify correct oil viscosity
- Ensure oil filter isn't clogged
These symptoms often indicate insufficient lubrication—shut off engine and investigate before continuing to drive.
Maximizing Your DIY Oil Change Results
Professional mechanics follow these additional steps that you can incorporate:
- Inspect undercarriage while elevated for leaks, damage, or worn components
- Check tire pressure and condition during maintenance sessions
- Record maintenance in your vehicle log with date, mileage, and oil type
- Examine old oil for metal particles (indicates internal engine wear)
These simple additions transform a basic oil change into a comprehensive vehicle health check, potentially catching issues before they become expensive repairs.
Frequently Asked Questions
How often should I change my oil?
Modern vehicles typically require oil changes every 5,000-10,000 miles, depending on your specific engine and driving conditions. Always follow your manufacturer's recommendation in the owner's manual rather than generic advice. Severe driving conditions (frequent short trips, extreme temperatures, towing) may require more frequent changes.
Can I reuse my oil filter during a DIY oil change?
No, you should always install a new oil filter with each oil change. Used filters contain trapped contaminants that would immediately contaminate your fresh oil. Modern engines operate with tight tolerances that require clean oil—reusing filters compromises engine protection and can void warranties.
Where can I properly dispose of used motor oil?
Most auto parts stores (like AutoZone, O'Reilly, Advance Auto Parts) accept used oil for free recycling—call ahead to confirm hours and container requirements. Many communities also have hazardous waste collection centers. Never pour oil on the ground, in drains, or in regular trash as it contaminates water supplies and violates environmental regulations.
Does changing my own oil void my vehicle warranty?
No, performing your own oil changes does not void your vehicle warranty as long as you use the correct oil specifications and maintain proper records. The Magnuson-Moss Warranty Act protects consumers' right to perform their own maintenance. Keep receipts for oil and filters, and document each change with date, mileage, and oil type used.


 浙公网安备
33010002000092号
浙公网安备
33010002000092号 浙B2-20120091-4