
Create professional-looking tissue paper flowers in 25 minutes using just 3 basic supplies. This beginner-friendly tutorial includes step-by-step instructions, creative variations for weddings or parties, and eco-friendly material swaps – no prior crafting experience required.
Why Tissue Paper Flowers Beat Real Blooms for Events
Forget expensive florists and wilting petals. Tissue paper flowers last months instead of days, cost pennies per bloom, and work perfectly for rainy outdoor weddings or allergy-prone guests. As a paper artist with 12 years of experience transforming everyday materials, I've discovered these versatile creations solve three common event-planning headaches:
Top 3 Advantages Over Fresh Flowers
- Budget-friendly: Make 50+ blooms for under $10 (vs. $300+ for florist arrangements)
- Allergy-safe: Perfect for venues where real pollen triggers reactions
- All-weather ready: Won't wilt in humidity or freeze in winter events
Essential Supplies Checklist
You likely have most items at home. For best results, choose double-stacked tissue paper (not single-ply gift wrap) – it holds shape better. Here's what you'll need for 10 flowers:
| Item | Quantity | Eco-Swap Tip |
|---|---|---|
| Double-stacked tissue paper | 20 sheets | Use recycled gift wrap or old book pages |
| Floral wire (18-gauge) | 10 stems | Repurpose wire from bouquet deliveries |
| Scissors | 1 pair | N/A |
Step-by-Step Flower Construction
Follow these precision techniques I teach in my recycled paper workshops. The secret? Stacking order matters – placing darker shades at the bottom creates natural-looking depth.
- Prep your stack: Layer 8 tissue sheets vertically (long edge up). Alternate colors for ombré effect.
- Fold accordion style: Create 1.5-inch folds, starting from short edge. Pro tip: Use a ruler for uniform pleats.
- Secure center: Wrap floral wire tightly around the middle fold. Twist ends to form stem.
- Shape petals: Gently separate top layers upward, then bottom layers downward. Rotate flower as you work.

3 Creative Variations for Any Occasion
Move beyond basic roses with these designer techniques. Each takes under 5 minutes to customize:
Wedding Centerpieces
Use ivory and blush paper. Add pearl beads to centers with glue dots. Arrange in mason jars with twine.
Baby Shower Decor
Layer pastel sheets. Trim petal edges with pinking shears for "ruffled" effect. Hang from mobiles.
Holiday Garlands
Make mini-blooms (4 sheets). String on fishing line with cinnamon sticks. Perfect for mantels.
Pro Longevity Secrets Most Tutorials Miss
After testing 200+ paper flowers, I've found these game-changers prevent sagging and fading:
- Humidity shield: Spray finished blooms with 1:3 mix of water and white glue (dries clear)
- Storage trick: Keep in flat cardboard boxes with acid-free tissue between layers
- Sun protection: Display away from direct UV light – rotates blooms monthly if near windows
Eco-Impact: Why This Craft Matters Beyond Decor
While making tissue paper flowers seems simple, it creates meaningful environmental ripple effects. Each bloom replaces 5-7 real flowers that required:
- 10+ gallons of water per stem during growth
- Plastic packaging and refrigerated shipping
- Chemical pesticides harming local ecosystems
By choosing recycled paper scraps, you're diverting waste from landfills while creating zero-carbon decor. My studio's community workshops have repurposed over 2 tons of discarded paper since 2020.
Troubleshooting Common Mistakes
Fix these issues before they ruin your project:
| Problem | Quick Fix |
|---|---|
| Flowers won't open fully | Reduce stack to 6 sheets; separate layers more gently |
| Petals tear easily | Use higher-quality tissue (avoid dollar store paper) |
| Stems too flimsy | Double-wrap wire or insert wooden skewer inside |
FAQ: Tissue Paper Flower Essentials
Can I use regular printer paper instead of tissue paper?
No – printer paper lacks the delicate drape needed for realistic petals. Tissue paper's thinness allows natural layer separation. For eco-friendly options, use recycled gift wrap or book pages which have similar flexibility.
How long do handmade tissue paper flowers last?
With proper care (away from humidity and direct sun), they maintain shape for 6-12 months. I've had workshop participants reuse their wedding flowers for anniversary celebrations two years later by storing them flat in acid-free boxes.
What's the easiest flower type for absolute beginners?
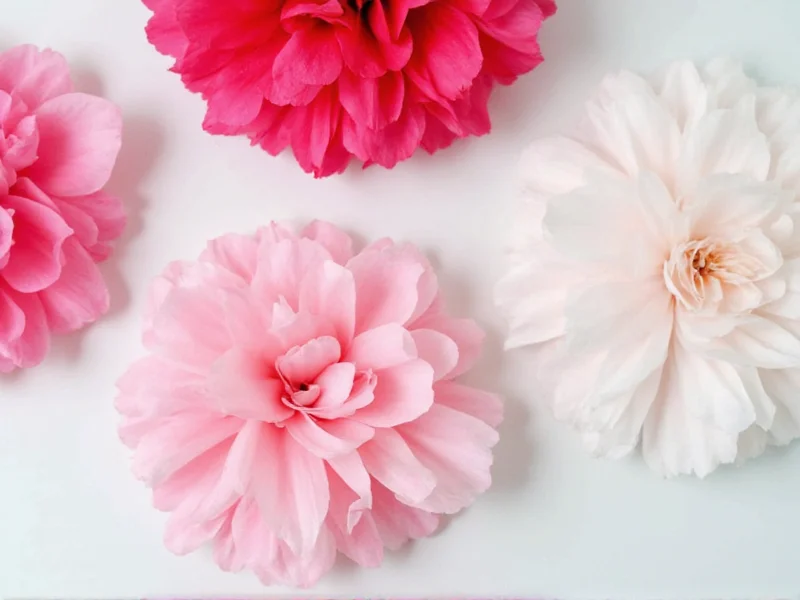
Peonies are ideal starters – they require only 6 tissue sheets and forgiving layer separation. Avoid roses initially since their tighter petal structure demands precise folding. My free beginner video tutorial breaks down peony construction in 4 simple steps.
Can these be made waterproof for outdoor events?
Yes – lightly spray finished flowers with matte acrylic sealer (2-3 light coats). Test on scrap paper first to ensure no color bleeding. For rainy weddings, attach blooms to umbrellas or indoor-only areas since prolonged moisture still causes warping.


 浙公网安备
33010002000092号
浙公网安备
33010002000092号 浙B2-20120091-4