

Professional-looking highlights cost $100+ at salons but you can achieve vibrant, damage-free results at home for under $30 with proper technique and timing. This guide reveals salon-level methods using drugstore products—no prior experience needed.
Why DIY Highlights Beat Salon Visits (When Done Right)
Skipping the salon saves $75-$150 per session while giving you control over placement and color intensity. The secret? Understanding hair chemistry—most DIY disasters happen from incorrect developer volume or overprocessing. We'll fix that.
| Highlighting Method | Cost | Best For | Processing Time |
|---|---|---|---|
| Foil Highlights | $22-$28 | First-timers, precise placement | 30-45 minutes |
| Balayage | $18-$25 | Soft grow-out, natural look | 20-35 minutes |
| Cap Highlights | $15-$20 | Subtle dimension, short hair | 25-40 minutes |
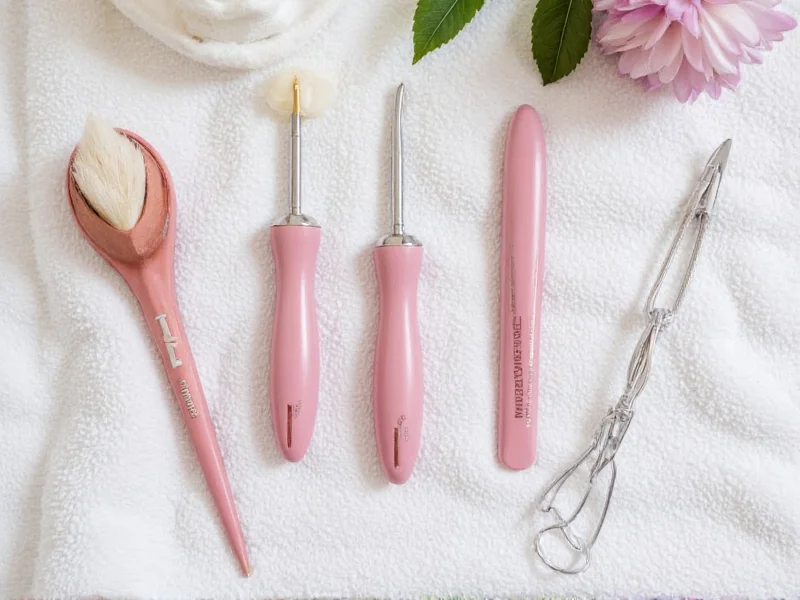
Your No-Mistake Highlight Kit Checklist
Forget expensive kits—these drugstore essentials prevent orange tones and damage:
- 20-volume developer (never 30+ for first-timers—causes brassiness)
- Plastic mixing bowl (metal reacts with dye)
- Fine-tooth tail comb for clean sectioning
- Color-correcting toner (violet-based for blondes, blue for brunettes)
Step-by-Step: Salon-Quality Highlights in 45 Minutes
Prep Like a Pro (Skip This = Patchy Results)
Wash hair 24 hours pre-highlighting—natural oils protect your scalp. Crucial: Do a strand test with your chosen color 48 hours prior. Mix 1 tsp dye + 2 tsp developer, apply to hidden section. Check at 30/45/60 minutes to prevent overprocessing.
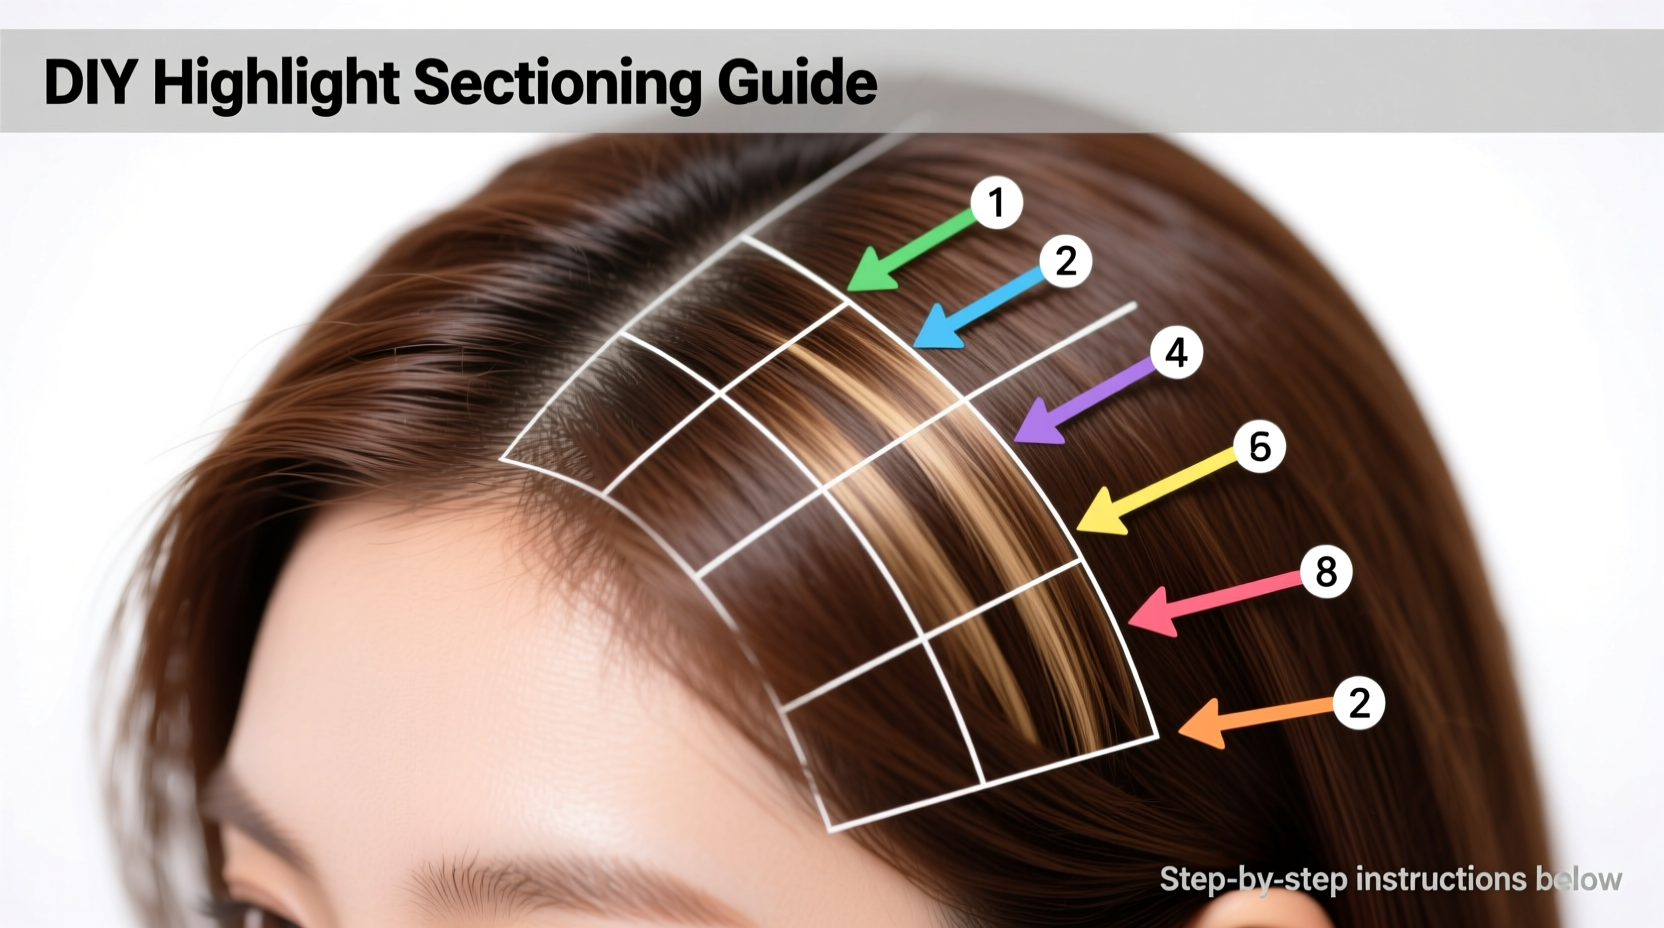
Sectioning Secrets for Even Placement
- Part hair into 4 quadrants with tail comb
- Take 1/8-inch sections—thicker sections = muddy results
- For face-framing highlights: Pull forward 1-inch section at temples
- Clip remaining hair tightly—loose strands cause streaks
Avoiding the Orange Zone: Timing Guide
Processing time depends on your base color—not hair length:
- Dark brown: 35-40 minutes (check at 30)
- Medium brown: 30-35 minutes
- Light brown: 25-30 minutes
- Blonde: 20-25 minutes (risk of yellow)
Pro tip: Rinse at first sign of desired lift—hair continues processing from residual heat.
Rescue Fix for Common DIY Disasters
"My Highlights Turned Orange!"
This happens when underlying pigments show before full lift. Solution: Apply blue-based toner immediately after rinsing. Mix 1 part toner + 2 parts conditioner, leave for 10 minutes. Never use purple toner on orange tones—it creates muddy brown.
"Roots Look Patchy"
Caused by uneven sectioning. Fix: Use a 1/16-inch parting tool (under $5) for uniform sections. Always highlight from mid-shaft to ends first, then roots last—roots process faster.
Making Highlights Last 8+ Weeks
Salon clients pay $30 for these maintenance tricks:
- Wash in cool water—hot water opens cuticles, fading color
- Use sulfate-free shampoo (look for "color-safe" label)
- Apply leave-in conditioner before swimming—chlorine causes brassiness
- Touch up roots only every 6-8 weeks (full highlights every 12 weeks)
FAQ: DIY Highlight Success
Can I do highlights on previously colored hair?
Yes, but avoid lifting more than 2 levels. If you're dark blonde going lighter, use 10-volume developer max. Previously colored hair processes faster—check every 10 minutes.
How do I prevent yellow tones in blonde highlights?
Apply violet shampoo as a mask: Mix with conditioner 1:1, leave for 5 minutes during washes. Never use on dry hair—it stains. For severe yellow, use a blue toner before violet products.
What's the safest way to highlight damaged hair?
Use demi-permanent color (no ammonia) and 10-volume developer. Process for half the recommended time. Always apply a bond-builder like Olaplex No.1 before coloring—this prevents breakage.
Can I highlight my hair twice in one week?
Never. Hair needs 7-10 days between chemical services to recover. Repeated processing causes severe damage. If results are uneven, wait 2 weeks before correcting.


 浙公网安备
33010002000092号
浙公网安备
33010002000092号 浙B2-20120091-4