
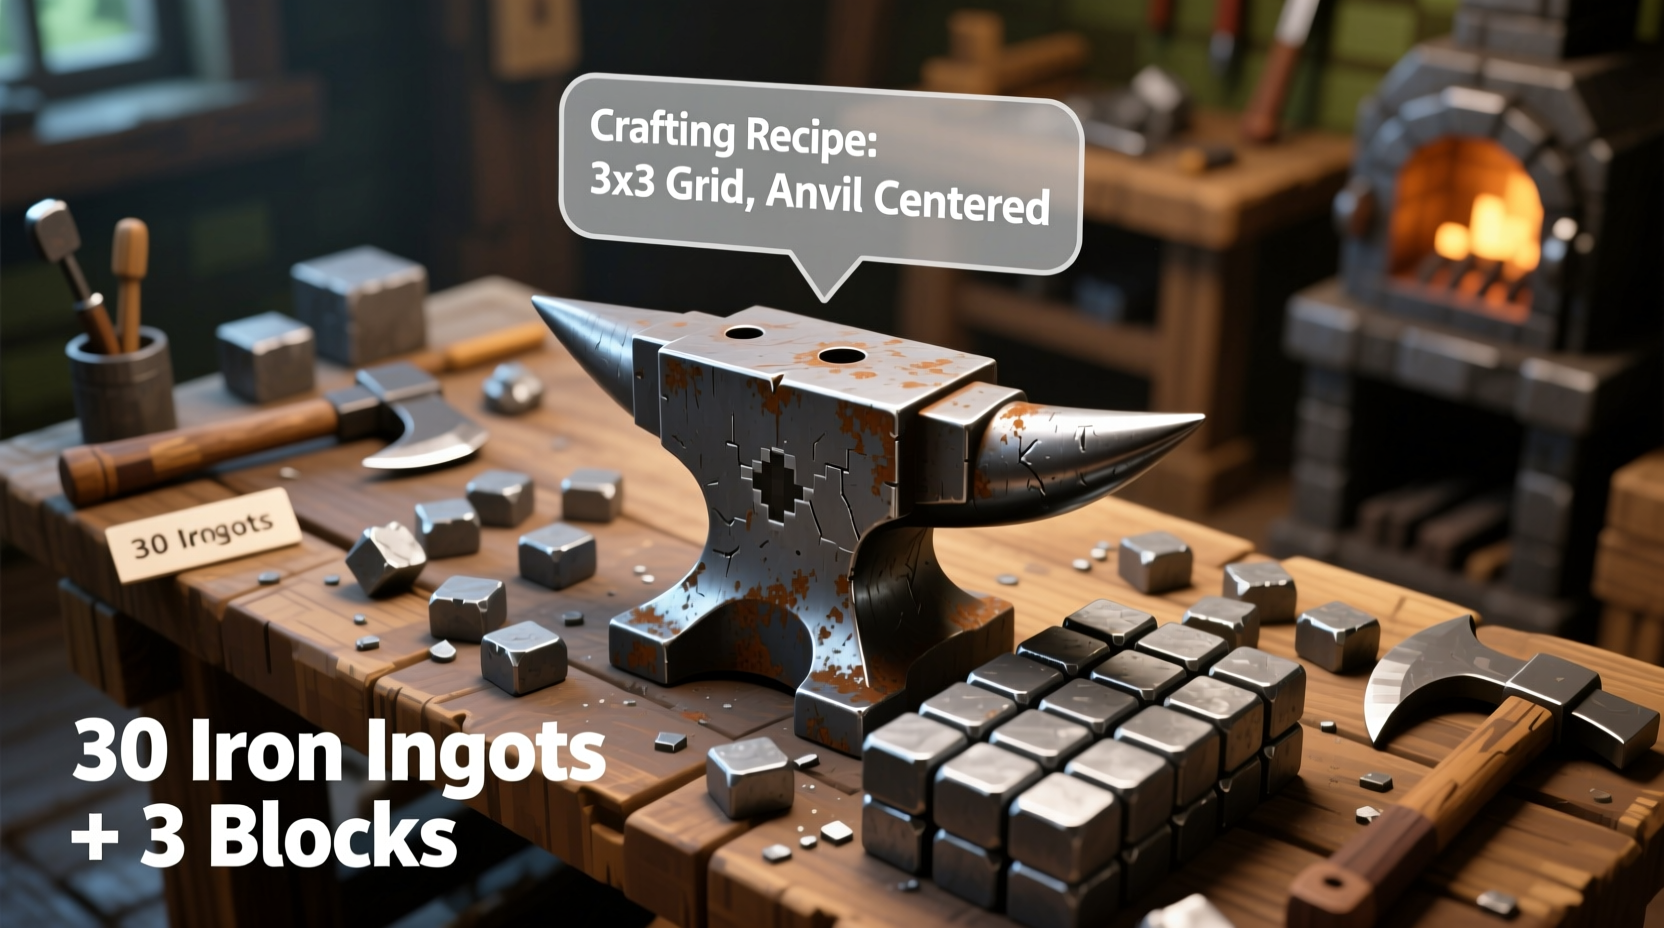
To craft an anvil in Minecraft, arrange 3 iron blocks in the top row and 4 iron ingots in the bottom two rows of your 3x3 crafting grid. This essential tool repairs gear, combines enchantments, and renames items without losing durability.
Why You Need an Anvil in Your Minecraft Survival Kit
Before diving into crafting, understand why anvils are non-negotiable for serious players. Unlike grindstones or crafting tables, anvils let you:
- Repair damaged tools without resetting enchantment levels
- Combine two enchanted items into one superior version
- Rename any item (including cursed gear) for identification
- Maintain item durability through multiple repairs
Without an anvil, you'll constantly replace enchanted gear—wasting precious resources. Now, let's gather what you need.
Gathering Materials: Iron Strategy for Survival Mode
You'll need exactly:
| Material | Quantity | Source |
|---|---|---|
| Iron Blocks | 3 | 9 ingots each (27 total ore) |
| Iron Ingots | 4 | Smelted from 4 iron ores |
Pro Tip: Mine between Y=-16 to Y=-52 for maximum iron veins. Use a Fortune III pickaxe on deepslate layers—it yields 2-4 ores per block!
Step-by-Step Crafting Guide
Follow these precise steps to avoid common mistakes:
- Smelt your iron: Cook 31 iron ores in a furnace (4 extra for emergencies)
- Make iron blocks: Craft 3 blocks using 9 ingots each in the crafting grid
- Open crafting table: Right-click your 3x3 grid interface
- Arrange materials:
- Top row: 3 iron blocks
- Middle row: 1 iron ingot in center
- Bottom row: 3 iron ingots

Critical Warning: Placing iron ingots in the top row creates iron blocks—not an anvil. Double-check your grid before crafting!
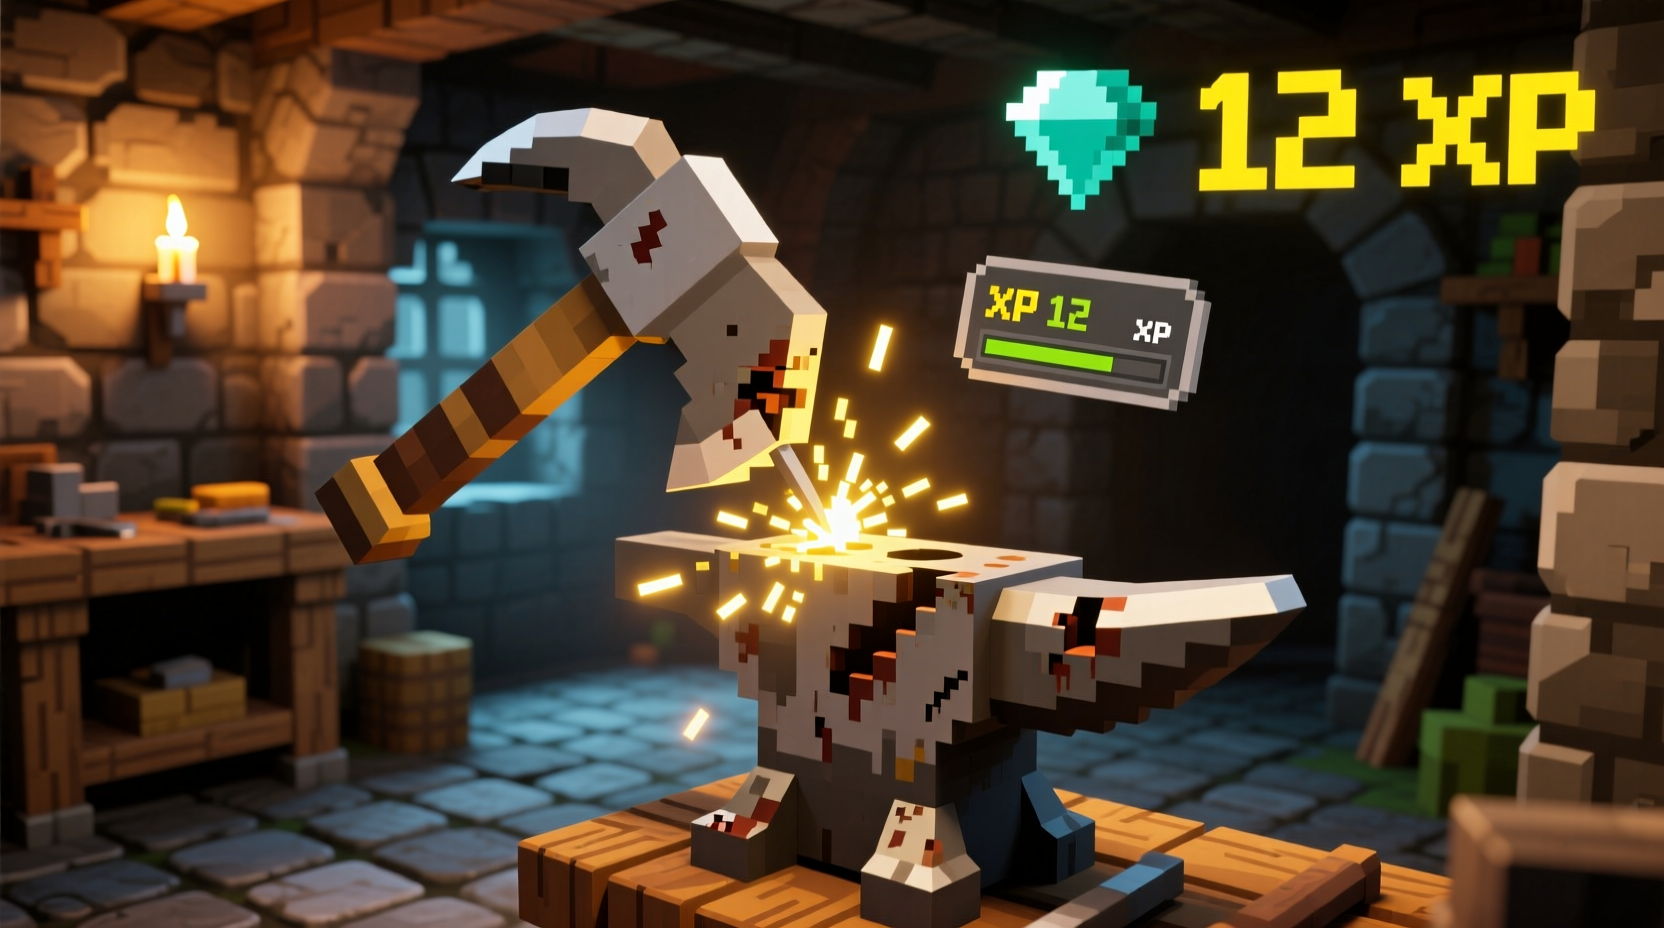
Using Your Anvil Effectively: Beyond Basic Repairs
Most players underutilize anvils. Maximize value with these advanced techniques:
Enchantment Combining Strategy
Place two enchanted items in the anvil slots. The left item becomes your final tool. Always put the higher-level enchantment on the left to minimize XP costs.
Durability Preservation
Repair tools at 5% remaining durability. Waiting until 1% wastes 40% more XP due to Minecraft's repair cost algorithm.
Avoiding the "Too Expensive!" Trap
Nothing frustrates players more than seeing "Too Expensive!" when combining items. Prevent this by:
- Using enchanted books instead of pre-enchanted gear
- Resetting repair costs with a grindstone first
- Keeping enchantment levels below tier III for combined items
Remember: Anvils themselves degrade with use. Place them on stone blocks to prevent creeper explosions from destroying your investment.
Frequently Asked Questions
Can you craft an anvil without iron blocks?
No—iron blocks are mandatory. Using raw iron ingots creates iron blocks, not anvils. The recipe requires exactly 3 blocks and 4 ingots.
Why does my anvil say "Too Expensive"?
This happens when combined enchantments exceed level 40. Reduce costs by using enchanted books or repairing items at higher durability percentages.
Do anvils break when used?
Yes—they have 251 uses before breaking. Place them on non-flammable blocks like stone to protect against explosions and fire.
Can you repair Netherite gear with an anvil?
Absolutely. Anvils are the only way to repair Netherite tools while preserving enchantments. You'll need Netherite scraps for the repair material.


 浙公网安备
33010002000092号
浙公网安备
33010002000092号 浙B2-20120091-4