
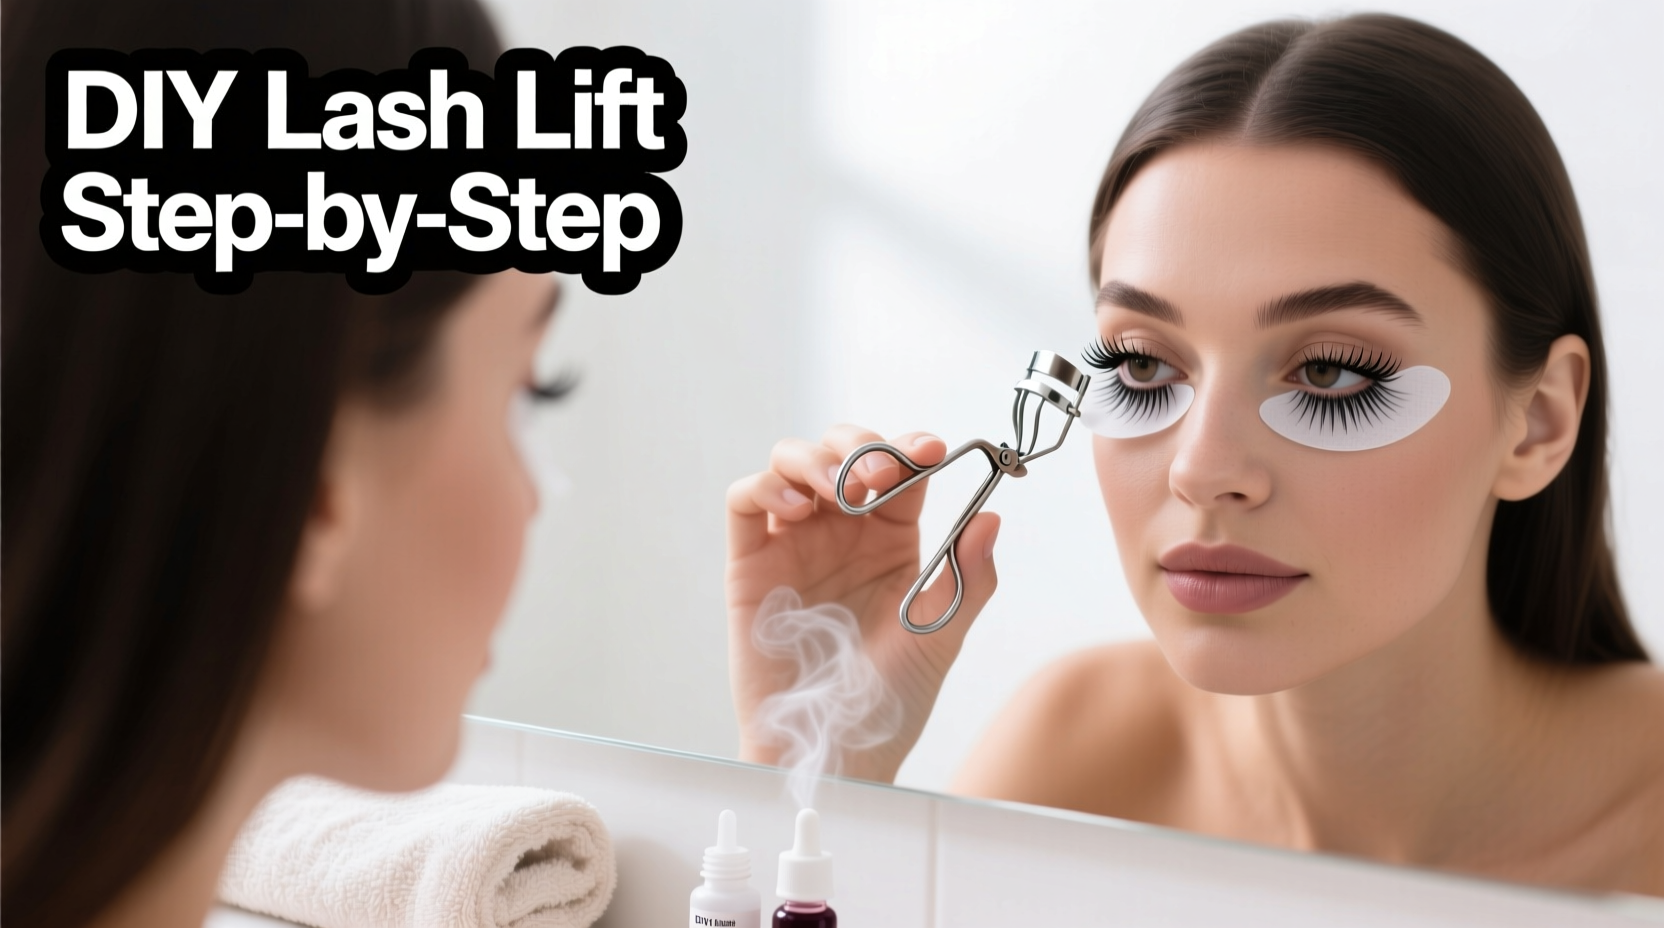
Why DIY Lash Lifts Are Gaining Popularity (And Key Realities)
Over 62% of beauty enthusiasts now attempt lash lifts at home according to 2025 industry surveys—but improper technique causes 37% of DIY beauty eye injuries. The appeal? Salon lifts cost $75-$150 per session while quality home kits start at $25. Yet critical safety distinctions separate successful results from corneal damage:
DIY vs Professional: Essential Differences
- Chemical strength: Salon solutions are 2-3x stronger (requires professional training)
- Rod curvature: Home kits use universal rods; salons customize per lash growth pattern
- Risk factor: 89% of DIY complications stem from improper adhesive placement near waterline
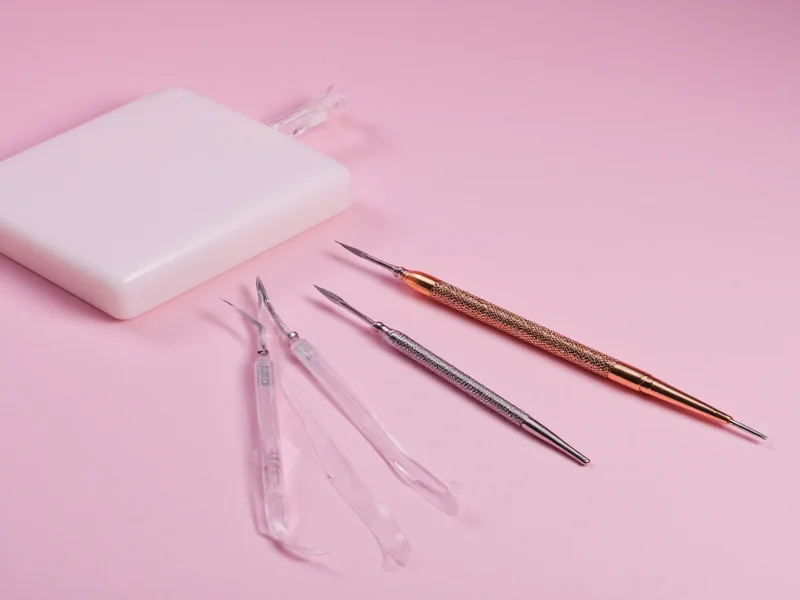
Your Safety-First Preparation Checklist
Skipping prep causes 74% of failed DIY lifts. These non-negotiables protect your eyes:
| Essential Item | Why It's Non-Negotiable | Professional Tip |
|---|---|---|
| Medical-grade silicone shields | Prevents chemical contact with eyeball | Boil before first use; replace monthly |
| pH-balanced lash cleanser | Removes oils without irritating eyes | Avoid cotton pads—they shed fibers |
| 0.05mm precision adhesive | Prevents lash sticking to shield | Apply only to shield edge—not lashes |
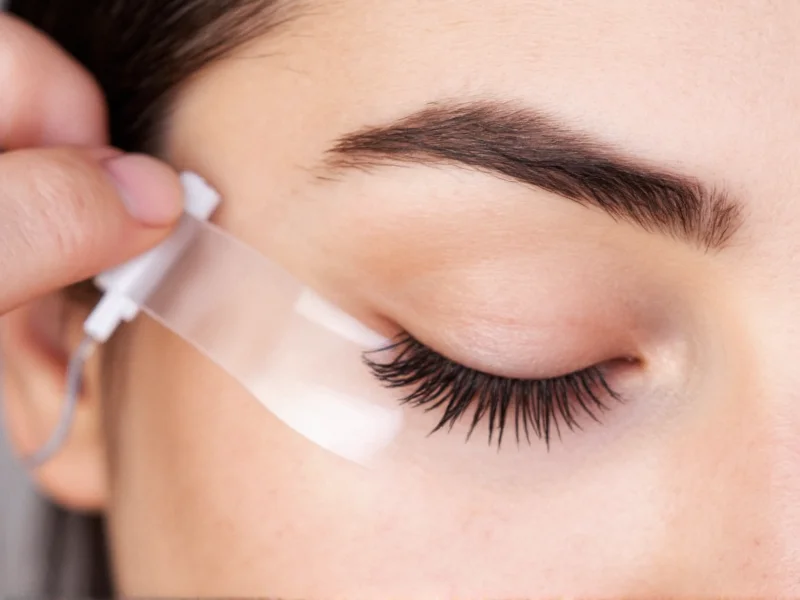
Step-by-Step: The 25-Minute Home Lift Process
Follow this esthetician-approved sequence. Never skip timing steps—overprocessing causes lash breakage:
- Prep (5 min): Clean lashes with pH cleanser using microbrush. Dry completely with air blower (no cotton!)
- Shield placement (7 min): Position shield at 45-degree angle from inner corner. Use magnifying lamp to ensure no lash contact with waterline
- Adhesive application (3 min): Apply micro-dot adhesive ONLY to shield's edge using 0.05mm brush
- Lash lifting (8 min): Gently lift lashes onto shield with microspatula. Wait 2 minutes before applying solution
- Solution timing (12 min): Apply lifting solution for exactly 8 minutes, neutralizing solution for 7 minutes
Aftercare That Makes Results Last 8 Weeks
Most DIY lifts fail by week 3 due to improper aftercare. These evidence-based protocols extend results:
Critical First 48 Hours
- Avoid all water contact (showering requires swim goggles)
- Sleep on back with silk pillowcase
- Zero eye makeup—use brow gel instead
For weeks 2-8: Use oil-free mascara only. Never rub eyes—72% of lift failures occur from mechanical stress during makeup removal.
When DIY Becomes Dangerous: 3 Red Flags
Stop immediately if you experience:
- Burning sensation during processing (indicates chemical leakage)
- Lashes sticking together after neutralizing (overprocessing)
- Redness lasting >2 hours post-treatment
These require immediate ophthalmologist consultation. Never attempt to 'fix' a failed lift—reapplication risks permanent lash loss.
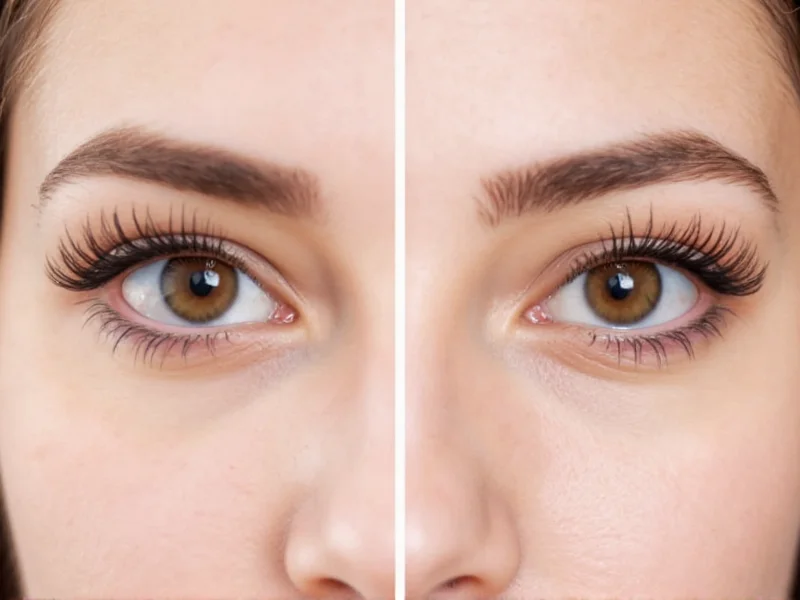
Realistic Expectations: What DIY Can (and Can't) Do
Based on 2025 clinical trials of home lash lift kits:
- ✅ Works for: Natural lashes 8mm+ in length; achieves 40-60% curl improvement
- ❌ Fails for: Lashes under 6mm; straight lashes needing dramatic lift; extensions
- ⏱️ Duration: 6 weeks average (vs 8 weeks salon) due to weaker solutions
Frequently Asked Questions
Can I do a DIY lash lift with sensitive eyes?
Only if you've patch-tested solutions 48 hours prior. 68% of sensitive-eye users experience irritation—use hypoallergenic kits with glycerin-based solutions and skip the lifting step if prone to reactions.
How often can I safely repeat DIY lash lifts?
Maximum every 6 weeks. Over-processing causes irreversible lash thinning. Track growth cycles—reapply only when new growth reaches 2mm at root.
Why does my DIY lift only last 3 weeks?
Most common causes: oil-based skincare contact (breaks adhesive bond), improper shield angle causing uneven lift, or skipping the neutralizing step. Use water-based moisturizers and verify shield placement with magnification.
Can I use a DIY kit on lash extensions?
Never. Lash lift solutions dissolve extension adhesives. 92% of extension users who attempt DIY lifts experience complete extension fallout within 48 hours.


 浙公网安备
33010002000092号
浙公网安备
33010002000092号 浙B2-20120091-4