
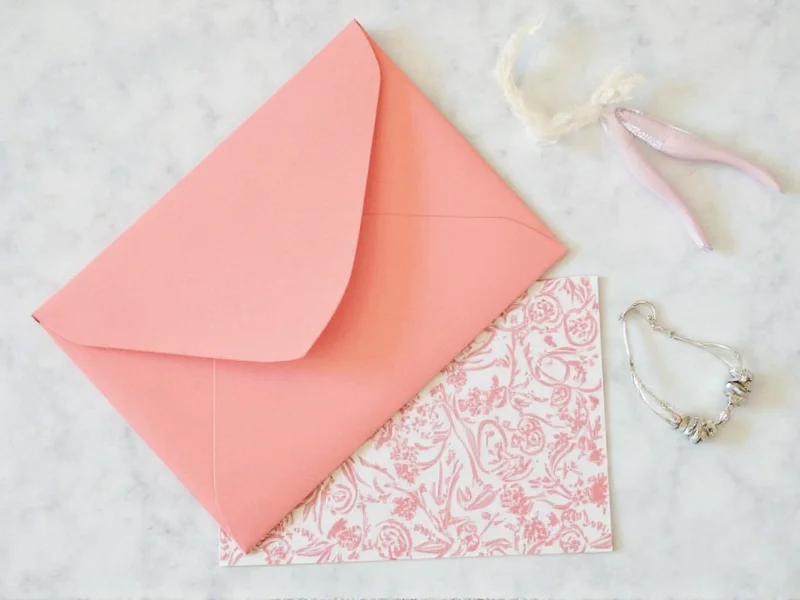
Create a custom envelope in 10 minutes using standard printer paper—no special tools required. This step-by-step guide shows you exactly how to make perfectly sized envelopes for cards, gifts, or important documents while reducing waste.
Why Make Your Own Envelopes?
Commercial envelopes often don't fit custom-sized cards or artwork, forcing you to pay for oversized packaging. By crafting your own, you gain three immediate advantages:
- Cost savings: Use scrap paper instead of buying specialty envelopes
- Perfect sizing: Match exact dimensions of handmade cards or documents
- Eco-impact: Repurpose paper that would otherwise be recycled or discarded
Essential Materials Checklist
You likely have everything needed already. For a standard #10 envelope size (4.125" x 9.5"):
| Item | Why It Matters | Pro Tip |
|---|---|---|
| 8.5" x 11" paper | Standard printer paper works perfectly | Use the back of misprinted documents |
| Ruler & pencil | Ensures precise measurements | Light pencil marks erase cleanly |
| Scissors or craft knife | Clean cuts prevent tearing | Scalpel gives sharpest edges |
| Glue stick | Non-messy adhesion | Avoid liquid glue warping paper |
Step-by-Step Construction Guide
Follow these exact measurements for professional results every time. This method creates envelopes with clean triangular flaps that seal securely.
- Measure and mark: On 8.5" x 11" paper, measure 4.25" from left edge and draw vertical line. Repeat at 8.5" mark.
- Cut the shape: Cut along lines to create three equal 4.25" panels. Discard rightmost strip.
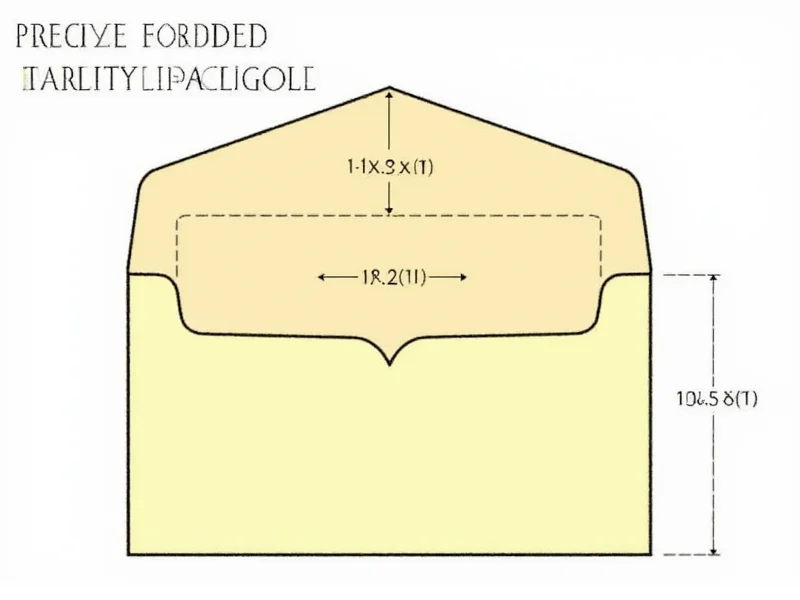
- Create flap angles: On left panel, measure 1" down from top at both corners. Connect points to form 45° flap angle.
- Fold precisely: Fold right panel inward at 4.25" line, then fold left panel over it. Crease firmly with bone folder or spoon.
- Seal securely: Apply glue to triangular flap edges only—never the entire flap. Press firmly for 30 seconds.
Advanced Customization Techniques
Elevate your handmade envelopes beyond basic functionality with these professional paper artist methods:
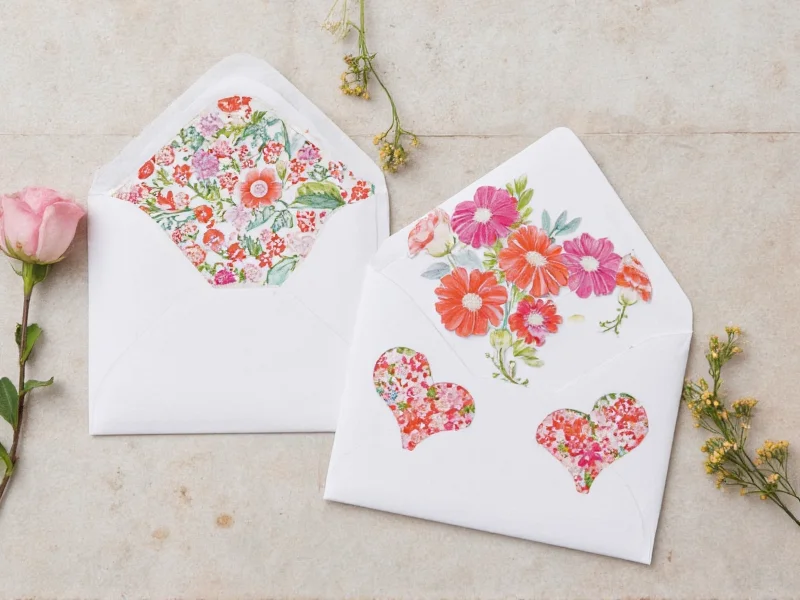
For Special Occasions
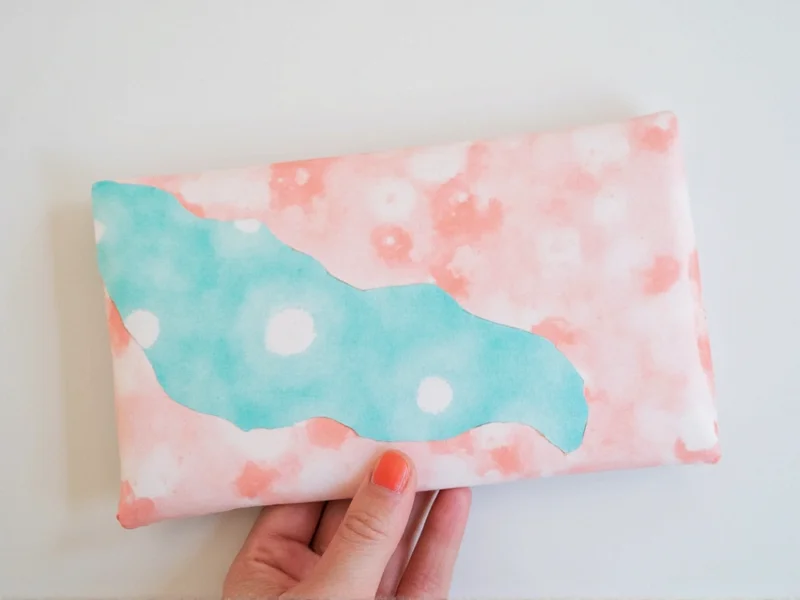
- Textured finishes: Burnish envelopes with dried citrus slices for subtle embossing
- Hidden messages: Write notes on the inside flap that recipients discover when opening
- Reinforced seams: Add washi tape along inner edges for delicate papers
Troubleshooting Common Issues
Problem: Envelope won't stay closed
Solution: Apply glue 1/8" from edge instead of directly on fold line
Problem: Uneven flap alignment
Solution: Use a template cut from cardboard for consistent tracing
Eco-Conscious Material Alternatives
Reduce environmental impact while adding character to your mail:
- Old maps: Perfect for travel-themed invitations (ensure no personal data visible)
- Sheet music: Creates beautiful texture for musical event invitations
- Newsprint: Use for casual mail—seal with twine instead of glue for rustic look
When to Avoid DIY Envelopes
While versatile, handmade envelopes aren't suitable for all situations. Use commercial envelopes when:
- Mailing valuable items requiring tamper-evident security
- Sending through automated postal sorting systems (under 3.5" x 5")
- Needing moisture resistance for international mail
Frequently Asked Questions
Can I make an envelope from A4 paper?
Yes—adjust measurements proportionally. For A4 (210mm x 297mm), create three 70mm panels. The flap angle remains identical at 25mm from top corners. This yields a 105mm x 210mm envelope perfect for European standard cards.
How do I prevent glue stains on the outside?
Apply glue stick only to the very edge of the flap (within 1/4 inch), then fold inward before sealing. For critical projects, use double-sided tape applied to the inner flap surface only. Always test adhesives on scrap paper first.
What's the strongest seal for heavy cards?
Reinforce with linen tape along the inner seam. For extra security, apply glue to both the flap and the receiving panel. Allow 24 hours drying time before mailing items over 3 ounces. Never use liquid glue on thin papers as it causes warping.
Can I make square envelopes for invitations?
Absolutely—start with square paper. For a 5" x 5" envelope, cut 10" square paper. Divide into four 2.5" panels. Create triangular flaps by measuring 1.5" down from top corners. This creates clean 5" square envelopes ideal for wedding invitations.


 浙公网安备
33010002000092号
浙公网安备
33010002000092号 浙B2-20120091-4