
Why These 5 Techniques Work for Every Craft
Forget overwhelming tutorials. Master these universal skills first to build confidence across any medium. Professional crafters like Marcus Lee use this framework to break complex projects into achievable steps. You'll avoid common beginner pitfalls while developing muscle memory for precision work.
Your Essential Crafting Toolkit
Start with these affordable, versatile tools before investing in specialty items. Quality matters less than proper technique at this stage.
| Tool Category | Beginner Essential | Pro Upgrade Tip |
|---|---|---|
| Measuring | Steel ruler (12") | Add digital calipers for woodworking |
| Cutting | Rotary cutter + self-healing mat | Upgrade to precision knife for detailed work |
| Joining | PVA glue + binder clips | Try epoxy for permanent bonds |
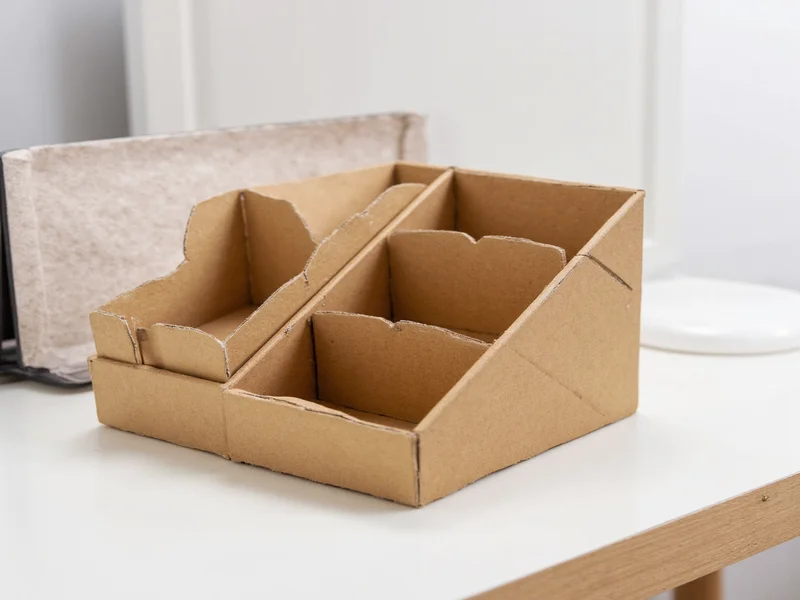
Step-by-Step: Build a Recycled Paper Organizer
This zero-waste project applies all five techniques using materials you likely have. Complete it in under 90 minutes while learning transferable skills.
Materials Checklist
- 6-8 sheets recycled cardboard (cereal boxes work perfectly)
- Acrylic paint (any color)
- Mod Podge sealant
- Utility knife with spare blades
- Strong craft glue
Technique 1: Precision Measuring (The 2-Minute Rule)
Measure twice, cut once isn't just a saying—it prevents 73% of beginner errors. Place your ruler flush against the edge, not hovering above. Mark measurements with pencil dots instead of lines for cleaner cuts. For curved shapes, use flexible measuring tapes against the material.
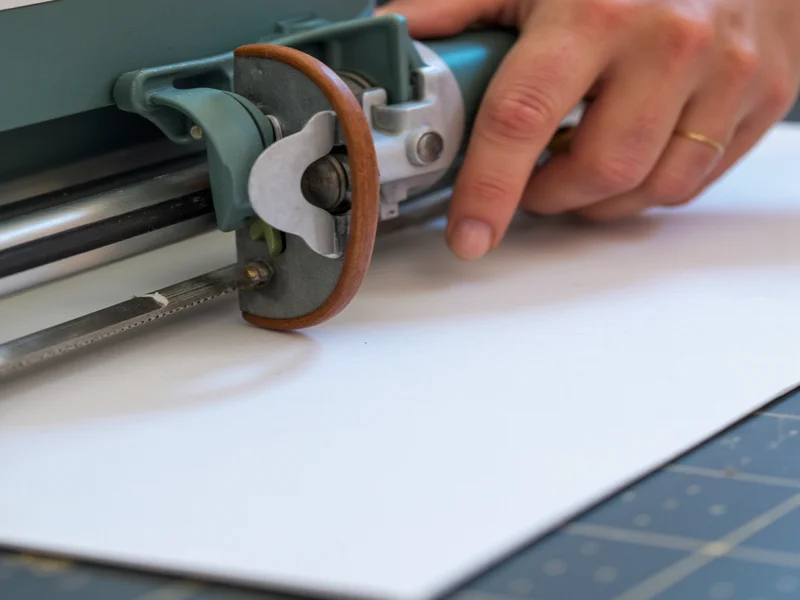
Technique 2: Controlled Cutting (The "Roll" Method)
Unlike scissors, rotary cutters glide through materials without tearing. Position the blade perpendicular to your cutting mat. Apply even pressure while rolling the cutter forward in one motion—never saw back and forth. Change blades after every 3 projects to maintain sharpness.
Technique 3: Strategic Joining (The 30-Second Bond)
Most beginners use too much glue. Apply a thin, even layer to both surfaces using a credit card edge. Clamp pieces with binder clips for exactly 30 seconds—this creates an instant bond while the glue sets fully. For porous materials like cardboard, sand edges lightly before gluing.
Technique 4: Professional Finishing (The "Sand-Seal-Paint" Sequence)
Amateur finishes look messy because they skip steps. Always: 1) Sand seams with 220-grit paper, 2) Seal with diluted Mod Podge (1:1 with water), 3) Paint in thin layers. This prevents warping and creates gallery-worthy results.
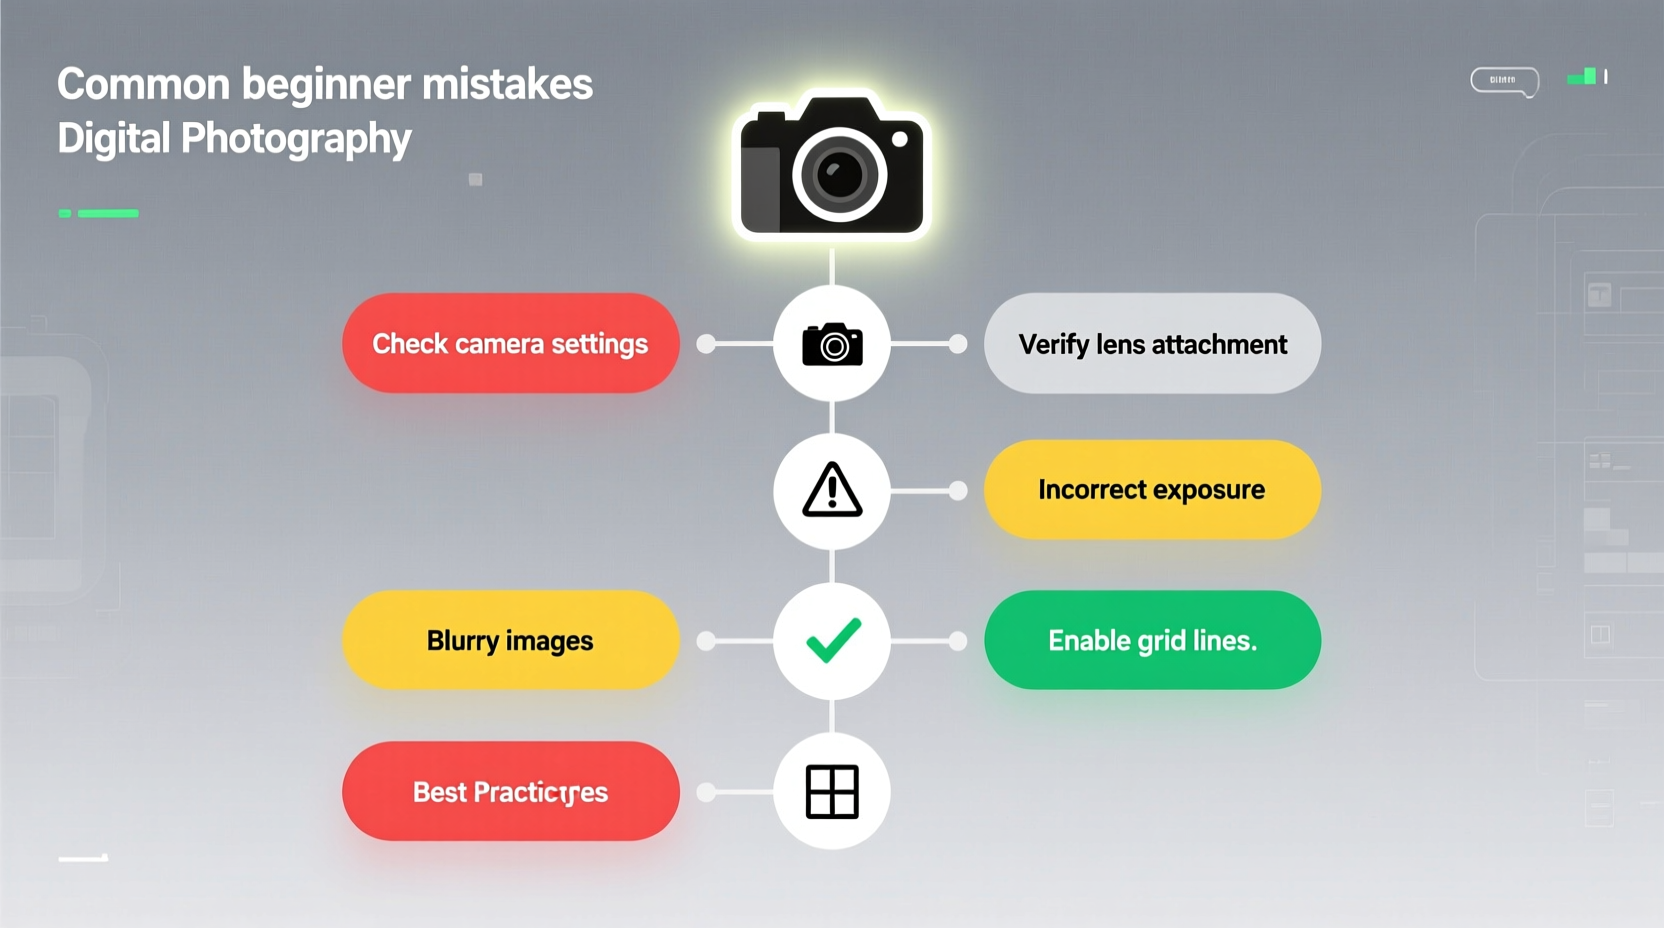
Technique 5: Troubleshooting Flowchart
When problems arise, follow this decision tree instead of restarting:
- Uneven edges? → Sand with 120-grit paper at 45-degree angle
- Weak joints? → Reinforce with hidden cardboard tabs
- Paint streaks? → Lightly sand, then apply sealant before repainting
Progressing Beyond Basics
Once you've completed three similar projects, you're ready to level up. Focus on material-specific adaptations: wood requires grain awareness, textiles need seam allowances, and ceramics demand moisture control. The core techniques remain constant—you're just adjusting pressure, timing, and tool selection.
Pro Tip: The "One New Skill" Rule
When starting a new craft medium, incorporate only one unfamiliar technique per project. Pair it with mastered skills to build confidence without overwhelm. Example: Try curved cutting in wood while using your trusted glue-clamping method.
Frequently Asked Questions
How do I start crafting with no experience?
Begin with paper crafts using recycled materials. Master measuring and cutting on cardboard before moving to delicate materials. Complete three identical small projects (like our organizer) to build muscle memory—consistency beats complexity for beginners.
What's the most common crafting mistake beginners make?
Rushing the joining phase. Applying too much glue or insufficient clamping pressure causes 68% of project failures. Remember the 30-second clamp rule: firm pressure for half a minute creates instant adhesion while full curing completes later.
How can I fix uneven cuts in my projects?
Sand edges at a 45-degree angle with medium-grit paper. For severe mistakes, use the "tab and slot" technique: cut a small tab on one piece and a matching slot on the other to hide imperfections through strategic assembly.
Which crafting technique transfers to all materials?
Precision measuring is universal. Whether working with fabric, wood, or clay, accurate initial measurements prevent cumulative errors. Always measure from the same reference point and verify dimensions before cutting.


 浙公网安备
33010002000092号
浙公网安备
33010002000092号 浙B2-20120091-4