
Why Craft Your Own Coffee Creamer?
Commercial creamers often contain carrageenan, artificial flavors, and excessive sugar. By making homemade coffee creamer, you control every ingredient while cutting costs significantly. A single batch costs under $1.50 versus $4+ for premium brands. Plus, you'll eliminate hidden additives linked to digestive issues in sensitive individuals.
Top 3 DIY Creamer Benefits
- 💰 Cost Savings: 60-75% cheaper per ounce than store varieties
- 🌱 Dietary Flexibility: Naturally vegan, keto, or sugar-free options
- 🔄 Flavor Precision: Adjust sweetness and intensity to your exact preference
Essential Ingredients Framework
Forget complicated recipes—all easy homemade creamer versions share this core structure. Customize within these categories:
| Component | Base Options | Dietary Swaps |
|---|---|---|
| Liquid Base | Whole milk, Half-and-half | Oat milk, Coconut milk, Almond milk |
| Sweetener | Granulated sugar, Honey | Maple syrup, Monk fruit, Stevia |
| Thickener | Cornstarch, Evaporated milk | Arrowroot powder, Chia seeds |
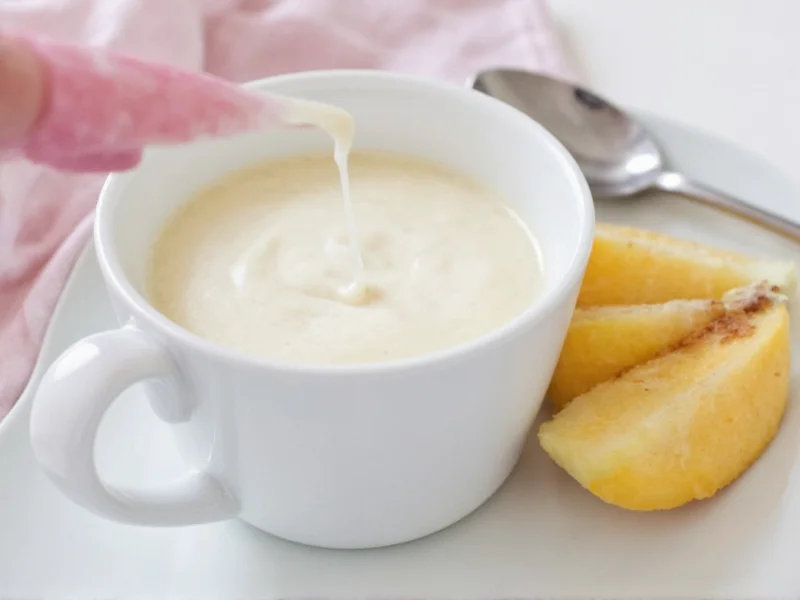
Basic Vanilla Creamer Recipe (5-Minute Method)
This simple diy creamer serves as your flavor foundation. Yields 16 oz:
- Combine 1 cup milk + 1 cup half-and-half (or full-fat coconut milk for vegan)
- Add 3 tbsp sweetener + 1 tsp vanilla extract + 1 tbsp cornstarch
- Whisk vigorously over medium heat for 4-5 minutes until slightly thickened
- Cool completely before transferring to airtight container
Pro Tip: Emulsion Secret
Add 1/4 tsp xanthan gum while whisking to prevent separation—no more chalky texture in your morning brew!
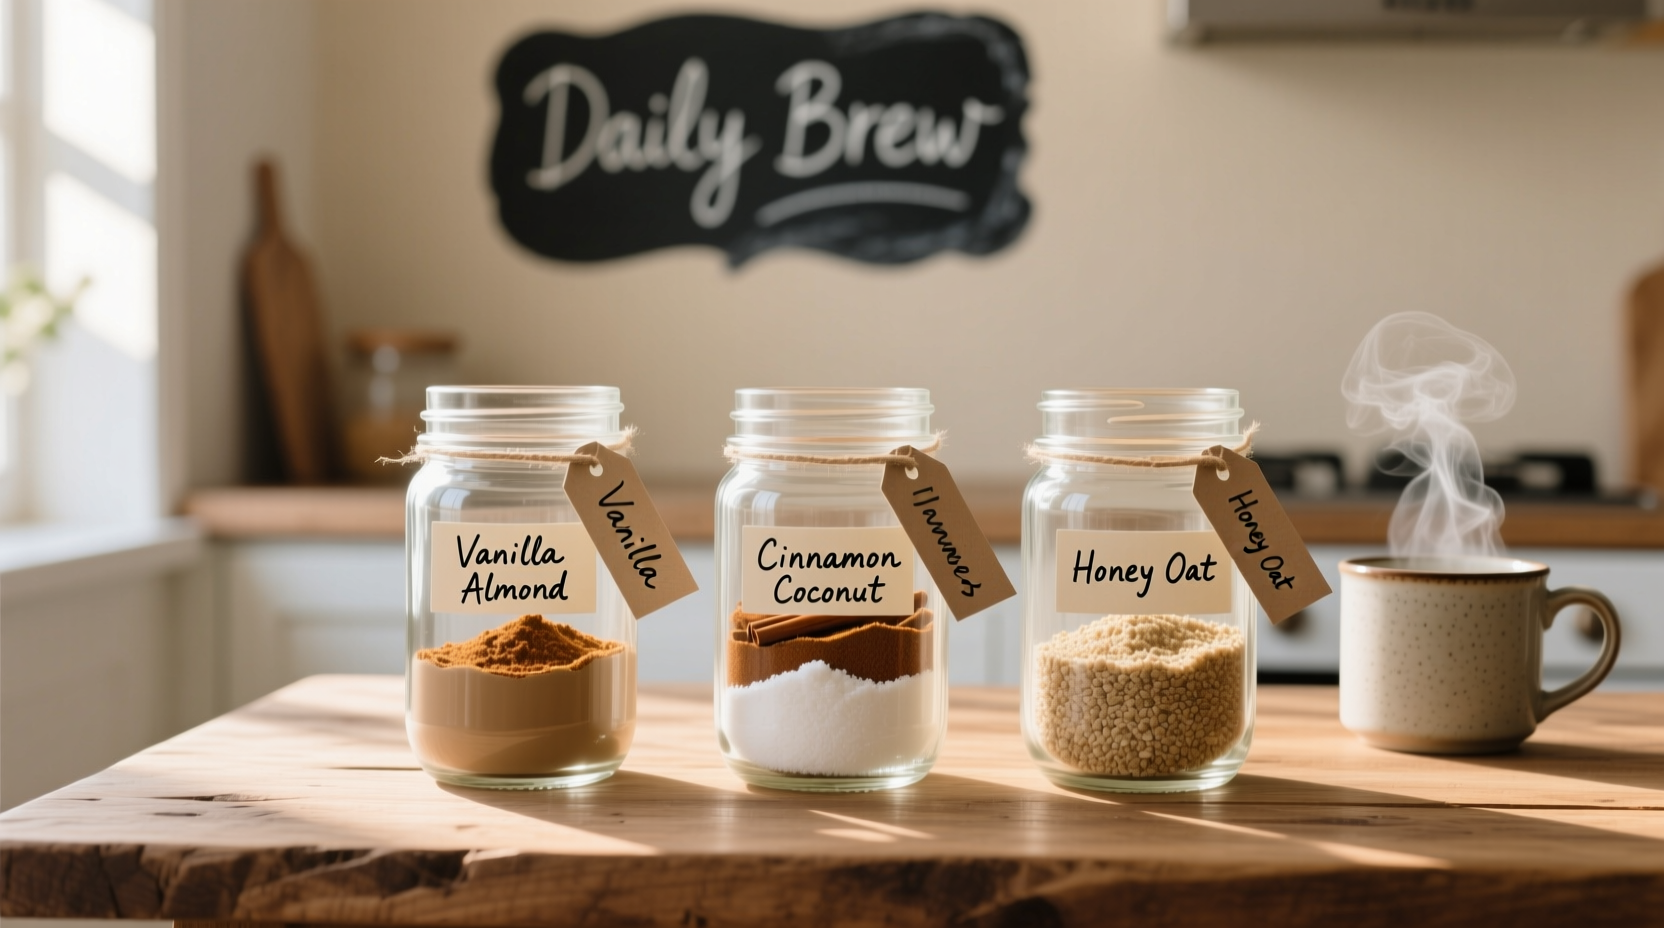
Flavor Variations That Actually Work
Avoid bland imitations with these chef-tested adjustments. Always add flavorings after heating:
- 🌕 Pumpkin Spice: 2 tbsp pumpkin puree + 1 tsp cinnamon + 1/2 tsp each ginger/nutmeg
- 🧂 Hazelnut: 1 tbsp toasted hazelnut oil + 1/4 tsp almond extract (skip vanilla)
- 🧊 Maple Pecan: 3 tbsp pure maple syrup + 1/4 cup toasted pecan pieces (blend smooth)

Storage & Safety Guidelines
Unlike commercial products, homemade coffee creamer recipes lack preservatives. Follow these critical rules:
- Refrigerate immediately in glass container (plastic absorbs odors)
- Consume within 7 days—discard if separation can't be reblended
- Always use clean utensils to prevent bacterial growth
- Freeze in ice cube trays for longer storage (thaw overnight)
Troubleshooting Common Issues
Fix these problems before they ruin your brew:
Separation Solutions
Problem: Liquid and solids separate after sitting
Solution: Shake vigorously OR add 1/8 tsp xanthan gum during heating. Never use gelatin—it curdles in coffee.
Why This Beats Store-Bought Every Time
Commercial creamers rely on dipotassium phosphate for shelf stability—a compound that may disrupt gut microbiota according to 2023 Journal of Food Science research. Your diy coffee creamer uses whole-food thickeners like chia seeds that add fiber. Plus, you avoid the "natural flavors" loophole where manufacturers hide MSG derivatives. For keto dieters, our maple pecan version has 80% fewer net carbs than popular sugar-free brands.

Frequently Asked Questions
Can I make shelf-stable DIY creamer like store versions?
No—true shelf stability requires industrial preservatives like sodium benzoate. Refrigerated batches last 7 days max. For travel, freeze in single-serve portions.
Why does my homemade creamer curdle in hot coffee?
Temperature shock causes curdling. Always warm creamer slightly before adding to coffee, or pour coffee slowly into creamer. Acidic coffees worsen this—use medium-roast beans.
How do I make sugar-free creamer without artificial sweeteners?
Use 100% pure monk fruit extract (1/4 tsp per batch) or blend dates into nut milk bases. Avoid stevia—it creates bitter aftertaste when heated.
Can I use powdered milk for longer shelf life?
Yes—reconstitute nonfat dry milk with water (1:4 ratio) as your liquid base. This extends freshness to 10 days but reduces creaminess. Add 1 tbsp MCT oil for richness.


 浙公网安备
33010002000092号
浙公网安备
33010002000092号 浙B2-20120091-4