
Why Wooden Blocks Are the Ultimate Craft Medium
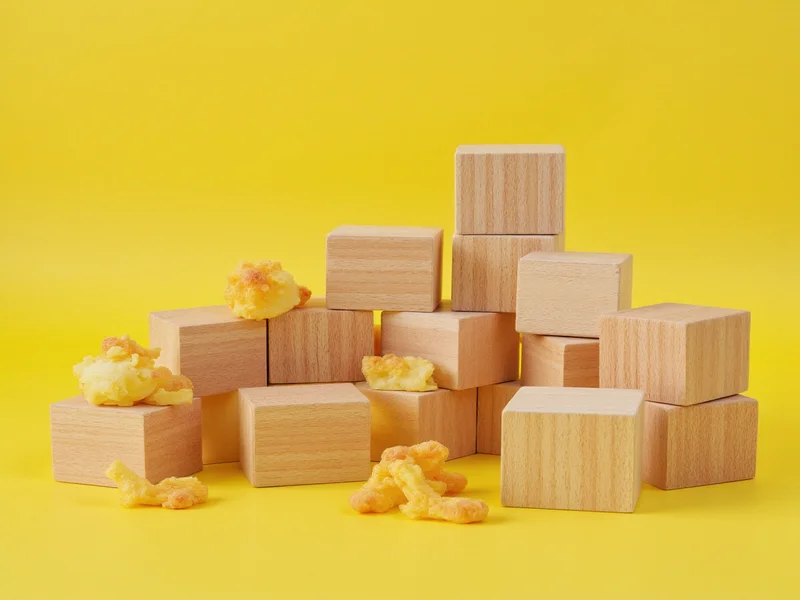
Wooden blocks offer unmatched versatility for crafters of all skill levels. Unlike plastic or foam alternatives, natural wood accepts paint, stain, and carving with superior results. The material's organic texture adds warmth to finished projects while its structural integrity supports both delicate detailing and substantial constructions. Sustainable sourcing options make wooden blocks an eco-friendly choice—reclaimed lumber or FSC-certified blanks reduce environmental impact without compromising quality.
Professional crafters prefer wooden blocks because they provide consistent dimensions for precise work. Standard sizes (like 1.5", 2", and 3" cubes) ensure uniformity in multi-block projects, while specialty shapes (pyramids, cylinders, arches) expand creative possibilities. The material's natural grain creates unique character in every piece—no two finished crafts look exactly alike.
Choosing the Right Wooden Blocks for Your Project
Selecting appropriate wood significantly impacts your craft's durability and appearance. Here's a comparison of common options:
| Wood Type | Best For | Surface Characteristics | Cost Range |
|---|---|---|---|
| Birch Plywood | Painted signs, stacked sculptures | Smooth, minimal grain | $$ |
| Basswood | Carving, detailed painting | Soft, uniform texture | $$$ |
| Pine | Rustic decor, beginner projects | Visible grain, knots | $ |
| Reclaimed Wood | Eco-crafts, textured pieces | Weathered, unique character | Varies |
Basswood remains the professional's choice for detailed work due to its fine grain and minimal splintering. For sustainable crafting, seek suppliers offering off-cuts from furniture manufacturers—these irregular pieces work perfectly for mosaic-style projects while reducing waste.
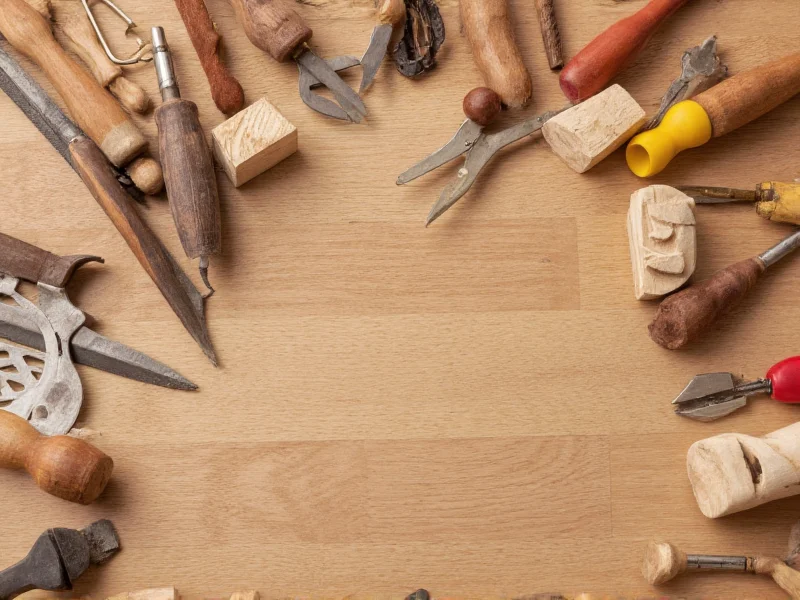
Essential Tools Every Wooden Block Crafter Needs
Start with these fundamental tools before investing in specialized equipment:
- Sanding blocks (120-220 grit) for smooth surfaces
- Acrylic paints formulated for porous surfaces
- Wood glue with gap-filling properties
- Painter's tape for crisp design edges
- Sealant (water-based polyurethane recommended)
Advanced crafters should consider adding wood-burning tools for intricate detailing or a small scroll saw for custom shaping. Always prioritize safety with proper ventilation when staining and wearing eye protection during cutting operations.
15 Creative Wooden Block Craft Projects
Beginner-Friendly Projects
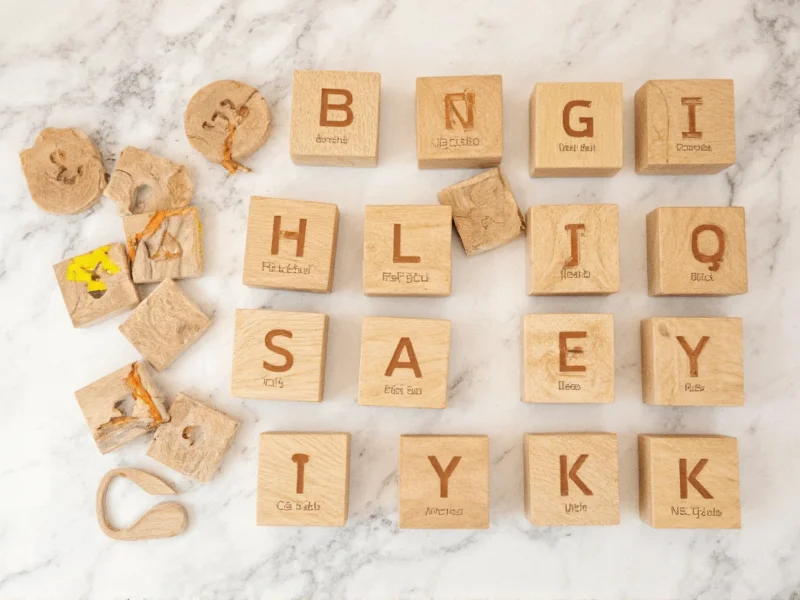
- Alphabet Blocks: Paint letters with stencils for educational toys
- Coasters: Stain and seal sets of 2" cubes
- Photo Blocks: Attach small clips to display photos
- Bookends: Stack and glue multiple blocks with decorative paper
- Plant Markers: Carve or paint garden labels
Intermediate Creations
- Geometric Wall Art: Arrange painted blocks in modern patterns
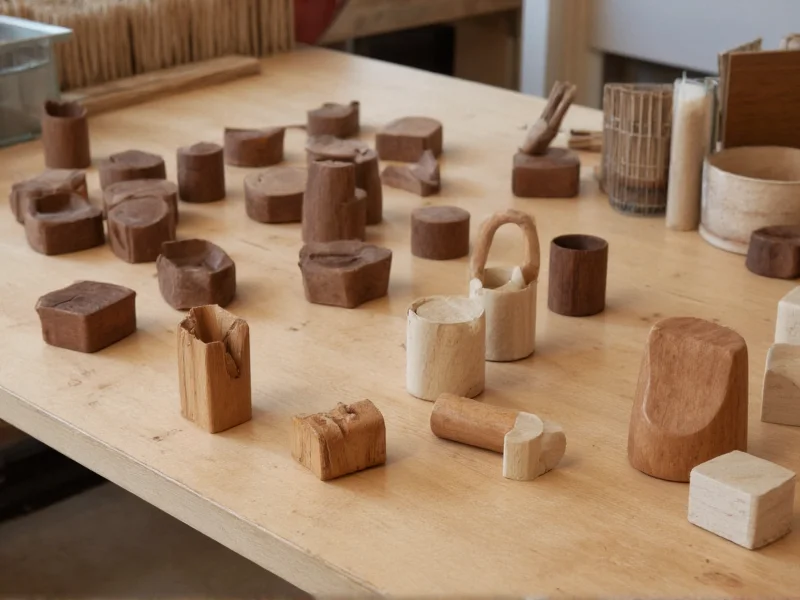
- Chess Set: Carve and paint traditional game pieces
- Stacked Sculptures: Balance blocks with hidden dowel supports
- Custom Dice: Replace dots with thematic symbols
- Memory Game: Paint matching pairs on block faces
Advanced Masterpieces
- Architectural Models: Create detailed building replicas
- Wooden Puzzles: Precision-cut interlocking pieces
- Lighted Displays: Embed LED strips between blocks
- Carved Reliefs: Transform block faces into 3D scenes
- Modular Furniture: Design stackable storage units
Professional Finishing Techniques
Amateur crafters often skip proper finishing, resulting in chipped paint and uneven stains. Follow these professional methods:
Paint Application Secrets
- Always sand between coats for ultra-smooth results
- Mix a small amount of wood conditioner with paint to prevent absorption
- Use artist's masking fluid instead of tape for intricate designs
- Apply paint with foam brushes to avoid brush marks
Staining Like a Pro
Pre-condition wood with mineral spirits before staining to ensure even color absorption. For multi-tone effects, apply darker stains first, let dry completely, then lightly sand edges before adding lighter stains. Always finish with at least two coats of clear sealant—water-based polyurethane preserves color accuracy better than oil-based alternatives.
Troubleshooting Common Issues
Address these frequent wooden block crafting challenges:
- Paint bleeding: Seal wood with diluted white glue (1:1 with water) before painting
- Uneven staining: Sand with 220-grit paper between stain applications
- Blocks separating: Use wood glue with clamps for 24-hour drying
- Warping: Store finished pieces away from direct sunlight and humidity
Sourcing Quality Materials Sustainably
Look beyond craft stores for unique wooden blocks:
- Check with local furniture makers for off-cuts
- Visit woodworking forums for small-batch artisan suppliers
- Search "reclaimed wood near me" for eco-friendly options
- Consider making your own from dimensional lumber
When purchasing online, search for "craft wood blanks" or "wood blocks for painting" to find specialized suppliers. For large projects, lumber yards often sell end pieces at significant discounts—perfect for creating custom-sized blocks.
Frequently Asked Questions
What's the best wood for painted wooden block crafts?
Basswood provides the smoothest surface for detailed painting with minimal grain interference. Its light color allows true color representation, and the soft texture accepts fine detailing without splintering. For budget-friendly options, birch plywood offers good paint adhesion with slightly more visible grain.
How do I prevent paint from chipping on wooden blocks?
Proper surface preparation is crucial. Sand blocks thoroughly with 220-grit paper, apply a wood conditioner or diluted white glue sealant, then use artist-grade acrylics formulated for porous surfaces. Always finish with at least two coats of water-based polyurethane sealant, allowing complete drying between coats.
Can I make my own wooden blocks for crafts?
Yes, you can create custom-sized blocks using a miter saw and planer. Start with FSC-certified dimensional lumber, cut to desired thickness, then square the edges. This approach works well for specialty shapes or larger projects, but requires proper woodworking tools and safety precautions. For beginners, pre-cut blocks ensure consistent sizing.
What's the ideal size for beginner wooden block crafts?
2-inch cubes provide the best balance for beginners—large enough for detailed work yet small enough to complete projects quickly. These standard sizes work for most techniques while minimizing material waste. Start with 5-10 blocks to practice techniques before committing to larger projects.


 浙公网安备
33010002000092号
浙公网安备
33010002000092号 浙B2-20120091-4