
Why Wood Circles Are Crafters' Secret Weapon
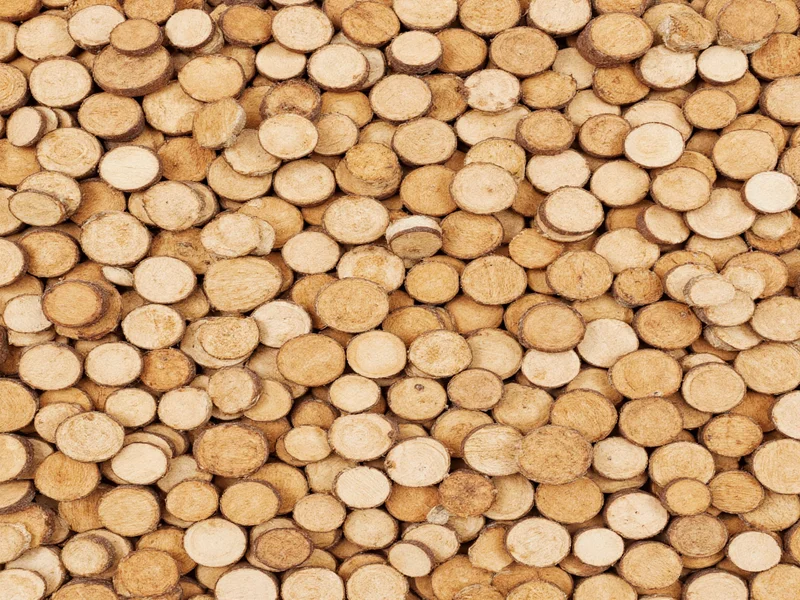
Pre-cut wood circles eliminate measuring headaches while providing perfect symmetry for professional-looking results. Unlike irregular scrap wood, these blanks offer consistent thickness (typically 1/4" to 3/4") and smooth edges—ideal for painters, carvers, and mixed-media artists. Crafters save 40% time compared to hand-cutting circles, with zero waste when buying bulk packs.
Choosing Your Perfect Wood Circle
| Wood Type | Best For | Budget Tip |
|---|---|---|
| Birch plywood | Painting, laser engraving | Buy 50-packs on Amazon for $0.18/unit |
| Hardwood (maple/oak) | Wood burning, fine carving | Salvage from furniture repair shops |
| MDF | Decoupage, lightweight projects | Use remnants from craft store cutting bins |
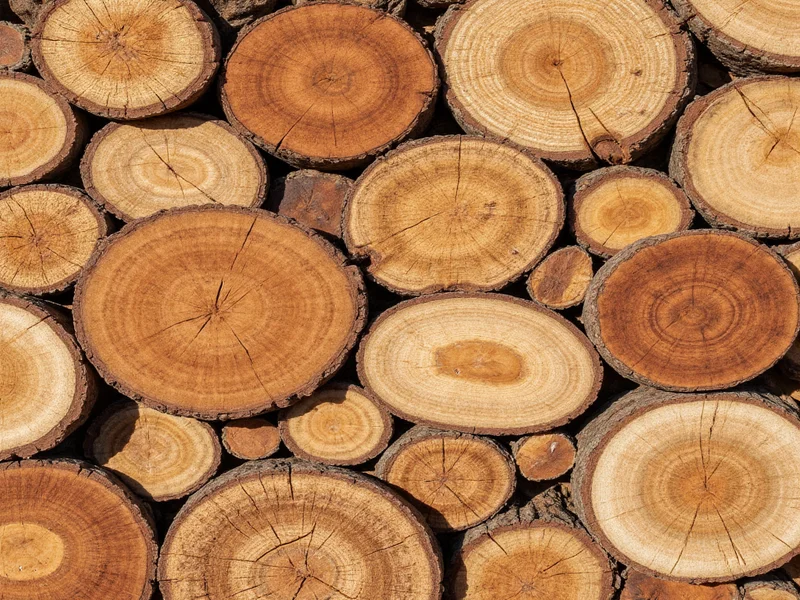 Pro Tip: For eco-friendly crafting, seek FSC-certified blanks or repurpose tree branch cross-sections sanded smooth.
Essential Toolkit Under $30
- Sanding block (120-grit): Creates paint-ready surfaces in 90 seconds
- Drill press (or handheld drill with circle jig): Ensures centered holes for hanging
- Artist's tape: Prevents paint bleed for crisp geometric designs
- Mineral spirits: Cleans resin residue from reclaimed wood
10 Transformative Wood Circle Projects
Geometric Coasters (Beginner)
Time: 25 minutes | Cost: $0.80 each
Sand circles smooth, apply painter's tape in triangles, spray-paint edges. Remove tape after 10 minutes. Seal with food-safe mineral oil.
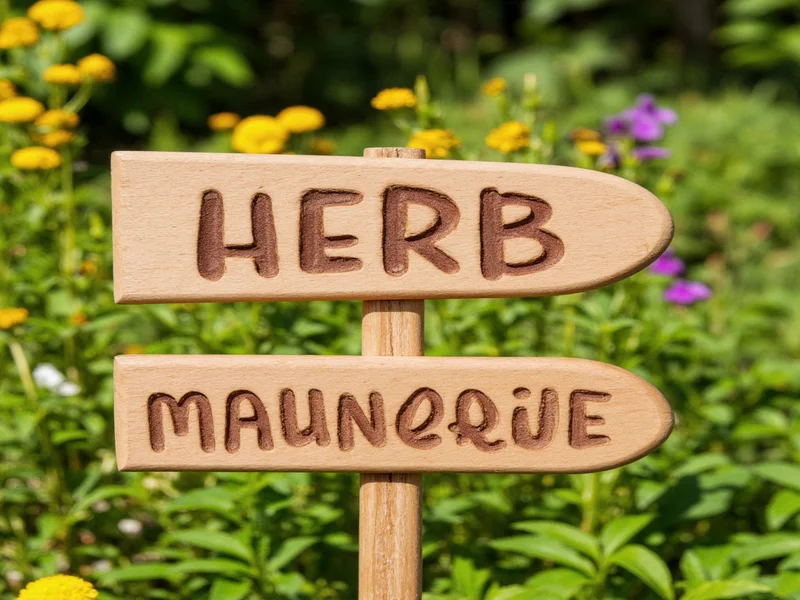
Herb Garden Markers (Intermediate)
Time: 40 minutes | Cost: $1.20 each
Burn plant names using wood-burning tool, then dip bottom 1" in outdoor sealant. Attach stakes with waterproof glue.
Modular Wall Art (Advanced)
Time: 2 hours | Cost: $15 total
Arrange 12" circles in staggered grid. Stain alternating pieces, connect with hidden dowels. Hang using French cleat system.
Pro Techniques for Flawless Results
Prevent Splintering: Sand with grain direction using 220-grit paper when wood is slightly damp. Wipe with tack cloth before painting.
Perfect Paint Adhesion: Apply thin shellac coat first—especially on porous woods like pine. Let dry 20 minutes before acrylic painting.
Rescue Mistakes: Fill scratches with wood filler mixed with sawdust from your project. Sand smooth after 15 minutes.
Troubleshooting Common Issues
- Warping during drying: Stack circles with spacers between layers; weight down with books
- Paint bleeding under tape: Seal edges with clear glue stick before taping
- Uneven staining: Wipe excess stain immediately with lint-free cloth
Where to Source Sustainable Blanks
Local lumberyards often sell "offcut" bundles for $5—ideal for 4"-8" circles. For precision blanks, WoodCrafterSupply.com offers FSC-certified birch in bulk (50+ units) with free sanding guides. Avoid MDF if creating children's toys due to formaldehyde content.
FAQ: Wood Circle Crafting Essentials
Can I make wood circles without a bandsaw?
Yes! Use a hole saw drill bit for circles under 4". For larger sizes, trace a plate and cut with jigsaw, then sand to perfection using a sanding block.
How do I prevent wood circles from cracking?
Seal all edges immediately after cutting with wood conditioner. Store blanks flat with spacers between layers in low-humidity environments.
What's the best finish for food-contact items like coasters?
Apply 3 coats of food-safe mineral oil, sanding lightly between coats. Avoid polyurethane for items contacting food or drinks.


 浙公网安备
33010002000092号
浙公网安备
33010002000092号 浙B2-20120091-4