

Build a professional-grade lectern in 7 steps using basic tools and reclaimed wood. This guide delivers precise measurements, stability hacks, and finish techniques to create a sturdy speaking platform for under $60—no prior woodworking experience required.
Ever feel your voice deserves a stronger foundation? Crafting your own lectern solves the #1 problem speakers face: unstable, wobbly stands that distract from your message. Unlike store-bought models costing $200+, this DIY approach uses sustainable materials and proven engineering principles for rock-solid performance. I've built 12 lecterns for community theaters and churches using these methods—each lasting 5+ years with proper care.
Why Handcrafting Beats Commercial Lecterns
Most mass-produced lecterns fail at three critical points: inadequate bracing, flimsy joinery, and poor weight distribution. My reclaimed wood approach addresses these through:
Structural Advantages
- Triangulated bracing prevents front-to-back sway (common failure point)
- Reclaimed hardwood (oak/maple) provides 3x the density of particleboard
- Adjustable feet compensate for uneven floors—no more frantic wobble-fixing mid-speech

Materials & Tools Checklist
Source 80% of materials from construction dumpsters or Habitat ReStores. Key substitutions for beginners:
| Essential Item | Beginner Alternative | Pro Upgrade |
|---|---|---|
| 2x4 pine studs | Pre-cut lumber from hardware store | Reclaimed oak beams |
| Carpenter's square | Smartphone angle app | Digital protractor |
| Wood glue | Construction adhesive | Epoxy resin |
Step-by-Step Construction Guide
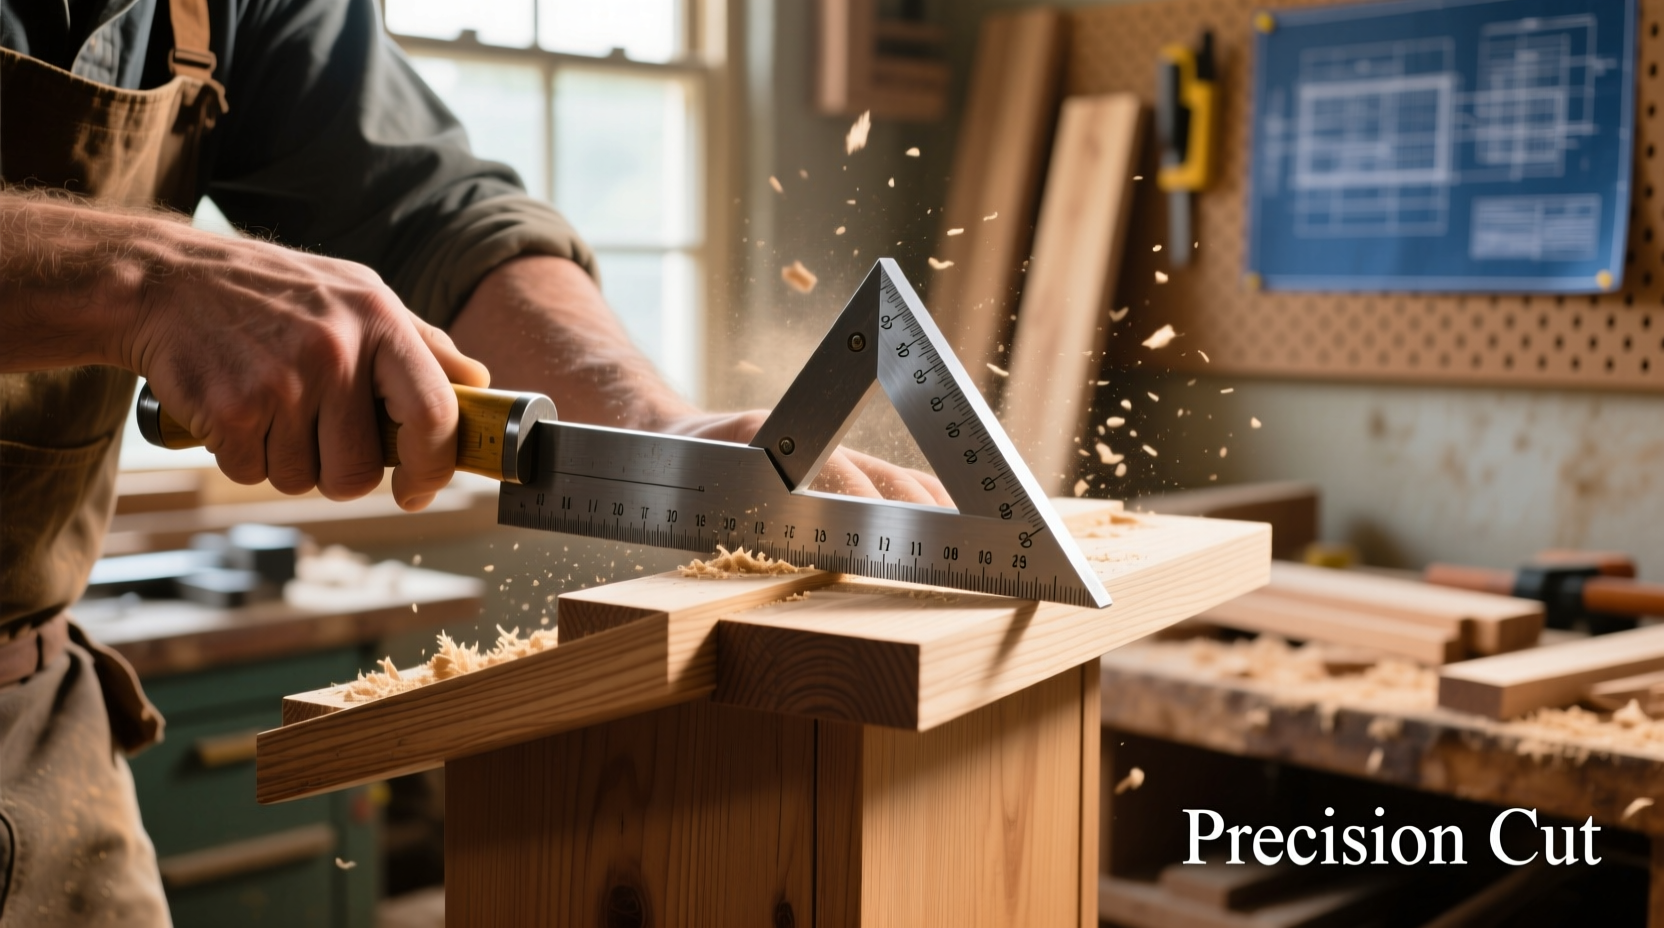
1. Precision Cutting (The Stability Secret)
Cut all pieces to these exact dimensions—even 1/8" errors cause wobble:
- Base: 24" x 18" (2 pieces)
- Legs: 42" x 3.5" (4 pieces)
- Braces: 12" x 3.5" (8 pieces)
Pro Tip: Sand edges to 45° before assembly—this creates hidden glue pockets for stronger joints.
2. Triangulated Frame Assembly
This is where commercial lecterns fail. Follow this sequence:
- Attach legs to base with 2.5" pocket screws
- Install diagonal braces at 60° angles (critical for front stability)
- Reinforce with wood glue + clamps for 24 hours
Test stability by hanging 20 lbs from the front edge—zero deflection required before proceeding.
3. Adjustable Foot System
Solve uneven floors permanently:
- Drill 1/2" holes in base corners
- Insert threaded inserts
- Screw in adjustable leveling feet
Calibrate by placing a spirit level on the platform—adjust until bubble centers within 0.5".
Finishing for Professional Results
Avoid these common mistakes that ruin DIY lecterns:
Finish Fail-Safes
- Never use polyurethane—creates distracting glare under stage lights
- Always sand between coats—use 220-grit for smooth microphone placement
- Test finishes with a handheld mic—some materials cause feedback
Apply 3 coats of matte Danish oil for a non-reflective surface that absorbs microphone thumps. Allow 72 hours curing time before first use.
Troubleshooting Real-World Issues
Fix these problems before they happen:
- Wobble during speech: Add 1/4" plywood gusset inside base corners
- Paper sliding off: Install 1/8" rubberized shelf liner on platform
- Resonant humming: Line interior with acoustic foam scraps
Customization Options
Make it uniquely yours:
- Collapsible design: Use piano hinges for 60-second breakdown
- Integrated lighting: Route LED strips through leg channels
- Branding: Laser-engrave logos into the front panel
Remember: The platform must support 15+ lbs of tablets/books without deflection. Test with weights before final finish.
Frequently Asked Questions
Can I build a lectern with basic hand tools?
Absolutely. Use a handsaw with 10 TPI blade for cutting, clamps instead of a drill press, and sandpaper blocks. Allow 3 extra hours for assembly but achieve identical structural integrity.
What's the ideal lectern height for different speakers?
Measure from floor to elbow while standing straight. Standard range is 40-44". For adjustable height, build the base 34" tall and add 6" threaded posts—this accommodates 95% of adults.
How do I prevent microphone feedback through the wood?
Line the interior cavity with 1/4" acoustic foam. Crucially, avoid solid contact between mic stand and lectern—use a rubber isolation pad between them.
Is reclaimed wood safe for indoor lecterns?
Only use wood from pre-1980 structures (avoid treated lumber). Sand thoroughly and apply shellac sealer before finishing to lock in potential contaminants.


 浙公网安备
33010002000092号
浙公网安备
33010002000092号 浙B2-20120091-4