

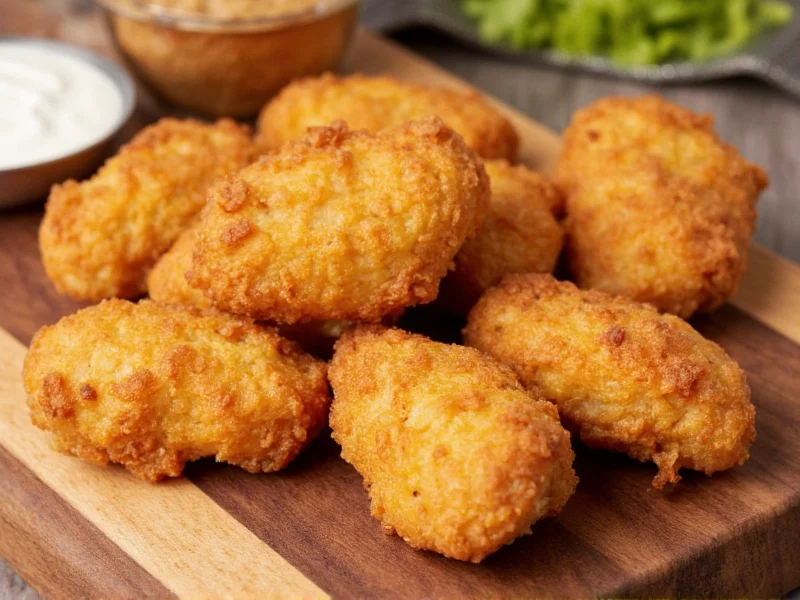
Make crispy, golden homemade chicken nuggets in 30 minutes with just 5 ingredients—no preservatives, no mystery meat, and 100% kid-approved. This foolproof method delivers restaurant-quality results using simple pantry staples and science-backed techniques for maximum crispiness.
Why Homemade Nuggets Beat Store-Bought Every Time
Forget frozen boxes with unrecognizable ingredients. Crafting nuggets at home transforms a childhood favorite into a wholesome, customizable meal. Here's what makes the difference:
- Ingredient control: Choose organic chicken and avoid preservatives like TBHQ
- Texture mastery: Achieve perfect crispiness through controlled breading chemistry
- Cost efficiency: 40% cheaper per serving than premium frozen brands
- Sustainability win: Reduce plastic packaging waste by 90% compared to store-bought
Your Essential Nugget Toolkit
Success hinges on these often-overlooked elements. No specialty equipment needed—just smart substitutions:
| Traditional Tool | Budget-Friendly Swap | Why It Works |
|---|---|---|
| Deep fryer | Cast-iron skillet | Maintains stable oil temperature for even cooking |
| Meat thermometer | Timer + visual cues | 3–4 minutes per side achieves 165°F internal temp |
| Pastry brush | Clean kitchen scissors | Snip chicken into uniform 1-inch pieces without tearing |
The Crispiness Science: Step-by-Step Recipe
This method leverages food science principles often missing in online recipes. Total time: 28 minutes.
Ingredients (Serves 4)
- 1.5 lbs boneless chicken breast (cut into 1-inch cubes)
- 1 cup buttermilk (key for tenderizing)
- 1.5 cups all-purpose flour
- 2 tbsp cornstarch (secret for extra crunch)
- 1.5 tsp paprika
- Vegetable oil for frying (3 inches deep)
Critical Technique Sequence
- Brine smartly: Soak chicken in buttermilk 15 minutes (not hours)—longer causes mushiness
- Dry thoroughly: Pat pieces with paper towels; moisture is crispiness enemy #1
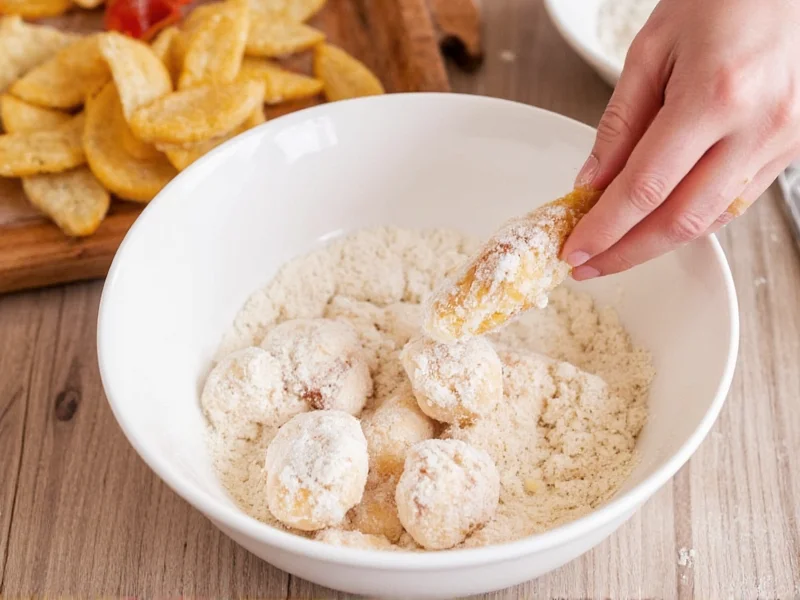
- Double-dredge: Flour mixture → buttermilk → flour mixture (press firmly for adhesion)
- Rest strategically: 5-minute chill on wire rack sets coating (prevents sloughing)
- Fry precisely: 350°F oil, 3–4 minutes until golden. Don't crowd the pan!
Pro Variations for Every Diet
Customize without sacrificing texture. These tested adaptations maintain structural integrity:
Gluten-Free Success
Replace flour with 1:1 GF blend + 1 tbsp xanthan gum. Add 1 tsp apple cider vinegar to buttermilk to activate binding.
Kid-Approved Twists
- Rainbow nuggets: Divide coating mix; tint with natural beet, turmeric, spinach powders
- "Dinosaur" shapes: Mold around small cookie cutters before frying
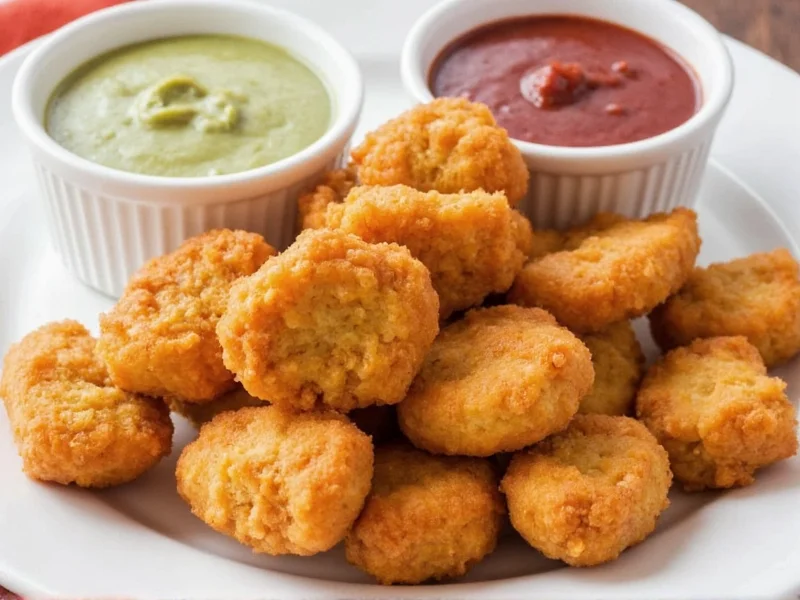
Serving Secrets Restaurants Won't Share
Elevate your nuggets beyond ketchup with these chef-developed pairings:
- Cooling effect: Honey-mustard with 1 tsp grated ginger (cuts oiliness)
- Texture contrast: Serve over chilled cucumber salad with rice vinegar
- Flavor bridge: Sprinkle with everything bagel seasoning post-fry
Frequently Asked Questions
Can I bake these instead of frying?
Yes, but with modifications: Spray nuggets with oil, bake at 425°F on wire rack for 18 minutes (flip halfway). Expect 30% less crispiness but 50% fewer calories. For better results, finish under broiler 1 minute.
How do I freeze homemade nuggets properly?
Flash-freeze cooked nuggets on parchment-lined tray for 1 hour. Transfer to airtight container with parchment between layers. Keeps 3 months. Reheat in air fryer at 380°F for 8 minutes—no thawing needed.
Why did my coating fall off during frying?
Three common causes: 1) Chicken wasn't patted dry 2) Oil temperature dropped below 325°F 3) Coating wasn't pressed firmly. Fix: Maintain oil temp with thermometer, work in small batches, and use the "press-and-rest" technique described in Step 4.


 浙公网安备
33010002000092号
浙公网安备
33010002000092号 浙B2-20120091-4