
The Science Behind Perfect Homemade Brownies
Understanding the chemistry transforms your baking. Brownies exist on a spectrum between fudgy and cakey, determined by four key factors:
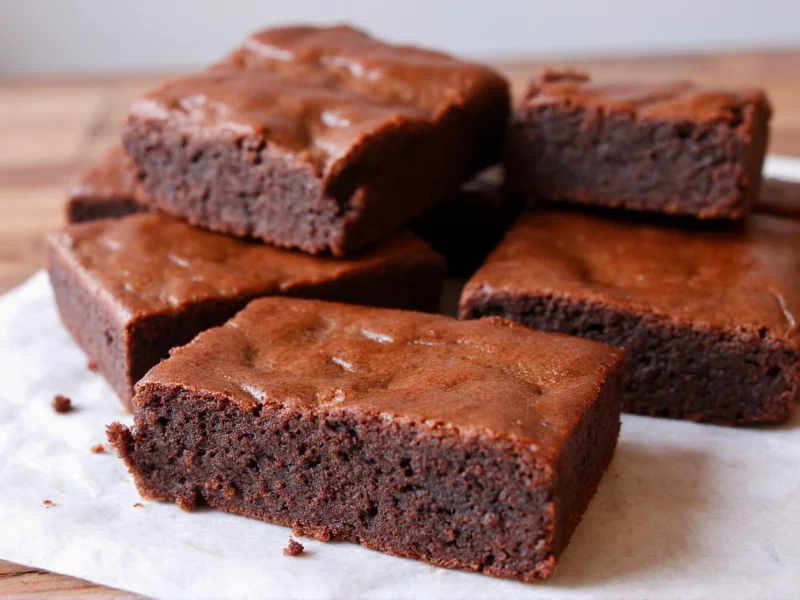
Fudgy vs Cakey: What Determines Texture?
- Fat-to-flour ratio: Higher fat (butter/chocolate) creates fudgy texture
- Sugar type: Granulated sugar yields crisp edges; brown sugar adds moisture
- Egg quantity: More eggs create cake-like structure
- Baking temperature: Lower temps (325°F) prevent over-setting
Essential Ingredients Guide
Quality ingredients make the difference between good and exceptional brownies. Here's what matters:
| Ingredient | Critical Function | Pro Tip |
|---|---|---|
| Unsweetened chocolate | Provides deep cocoa flavor | Melt with butter for smoothest texture |
| Butter | Creates rich mouthfeel | Use unsalted for precise salt control |
| Granulated sugar | Creates crackly top crust | Whip with eggs 2 minutes for optimal texture |
| All-purpose flour | Provides structure | Sift to prevent overmixing |
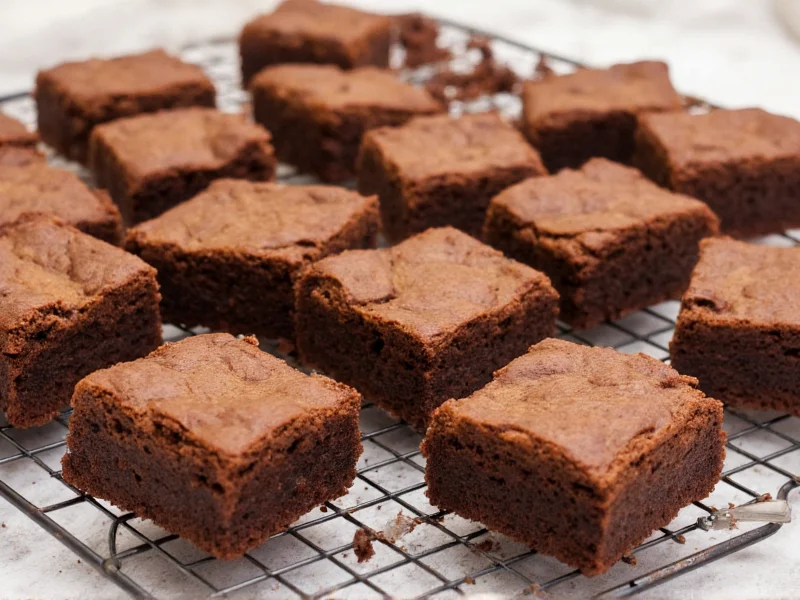
Step-by-Step Perfect Brownie Recipe
This tested method guarantees consistent results. Makes 16 brownies in an 8x8 inch pan.
Ingredients You'll Need
- 8 oz (225g) high-quality dark chocolate (60-70% cacao)
- 1 cup (225g) unsalted butter
- 1¾ cups (350g) granulated sugar
- 4 large eggs, room temperature
- 1¼ cups (160g) all-purpose flour
- ¼ tsp salt
- 2 tsp vanilla extract
The Foolproof Method
- Preheat & prepare: Set oven to 325°F. Line pan with parchment paper.
- Melt chocolate: Combine chocolate and butter in double boiler until smooth.
- Combine wet ingredients: Whisk sugar into chocolate mixture. Add eggs one at a time, then vanilla.
- Fold dry ingredients: Gently mix flour and salt into wet ingredients until just combined.
- Bake precisely: Pour batter into pan. Bake 22-25 minutes until center springs back slightly.
- Cool completely: Wait at least 2 hours before cutting for clean edges.
Pro Tips for Texture Control
Master these techniques to customize your perfect brownie:
Texture Troubleshooting Guide
- Too cakey? Reduce flour by 2 tbsp and eliminate baking powder
- Not fudgy enough? Increase chocolate by 1 oz and reduce flour by 1 tbsp
- Cakey edges? Use insulated pans or reduce oven temperature by 25°F
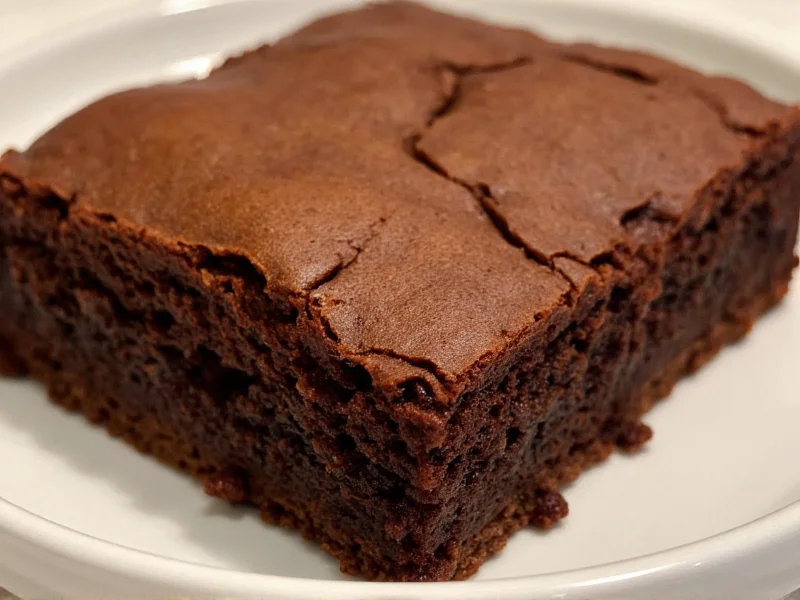
- Cracks on top? This is desirable! Whip eggs and sugar longer for more pronounced cracks
Common Brownie Problems Solved
Avoid these frequent mistakes with our expert solutions:
| Problem | Why It Happens | Solution |
|---|---|---|
| Greasy surface | Overmixed batter or incorrect fat ratio | Fold dry ingredients gently; maintain 1:1.5 butter-to-flour ratio |
| Dry, crumbly texture | Overbaking or too much flour | Check 3 minutes early; measure flour by weight |
| Raw center | Insufficient baking time or inaccurate oven temp | Use oven thermometer; tent with foil if edges brown too fast |
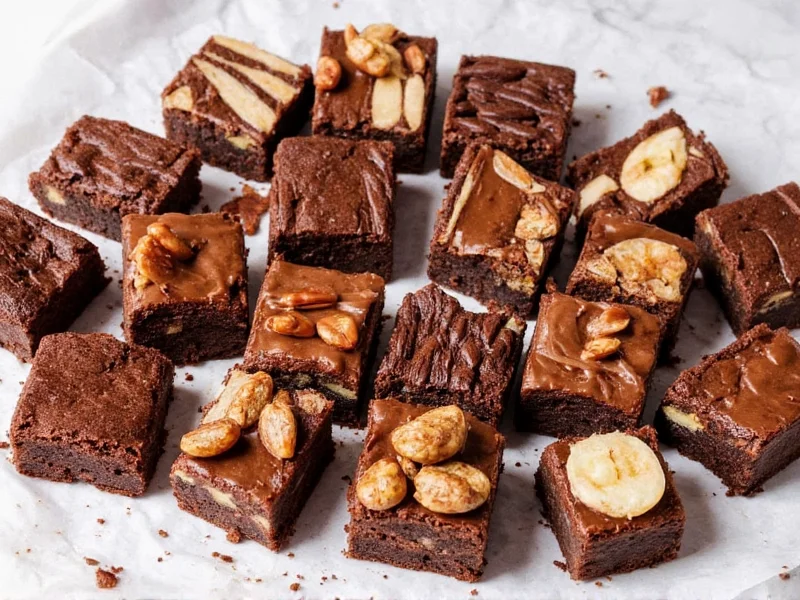
Creative Variations to Try
Once you've mastered the base recipe, experiment with these professional twists:
- Sea Salt Caramel: Swirl 1/2 cup caramel sauce into batter before baking, finish with flaky sea salt
- Espresso Brownies: Add 1 tbsp instant espresso powder to dry ingredients for deeper flavor
- Gluten-Free Version: Substitute flour with 3/4 cup almond flour + 1/4 cup tapioca starch
- Double Chocolate: Fold in 1/2 cup chocolate chunks after mixing batter
Storage & Serving Secrets
Proper handling maintains quality long after baking:
Maximizing Freshness
- Room temperature: Store in airtight container with parchment between layers (3-4 days)
- Refrigeration: Wrap tightly in plastic; brings out fudgy texture (up to 1 week)
- Freezing: Slice first, then freeze on tray before transferring to container (3 months)
- Serving tip: Warm frozen slices 10 seconds in microwave for fresh-baked texture
Final Expert Recommendations
After testing dozens of variations, these practices consistently deliver exceptional homemade brownies:
- Always use a kitchen scale for precise measurements
- Bake in metal pans for even heat distribution (avoid glass)
- Let brownies cool completely before cutting for clean edges
- Use high-quality chocolate—it's the primary flavor component
- Underbake slightly rather than overbake for optimal fudginess
Frequently Asked Questions
Can I make homemade brownies without eggs?
Yes, substitute each egg with 1/4 cup unsweetened applesauce or 1 tbsp ground flaxseed mixed with 3 tbsp water. Expect slightly less structure and a more fudgy texture. For best results, add 1/2 tsp baking powder to help with rise.
Why do my homemade brownies crack on top?
Cracks form when the surface sets while the center continues to rise. This is actually desirable for fudgy brownies! To enhance cracking, whip eggs and sugar vigorously for 2-3 minutes before adding other ingredients. The air incorporated creates the signature crackly top.
How do I prevent edges from overbaking?
Use an insulated baking pan or line your regular pan with parchment paper extending over the edges. Reduce oven temperature by 25°F and check for doneness 3-5 minutes earlier than recipe suggests. Tent the pan with foil if edges brown too quickly during baking.
Can I double the brownie recipe?
Yes, but don't simply double all ingredients. For best results, multiply ingredients by 1.75 instead of 2.0 when doubling, as volume doesn't scale linearly. Use a larger pan (9x13 instead of 8x8) and increase baking time by only 5-7 minutes, not double. Check frequently to avoid overbaking.


 浙公网安备
33010002000092号
浙公网安备
33010002000092号 浙B2-20120091-4