
Forget expensive store-bought granola packed with hidden sugars and preservatives. This easy homemade granola recipe delivers perfect crunch every time with simple pantry staples you already have. In just 20 minutes of active preparation, you'll create 4 cups of wholesome granola that costs less than half the price of commercial brands while giving you complete control over ingredients and sweetness levels.
Why Homemade Granola Beats Store-Bought Every Time
When you make easy homemade granola from scratch, you're not just saving money - you're taking control of what goes into your body. Commercial granolas often contain up to 15 grams of sugar per serving and mysterious "natural flavors" that could include anything. Your kitchen-made version eliminates these concerns while delivering superior freshness and crunch.
Cost Comparison
- Homemade: $0.75 per cup
- Premium store brand: $2.50 per cup
- Organic store brand: $3.25 per cup
Ingredient Control
- No hidden sugars or oils
- Choose your preferred sweetener
- Adjust texture to your liking
- Customize for dietary needs
The Essential Granola Ingredients Checklist
What makes this easy granola recipe for beginners work so well? It's all about understanding the role of each component. Unlike complicated recipes with exotic ingredients, this version uses what you already have in your pantry.
| Ingredient Category | Best Options | What to Avoid |
|---|---|---|
| Base Grains | Old-fashioned rolled oats (not instant) | Instant oats, steel-cut oats |
| Binders | Pure maple syrup, honey, or date syrup | Corn syrup, artificial sweeteners |
| Fats | Coconut oil, avocado oil, or melted butter | Hydrogenated oils, margarine |
| Add-Ins | Raw nuts, seeds, dried fruit (added after baking) | Pre-roasted nuts with added oils |
Simple 4-Step Method for Perfect Granola
This foolproof homemade granola technique eliminates the most common mistakes that lead to burnt or clumpy results. The secret lies in the mixing method and precise baking temperature.
- Dry Mix First - Combine 3 cups rolled oats, 1 cup raw nuts (chopped), 1/2 cup seeds, 1 tsp cinnamon, and 1/4 tsp salt in a large bowl
- Wet Ingredients Separately - Whisk 1/3 cup maple syrup, 1/4 cup melted coconut oil, and 1 tsp vanilla extract until emulsified
- Gentle Folding - Pour wet mixture over dry ingredients and fold gently - don't stir vigorously which breaks oats
- Perfect Baking - Spread evenly on parchment-lined baking sheet, bake at 300°F (150°C) for 30-45 minutes, stirring every 15 minutes

Pro Tips for Granola Success
Master these easy homemade granola secrets that most recipes don't mention:
- The Cooling Secret: Let granola cool completely on the baking sheet - this is when it develops maximum crunch
- Sweetener Swap: For sugar-free version, use 1 mashed ripe banana plus 2 tbsp almond butter instead of syrup
- Clump Control: Press granola firmly together during the last 10 minutes of baking for those coveted clusters
- Flavor Boost: Add orange zest or espresso powder to the wet ingredients for sophisticated flavor variations
Customize Your Easy Homemade Granola
One of the greatest advantages of making granola at home is endless customization. Try these popular variations:
Maple Pecan Delight
Substitute pecans for walnuts, use pure maple syrup, and add 1/2 tsp nutmeg
Tropical Sunrise
Add dried mango and pineapple after baking, with coconut flakes and macadamia nuts
Chocolate Almond
Mix in 2 tbsp cocoa powder with dry ingredients, use almonds, add dark chocolate after cooling
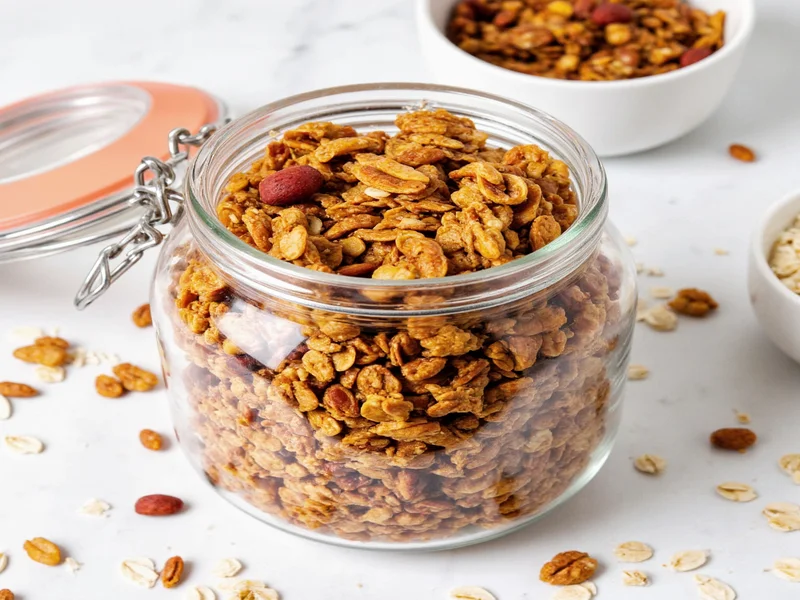
Storage and Serving Ideas
Proper storage ensures your easy homemade granola stays fresh and crunchy for weeks. Transfer completely cooled granola to an airtight container - glass jars work perfectly. Store at room temperature for up to 4 weeks, or freeze for up to 3 months.
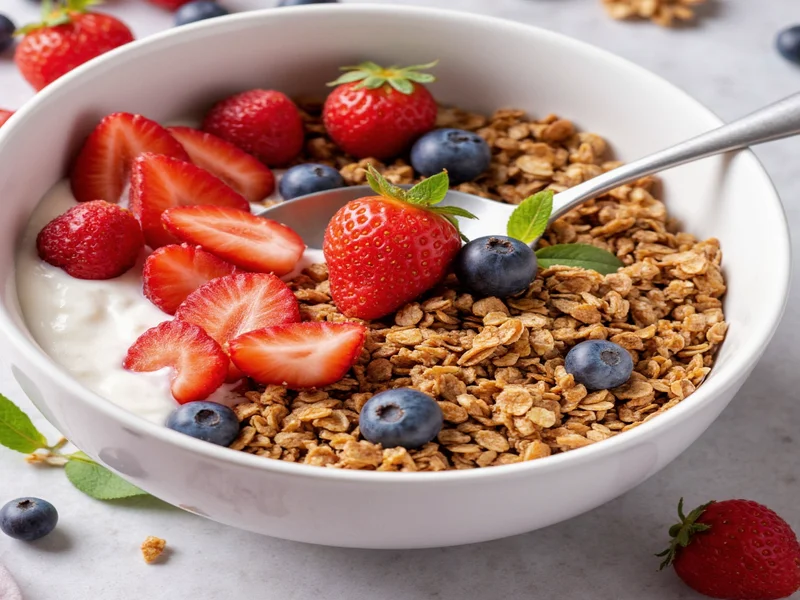
Go beyond the obvious yogurt topping with these creative serving suggestions:
- As a crunchy salad topping instead of croutons
- Mixed with melted chocolate for homemade granola bars
- Layered in parfaits with chia pudding and fresh berries
- As a crust for cheesecake or pie
- Stirred into morning smoothies for added texture
Frequently Asked Questions
Why is my homemade granola not crunchy?
Granola needs proper cooling time to develop crunch. The most common mistake is removing it from the baking sheet too soon. Let it cool completely on the sheet - the residual heat continues the drying process. Also ensure you're using the right ratio of wet to dry ingredients (1:3) and baking at a low temperature (300°F/150°C).
Can I make granola without oil?
Yes, though oil helps create the perfect texture. For oil-free granola, substitute with additional mashed banana, applesauce, or nut butter. You'll need to increase baking time slightly and watch carefully to prevent burning, as these alternatives contain more moisture than oil.
How do I prevent my granola from burning?
Use a light-colored baking sheet (dark sheets burn granola faster), bake at 300°F not higher, stir every 15 minutes, and spread in a thin, even layer. The edges will darken first - when they reach golden brown, it's time to stir. Remember that granola continues cooking from residual heat after removal from oven.
Is homemade granola actually healthier than store-bought?
Typically yes - when you control the ingredients. Most commercial granolas contain 8-15g of added sugar per serving and unhealthy oils. Your homemade version can reduce sugar by 50%, eliminate artificial ingredients, and include more nuts and seeds for protein. Just be mindful of portion sizes as granola is calorie-dense regardless of how it's made.


 浙公网安备
33010002000092号
浙公网安备
33010002000092号 浙B2-20120091-4