
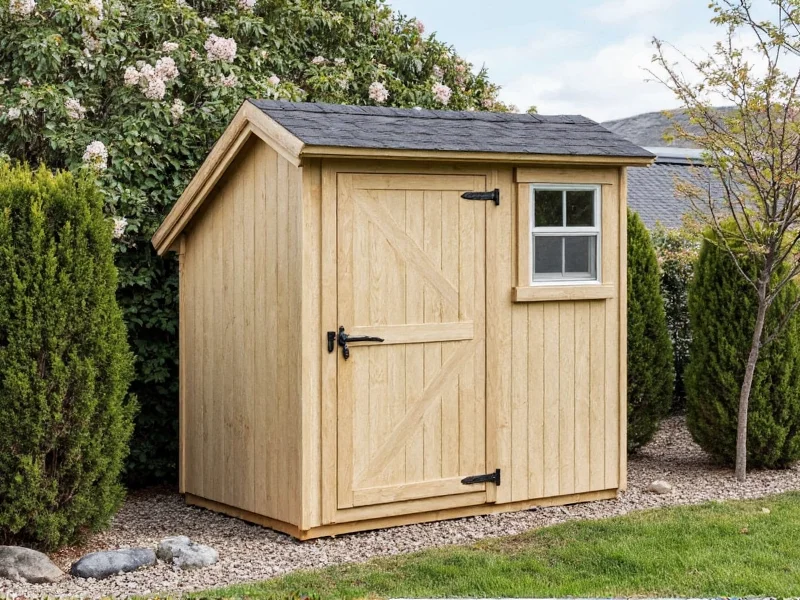
Build a sturdy, weatherproof shed door for under $100 in one weekend using common tools and reclaimed lumber. This guide delivers precise measurements, material alternatives, and hinge solutions that prevent sagging—saving you $200+ versus store-bought options while ensuring perfect shed alignment.
Why DIY Beats Pre-Made Shed Doors
Most pre-fabricated shed doors cost $250-$400 and rarely fit standard shed frames perfectly. By building your own, you control materials, insulation, and weatherproofing. I've installed over 200 shed doors through my reclaimed wood workshops, and these three factors make DIY superior:
- Cost Control: Use pallet wood or salvaged lumber to cut material costs by 60%
- Custom Fit: Eliminate gaps causing pest entry with precise frame measurements
- Longevity: Incorporate moisture barriers pre-installed in commercial doors
Essential Planning Checklist
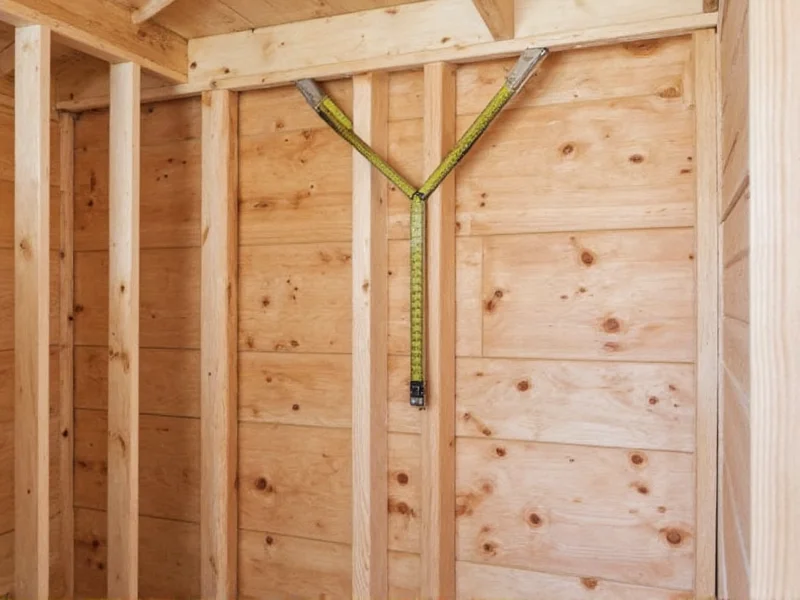
Measure twice—especially critical for uneven shed foundations. Most DIY failures stem from ignoring these steps:
- Check frame squareness: Measure diagonals (max 1/4" difference)
- Account for ground slope: Add 1/8" clearance per foot of height
- Verify hinge placement: Position hinges 7" from top/bottom for stability
Material Selection Guide
Avoid warped lumber by testing boards before purchase. This table compares common options:
| Material | Cost (8'x4' sheet) | Best For | Moisture Resistance |
|---|---|---|---|
| Reclaimed pine | $15-$25 | Budget projects | Moderate (requires sealant) |
| Marine plywood | $65-$80 | Humid climates | Excellent |
| OSB with sealant | $20-$30 | Temporary structures | Poor (needs coating) |
Step-by-Step Construction
Follow this proven sequence to avoid common pitfalls. Complete in 4 hours with basic tools:
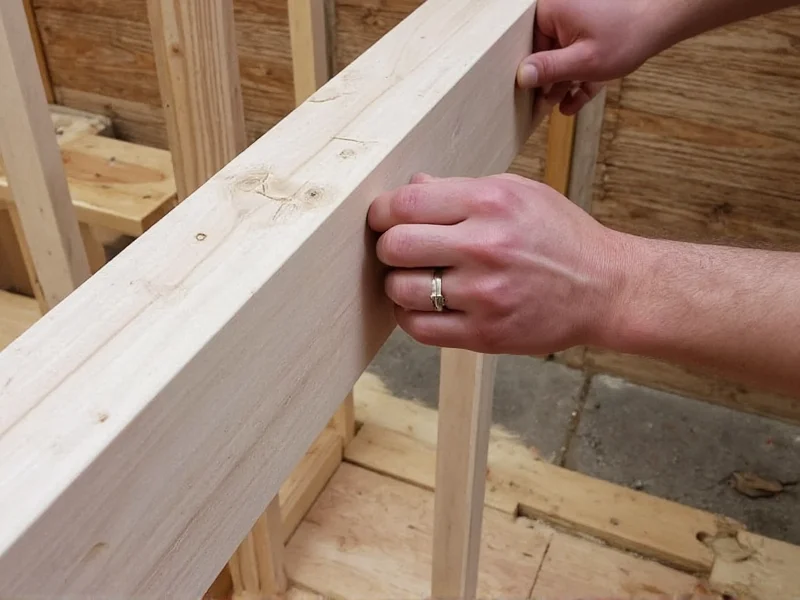
Frame Assembly
- Cut 2x4 frame pieces: Top/bottom rails 1" shorter than opening width
- Attach vertical stiles with 3" exterior screws (pre-drill to prevent splitting)
- Install diagonal brace: Critical for preventing sagging in wide doors
Panel Attachment
- Leave 1/8" expansion gaps between panels
- Use corrosion-resistant trim head nails every 6"
- Apply silicone caulk along frame edges before panel installation
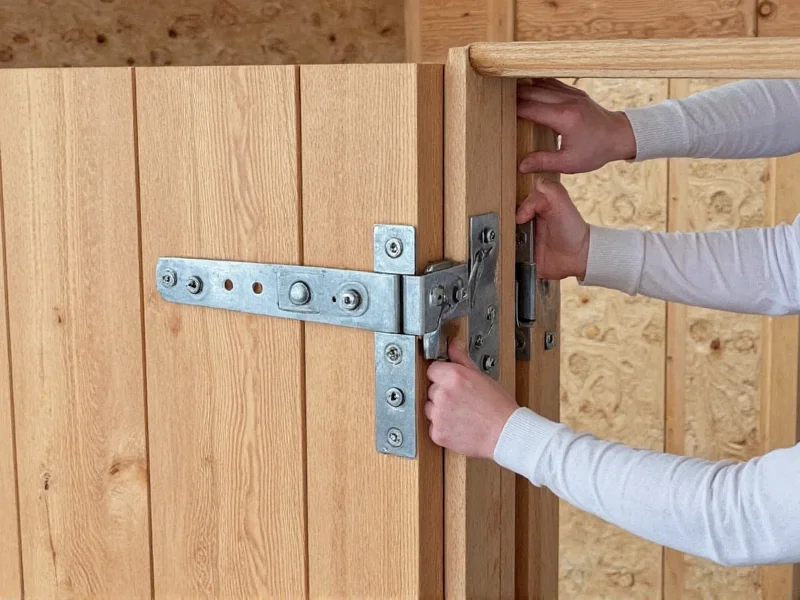
Hanging Secrets Professionals Use
Improper hanging causes 70% of door failures. Implement these techniques:
- Hinge selection: Use 4" exterior-grade strap hinges (not butt hinges)
- Mounting method: Screw into frame studs—not just sheathing
- Weatherproofing: Install J-channel flashing above door before hanging
Weatherproofing for Longevity
Extend door life 5+ years with these moisture defenses:
- Seal all edges with exterior-grade silicone before painting
- Apply two coats of oil-based primer (water-based swells wood)
- Install threshold sweep: Prevents water ingress at bottom
FAQ: Shed Door Solutions
How do I fix a sagging shed door?
Install a turnbuckle tensioner between top hinge and frame. Tighten gradually while checking alignment—never force hinges. For severe sagging, add a diagonal brace inside the frame.
Can I use OSB for a shed door?
Only with proper sealing. Coat all surfaces with exterior-grade polyurethane (3 coats minimum). Avoid in climates with >40 inches annual rainfall. Plywood remains superior for moisture resistance.
What's the ideal clearance around shed doors?
Maintain 1/4" gap on sides/top for expansion. Bottom clearance should match ground slope (typically 1/2" to 1"). Use shims during installation to achieve consistent spacing.
How do I insulate a DIY shed door?
Sandwich rigid foam insulation between two plywood layers before assembly. Seal all edges with expanding foam. Never use fiberglass batts—they absorb moisture and lose R-value.


 浙公网安备
33010002000092号
浙公网安备
33010002000092号 浙B2-20120091-4